

Riot Games continues to strengthen the security of its games and protect the gaming environment for all Valorant users. However, sometimes players may encounter issues such as the error message "This Vanguard build doesn't meet requirements." This error can disrupt your gaming experience, but don't despair! With a few simple steps, you can diagnose and quickly resolve this issue. In this guide, we'll show you how to fix the "Doesn't Meet Requirements" error and get you back into the game in no time.
What is Vanguard and How Does it Work?
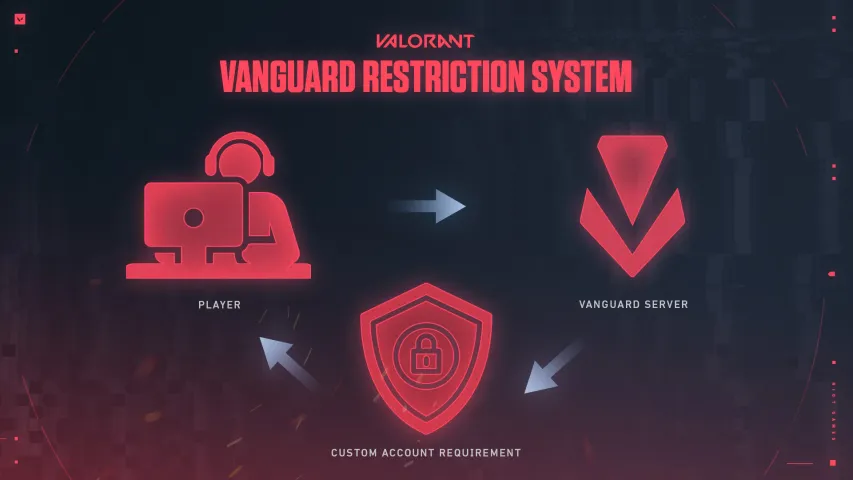
Vanguard is Riot's security system designed to ensure fair play and prevent the use of illegal programs and cheats. When you launch Valorant, the Riot Vanguard application also runs in the background, scanning your computer for suspicious activity and ensuring the integrity of the game.
On February 25, 2023, Riot Games announced the end of support for Windows 8 and 8.1 for Vanguard and consequently, for Valorant. This decision was made to improve game security and provide a better gaming experience for all users.

READ MORE: Valorant error 62: Troubleshooting Guide
Fixing the "This Vanguard Build Doesn't Meet Requirements" Issue
It's no secret that Riot Games' Valorant is rich in bugs. If you've encountered the "This Vanguard build doesn't meet requirements" error, our guide will help you with that. Here are a few steps you can take to fix this issue:
Update Vanguard:
The "Doesn't Meet Requirements" error is often caused by an outdated version of the Vanguard anti-cheat system. Riot Games regularly releases Vanguard updates to improve security and performance. To make sure you have the latest version of Vanguard installed, follow these steps:
- Open the Valorant game client.
- Go to the settings menu by clicking on the profile icon in the top right corner.
- Select the "Settings" tab.
- Find the game you're interested in, in our case, Valorant.
- Click the "Updates" button.
- If an update is available, follow the prompts to download and install it.

After the update is complete, restart your computer and launch Valorant again to make sure the error has disappeared. If this method doesn't help you, we recommend you try the following.
Reinstall Vanguard:
Corrupted game files can also cause the "Doesn't Meet Requirements" error. Restoring Valorant game files can help fix this issue. Here's how to do it:
- Find the control panel in the "Start" menu.
- Click on "Programs."
- Go to uninstalling a program.
- Look for "Vanguard."
- Right-click on the program.
- Click "Uninstall."
- Restart your system.
- Download and install Vanguard from the official website.
- Open the game client to ensure that the system is working properly.
However, reinstalling Vanguard doesn't always help solve this problem, so sometimes you need to resort to more serious troubleshooting methods.

Operating System Update:
Outdated operating system components can sometimes interfere with Vanguard's operation, leading to the "Doesn't Meet Requirements" error. Make sure your operating system is updated to the latest version with the latest patches and updates. Follow these general steps to update your operating system:
For Windows users:
- Open the "Start" menu and click on "Settings" (gear icon).
- Go to the "Update & Security" section.
- Click on "Check for updates" and install any available updates.
For macOS users:
- Click on the Apple menu in the top left corner of the screen.
- Install any available updates for your version of macOS.
- After updating the operating system, restart your computer and launch Valorant again to check if the error persists.
If you're not proficient in updating the operating system, it's better not to opt for manual installations; it's better to leave all OS solutions to professionals.
Enabling Secure Boot:
This section provides only general instructions. It's always better to refer to the guide for your specific computer to avoid misunderstandings and problems.
Before we proceed with the setup, it's important to review the manual for your motherboard. Since different manufacturers provide different recommendations, any unauthorized changes to the BIOS can cause system startup issues. Therefore, we do not recommend using this method without proper knowledge and preparation.
If you find that Secure Boot is displayed as "Enabled" but also as "Inactive," and this issue persists after rebooting, you need to enable Secure Boot in the BIOS settings. However, the Secure Boot parameter may be unavailable until the Compatibility Support Module (CSM) is disabled in the BIOS settings.

MSI Motherboards:
1. Restart your computer and enter the BIOS settings by pressing the corresponding key (usually DEL or F2).
2. If the boot mode is set to CSM or Legacy, change it to UEFI.
3. Navigate to the "Security" option, then select "Secure Boot" and disable it.
4. Change the mode back to standard.
5. Then go to "Settings," then "Advanced," and enable "Secure Boot."
6. Save the changes and exit the BIOS.
ASUS and GIGABYTE Motherboards BIOS Setup:

1. Restart your computer and press a specific key (usually DEL or F2) to enter the BIOS.
2. If the boot mode is set to CSM or Legacy, change it to UEFI.
3. Go to the top menu, select the "Security" option, and disable it.
4. Change the secure boot mode to custom. Then change the mode back to standard.
5. Set BIOS to factory settings or restore default settings. Confirm the changes.
6. Return to BIOS settings and enable secure boot again. Confirm any prompts, save changes, and exit the BIOS.
Now secure boot should be successfully activated. Hopefully, after completing these steps, your system will work without errors, and secure boot will be activated successfully.
Contact Support:
If you have followed the above steps and still encounter the "Doesn't Meet Requirements" error in Valorant, there may be a more complex issue. In such cases, it is recommended to contact Riot Games support for further assistance. Provide them with details of the error and any troubleshooting steps you have already taken. They can offer personalized support to resolve the issue.

Conclusion
The "This Vanguard build doesn't meet requirements" error can be frustrating for Valorant players, but it can usually be resolved with the right troubleshooting steps. By ensuring Vanguard is updated, restoring Valorant files, updating the operating system, and seeking support when needed, you can overcome this error and get back to gaming without hassle.


Comments3