
BEST VIP CLUB!

BEST VIP CLUB!
200% Bonus

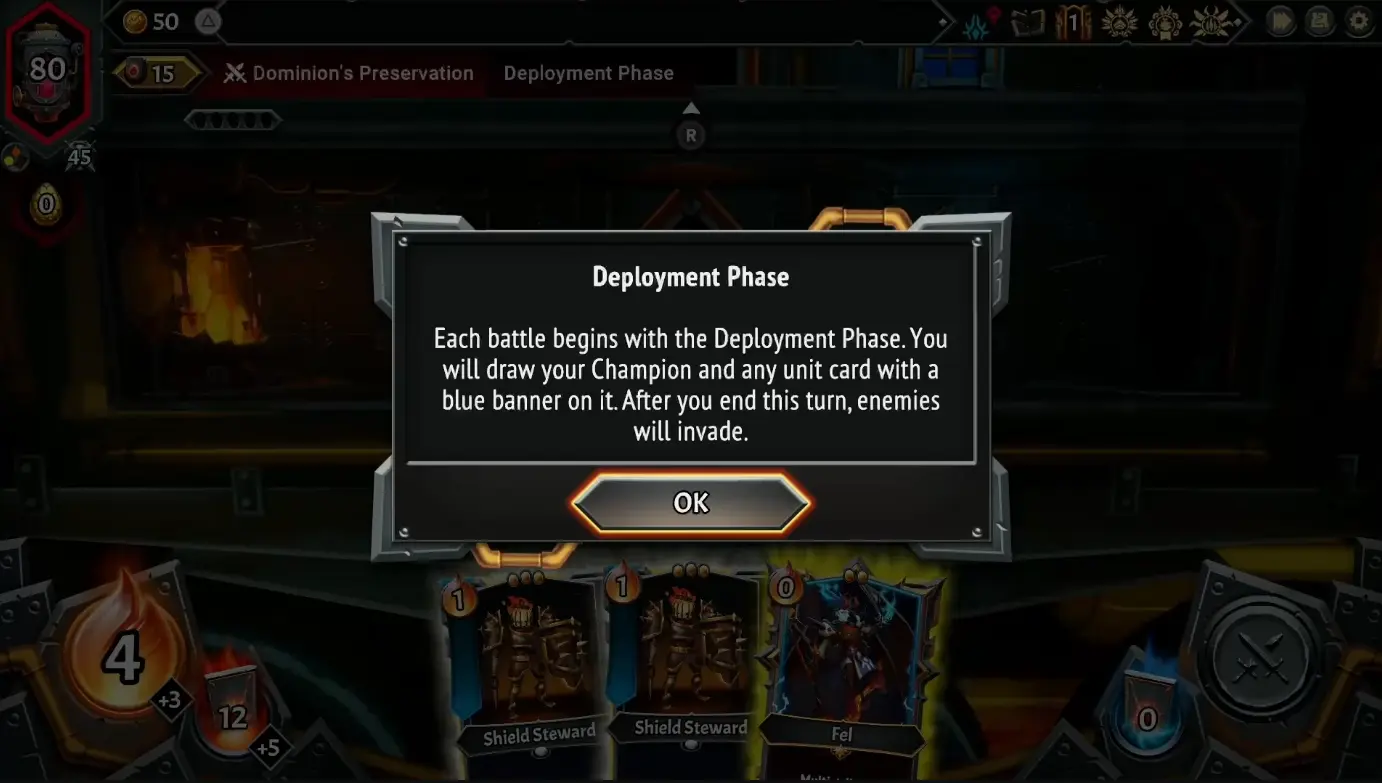
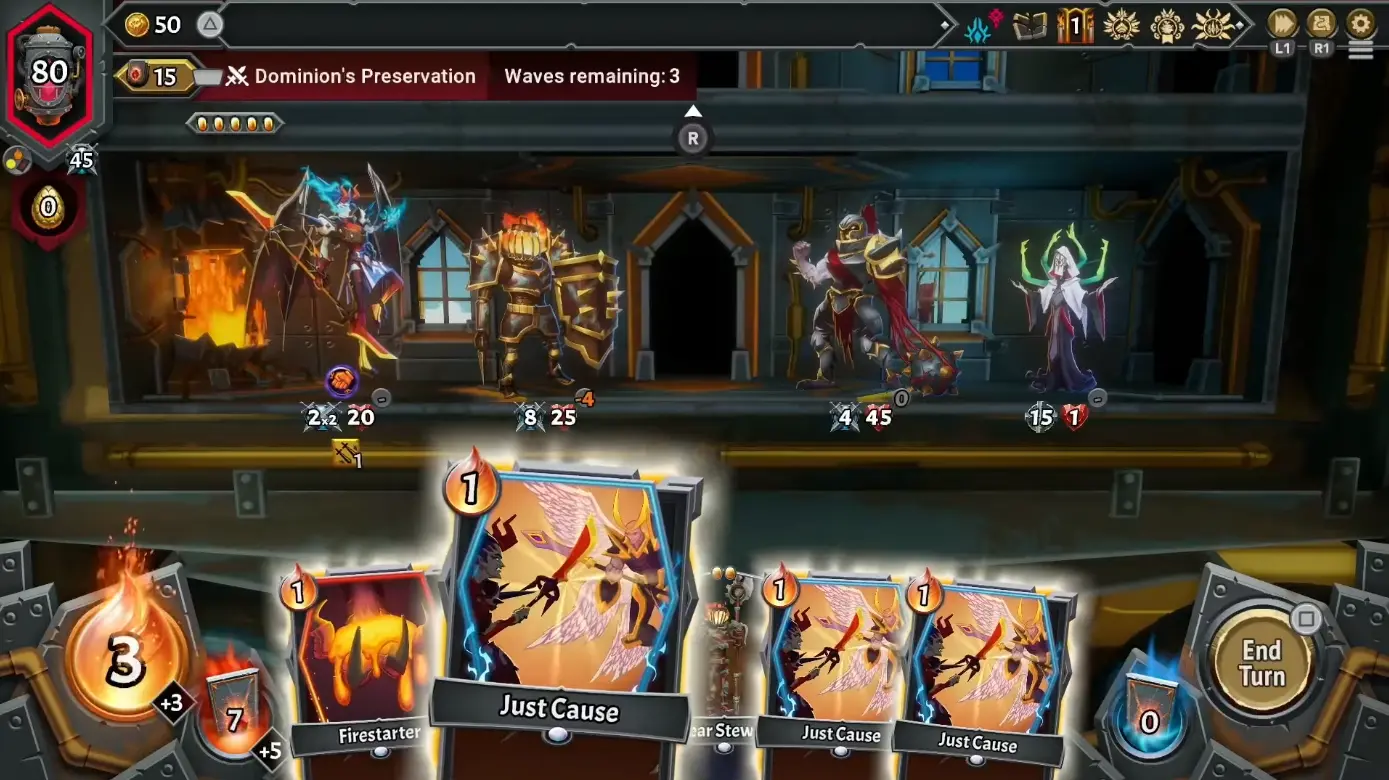
Every encounter in Monster Train 2 begins with the deployment phase, which allows you to determine and establish your strategy for the rest of the game. Though brief, this decisive stage enables you to set up your positions, deploy units, and equip the train with essential upgrades before the arrival of enemies. While it might seem like just playing cards at first glance, there's a precise system at work, and understanding how it functions significantly increases your chances of consistent victory.
Initially, cards altered by specific artifacts are always drawn first. These items modify the deck so that the player is guaranteed to draw a specific type of card first. If you have Attuned Whetstone, the game will draw one equipment-type card and reduce its Ember cost to zero. If Dante’s Footstool is active, the same will happen with a Room card. Such cards always appear first if the corresponding type is in the deck.

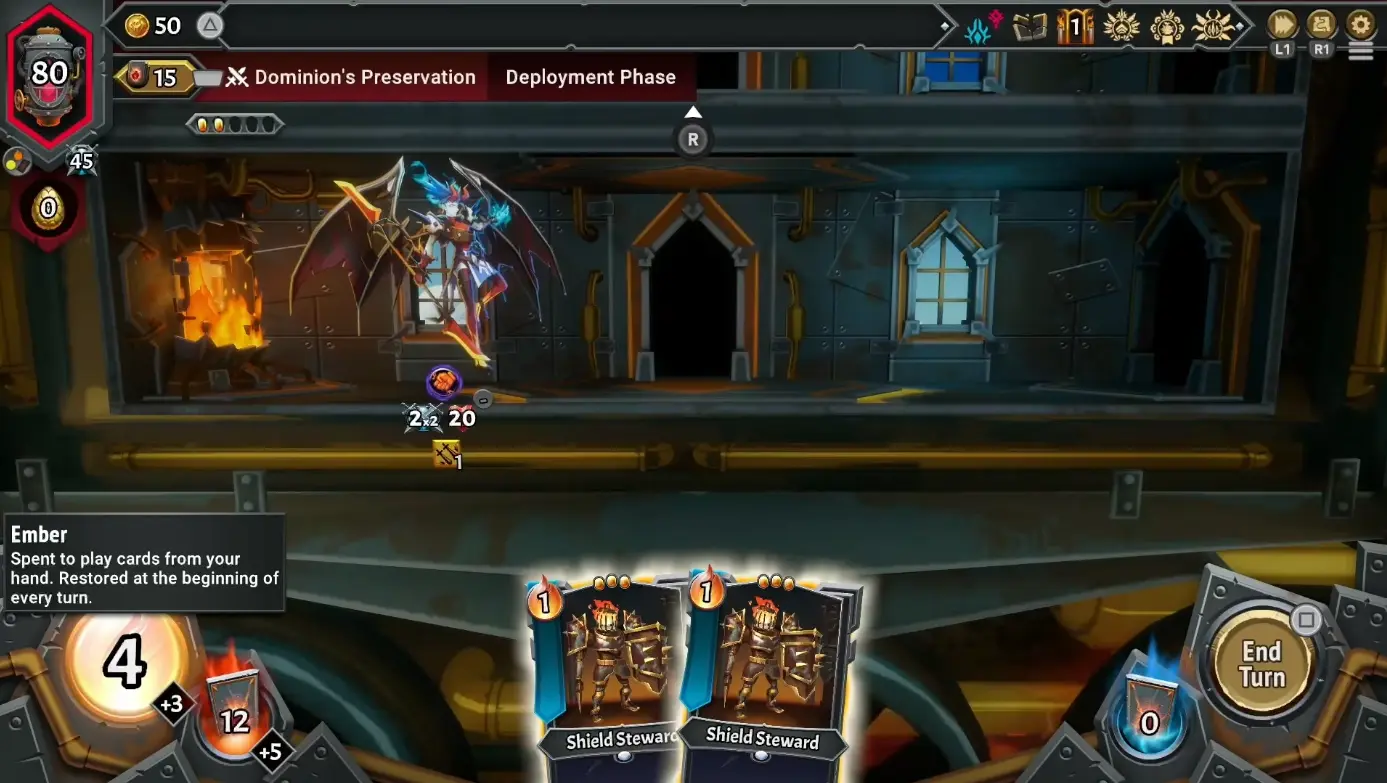
Next, the game selects your champion card. This is a guaranteed draw, so your main combat unit will always be at your disposal — provided you have enough Ember and free space on the field.
Then, Banner units are drawn. They are marked with a small blue banner beneath the Ember cost. All cards of this type that meet the conditions are automatically added to your hand. If you have many Banner cards in your deck, it's quite possible that they alone will fill the entire hand limit.
After this, if there's still space, Room and Equipment cards that have been upgraded to Deployable status are added. They appear only if the hand isn't full. The maximum hand size is 10 cards.
If too many cards were drawn before this, some upgraded Room or Equipment cards may not make it into the hand at all. That's why controlling deck size and understanding what will be drawn from it plays a critical role.
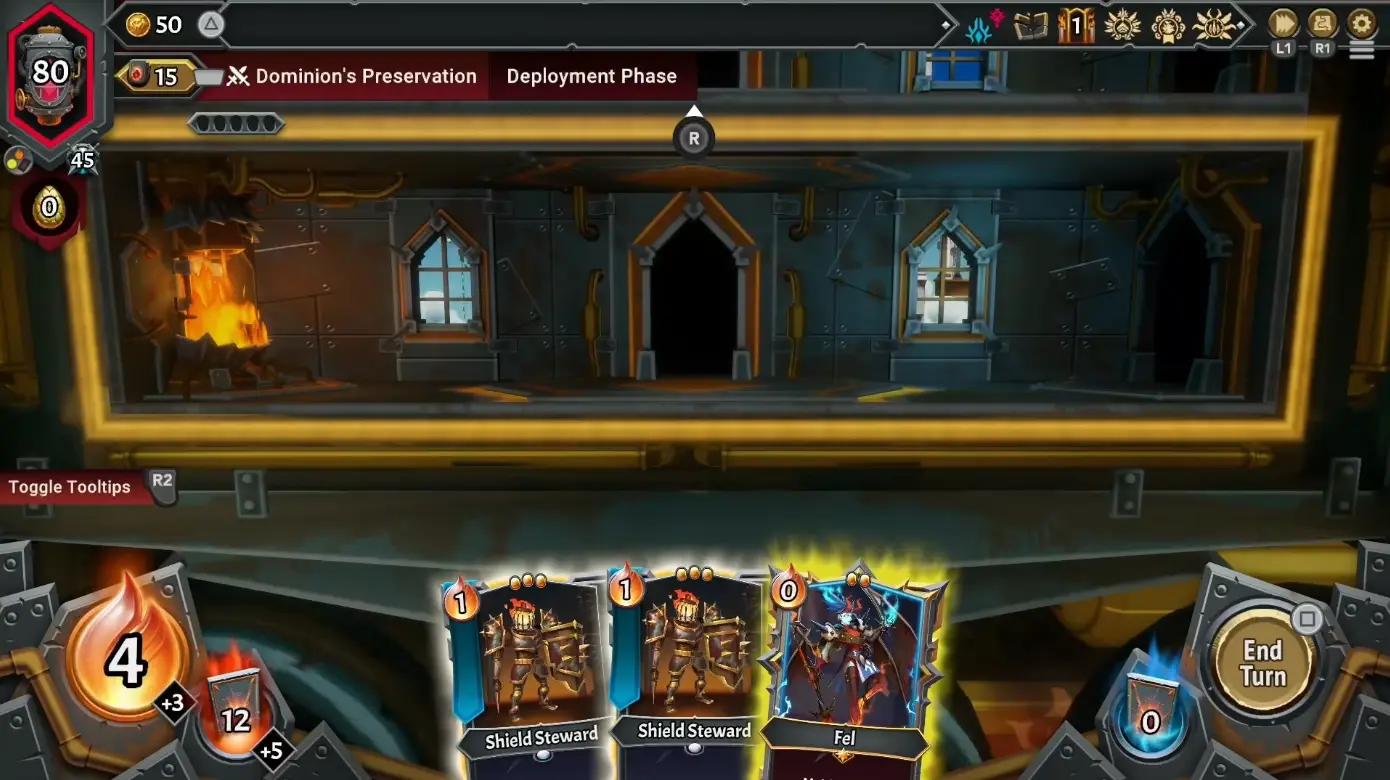
The deployment phase has its strict limitations. The two main ones are Ember and floor capacity. The amount of Ember available for the phase is shown in the bottom left corner of the screen. Some artifacts, like Artificial Pyrestone, add +3 to Deployment Ember. Others, such as Odi’s Totem, reduce it by 3. It's impossible to spend more Ember than is available in this phase.
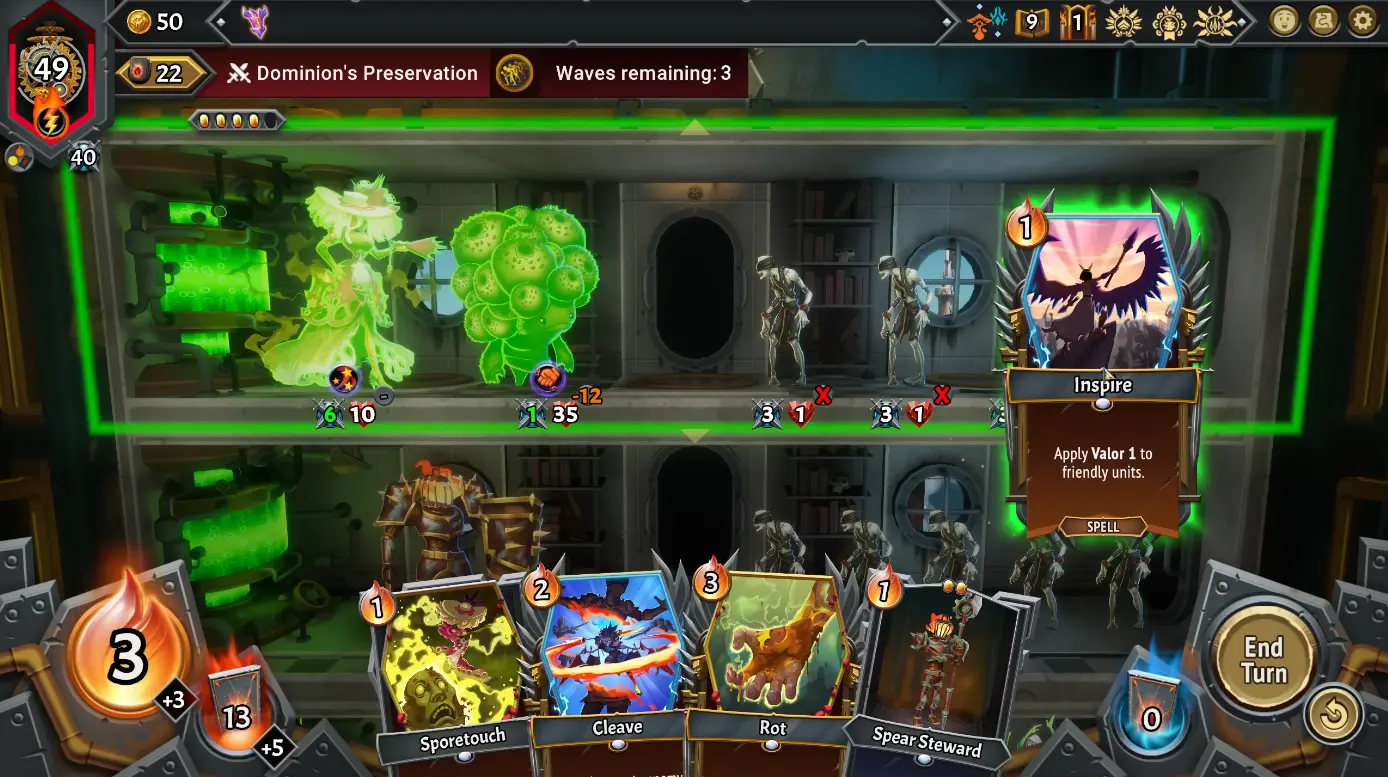
Floor limitations are the second key factor. Each floor has a standard capacity, usually five size units. The size of each unit is marked by yellow ovals at the top of its card. Exceeding the limit isn't possible, so sometimes you'll have to choose whether to concentrate powerful units on one floor or distribute forces evenly.
When you've played all your cards or decided not to deploy anything else, hit the "End Turn" button to finish the phase. All cards remaining in hand are shuffled back into the deck. This includes Champion, Banner units, and Room and Equipment cards that weren't played.
This means that from the first wave of enemies, you might draw these same cards again. However, there are no guarantees. If you have a large or diverse deck, you'll have to wait a few turns before the needed card returns to your hand. Therefore, it's important to plan the deck structure and how to efficiently manage the available cards even before the battle.
The deployment phase in Monster Train 2 is not just an initial setup. It forms the foundation of your defense, determines the level of support for units, and sets the pace of the battle. Ignoring space or Ember limitations, or having poor knowledge of card draw order, can cost you a good start and jeopardize the entire battle.
Knowing how your cards will be drawn during deployment allows the player to build a deck with a clear plan. You can create a combination where key cards are guaranteed to appear in the starting hand and can be played immediately.


Comments