
In the previous article, we described a guide for Brackenhide Hollow. This time, we're going to look at Ruby Life Pools, another dungeon in World of Warcraft Dragonflight, located in The Waking Shores, which is on the Dragon Islands at /way 60.00 75.77. The dungeon itself is not very large and has only three bosses, and the number of enemy mobs is smaller compared to other locations, which makes the passage of Ruby Life Pools quite fast at all difficulty levels.
There are no special features or additional quests and buffs in this dungeon that will help you in your progress. You will have only one additional respawn point at the place where you defeat the first boss.
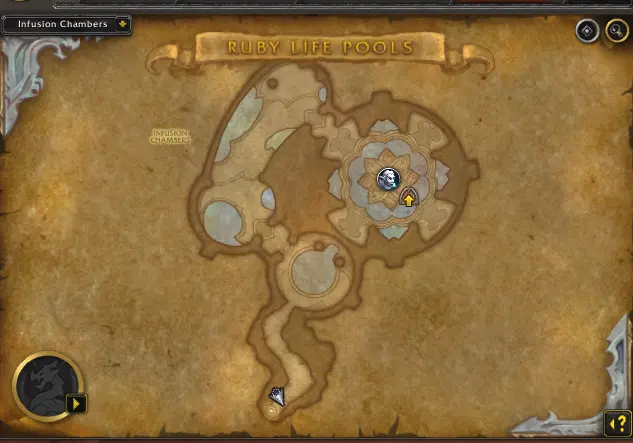
Infusion Chambers
One of the most dangerous mobs on the way to Melidrussa Chillworn will be the Primal Juggernaut with its almost lethal Excavating Blast ability, which deals a lot of damage and throws heroes back. Therefore, you should be careful and try to avoid this ability whenever possible. Another unpleasant ability of this mob is Crushing Smash, which it will use to target your group's tank.
Crowd control (CC) abilities will come in handy against Flashfrost Earthshaper and their AoE spell Tectonic Slam. The Icebolt that Flashfrost Chillweaver's will throw at you can be interrupted, which will help you avoid unwanted damage, especially on higher difficulty levels of Mythic+ dungeons. These mobs will also cast Ice Shield on allies, which absorbs a significant amount of damage for six seconds and also grants immunity to crowd control effects. In addition, the longer enemies cast this spell, the more effective it will be, so it is advisable not to let them do so.
Be careful when entering the Infusion Chambers location, as it contains dragon eggs. If a player or an enemy steps on them, Infused Help will appear, which will instantly start casting Cold Claws on their target. This hit will cause the Primal Chill effect to stack up to eight times, slowing and damaging the target, as well as freezing them.
The first mini-boss you'll encounter at the end of the Infusion Chambers location is Defier Draghar, located just before the fight with the main first boss. Defier Draghar has a lot of health compared to other mobs and also has two main abilities that you should pay attention to. Steel Barrage is a very strong ability that deals a lot of damage, every 0.5 seconds for 3 seconds, which is a threat to your tank. Therefore, the hero of this role will have to use his defensive abilities to the maximum, as well as enlist the support of healers in the team. In addition, each triggering of Steel Barrage will cause a Motel Steel fragment to appear on the ground, which also deals damage on contact.
The second deadly ability will be Blazing Rush, in which the enemy charges at a random player, and after contact, it will deal massive damage and leave a bleeding effect. The best option for ranged heroes is to stand as far away from the mob as possible, close to the wall, and byte these charges, dodging them while the DPS of melee heroes do their job.
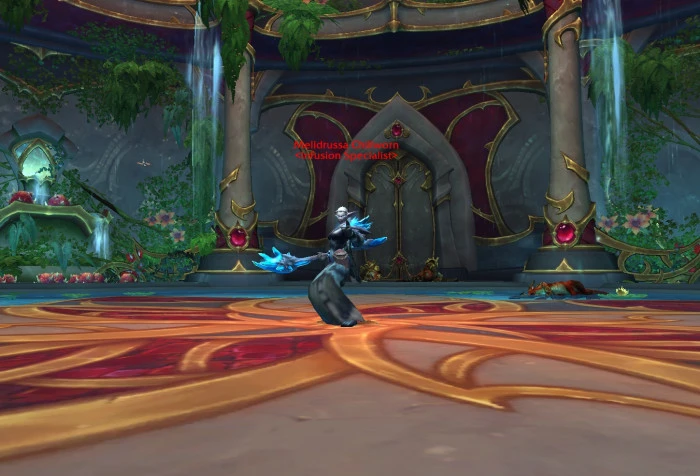
Melidrussa Chillworn
After you defeat this mini-boss, you can move on to fight the first main boss, Melidrussa Chillworn. At certain intervals, she will leave Hailbombs under the player, which will not disappear until the hero steps on them. At such moments, it's best to byte the appearance of these ice blocks in one spot so that you have more room for manoeuvre during the battle without fear of taking an additional portion of the damage.
Sometimes Melidrussa will cast Chillstorm on a random player, which will cause a storm in their location. You should stay as far away from Chillstorm as possible because this ability itself deals damage, and at the end, it will explode, hitting everyone who is nearby and throwing them back, or even worse, right under the Hailbombs.
During the battle, the boss will summon Awaken Whelps, which you will have to quickly defeat, and at the same time, you should beware of Frost Overload, which deals pulsating periodic damage for 8 seconds.
Healers should be prepared to heal their team in time, as the boss will deal a lot of damage, and abilities such as Frigid Shard come quickly enough that they cannot be interrupted, which will be unpleasant for all members of the group. Whenever possible, tanks should collect Infused Whelps in groups and bring them to Melidrussa Chillworn to defeat them in a pack, while dealing damage to the boss.

The Ruby Overlook
Immediately after you defeat the first boss, jump on the Radiant Drake, which will take you to the next location of the dungeon — Ruby Overlook. Two additional mini-bosses are waiting for you here: Thunderhead, which will be on the left side of the landing area, and Flamegullet, on the right side, each with its unique abilities.
Of the two, Thunderhead is the more difficult. Its Storm Breath attacks should be avoided, as each trigger deals significant damage for three seconds, which can kill you. Thunder Jaw will mainly target the tank of your group, dealing damage and knocking back the hero. Another spell will be Rolling Thunder, which lasts for eight seconds and imposes a negative effect that will cause an explosion within a hundred yards after the spell expires. The best option is to let your healer dispel this negative effect and survive the second phase of the ability a little further away from your allies so that they are not affected.
Flamegullet will be an easier miniboss, you'll mostly have to dodge Flame Breath's attack, and Fire Maw will target the tank of the group. When the miniboss's health drops below 50%, he will start casting Molten Blood, which will deal 80% more damage each time. This effect cannot be dispelled and will affect all group members. The longer the boss stays on the battlefield, the more damage it deals.
To activate the main second boss, you will then have to defeat four Blazebound Destroyers scattered on the map. Each of them will have mobs nearby to help them. Blazebound Destroyer will throw a Living Bomb at a random player, the explosion from this ability deals damage. They will also cast Inferno, wounding everyone within 100 yards with no way to avoid the damage. And after their death, the almost lethal Burnout ability will be triggered.
Primalist Cinderweaver will throw Cinderbolts at you, which should be interrupted if possible. Burning Ambition increases your speed by 50%, but the incoming damage to mobs will also increase by 25%, so it's better not to dispel this effect. Flame Dance cannot be interrupted by normal effects, but the enemy can be stunned. Most of the Scorchling in this location will be Scorchling, which will not pose a significant threat to you, except for the Burning Touch ability.
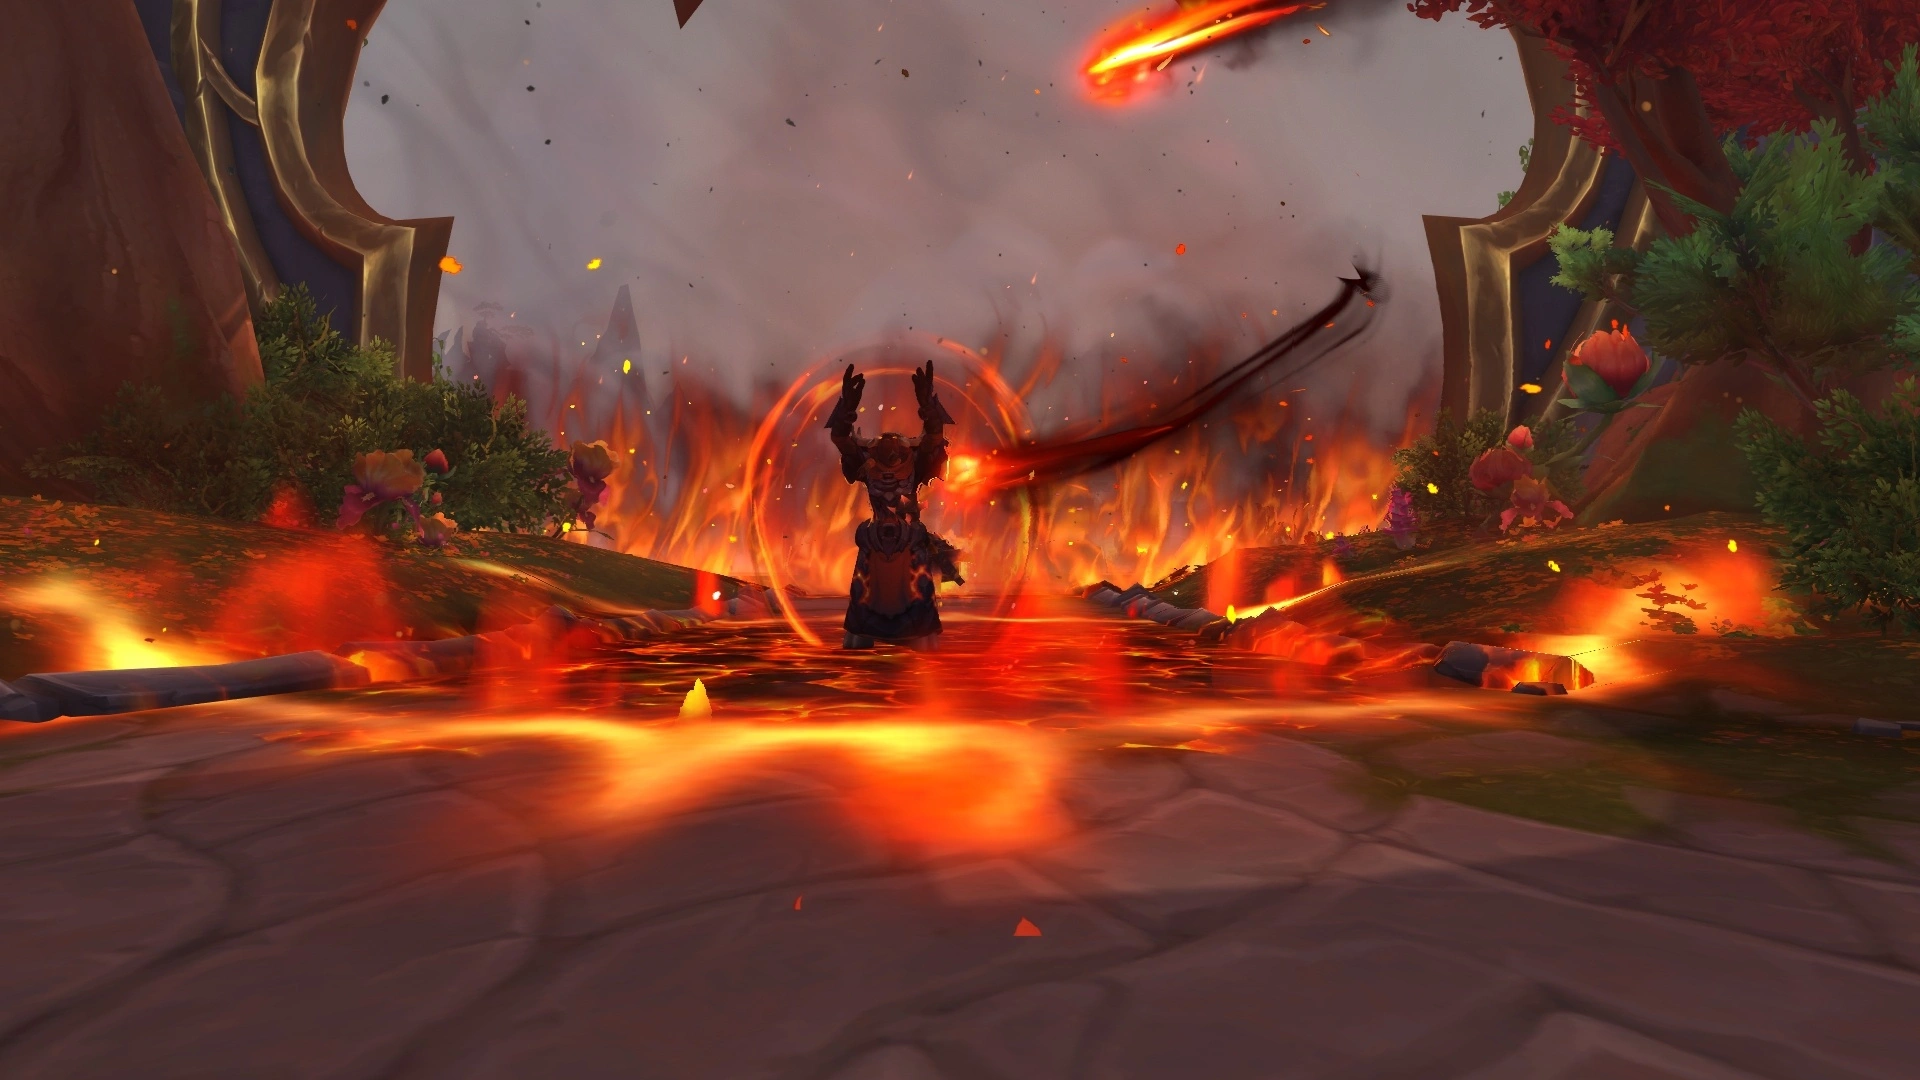
Kokia Blazehoof
When facing Kokia Blazehoof, the most important thing to watch out for is the Ritual of Blazebinding ability, which will appear next to the hero and scorch. As soon as Blazebound Firestorm appears, you should defeat it by avoiding or interrupting Roaring Blaze. After its death, this creature will have a Burnout effect, and at the Mythic+ dungeon difficulty level, there will be an eternal Scorched Earth effect on the ground that deals damage every second. Kokia Blazehoof will cast Molten Boulders on you, which will fall on you, dealing massive damage and stunning for three seconds.
In the Ruby Life Pools dungeon, during the boss fight, tanks should group Kokia Blazehoof and Blazebound Firestorm to increase the DPS of heroes and defeat enemies faster. Strong defensive and absorption abilities should be used against Searing Blows, which will overlay the bleeding effect of Searing Wounds, and this effect stacks.
Ruby Overlook
After defeating Kokia Blazehoof, you should go further up the stairs, which will lead us to the next location and the last boss, or rather two. But first, we have to face mobs on the way. Among them will be Storm Warrior, which with the Thunderclap ability deals damage to heroes within a 5-yard radius, slowing their speed and movement by 10% and 20%, respectively. Heroes nearby will suffer this negative effect.
Dispel abilities will be needed to remove the Tempest Barrier shield of 65% of the target's health, which is applied by Primal Thundercloud mobs. Tempest Channeler will be cast from your group's Lightning Storm, Thunderbolt, and Summon Primal Thundercloud heroes, which will heal its caster.
To proceed to the fight with the bosses Kyrakka and Erkhart Stormvein, you will first need to defeat the second mini-boss of the dungeon — High Channeler Ryvati. If your health is low, avoid using Shock Blast, which deals intermittent damage. Defensive abilities will help you survive Lightning Storm. And DPS heroes should focus on destroying the Tempest Stormshield.


Kyrakka and Erkhart Stormvein
In the last boss fight, we have to face two bosses at once. In the first phase, we fight against Erkhart Stormvein. As soon as his health drops below 50%, he will ride Kyrakka and the second phase will begin.
Kyrakka will blow fire directly through the Roaring Firebreath ability, so you will need to dodge in time and not get caught in the dragon's breath. If you fail to do so, you'll be hit by Infernocore, which deals intermittent damage and leaves Flaming Embers on the ground after the effect ends. if you don't move away in time, you'll be hit by Infernocore again.
Erkhart Stormvein will cast Interrupting Cloudburst, which interrupts your abilities and also blocks you for four seconds, so you can't do anything. Winds of Change deals damage and knocks heroes back, while Flaming Embers deals fire. In this combination, you can get the effect of Infernocore.
During the first phase, Kyrakka will sometimes spit Flamespit in the player's direction. Whenever possible, when the dragon is on the ground, you should focus on it, as it is a higher-priority target. Tanks should be careful with Stormslam, which increases natural damage by 100%. However, this debuff can be dispelled, which is what healers should do. This boss fight is quite unpleasant for negative debuffs and periodic damage, so help from healers is needed. Healing and dispelling are essential to keep the team alive.
Ruby Life Pools achievement
You can get various achievements for completing this dungeon by fulfilling certain conditions. There are eight of them in total:
- Ruby Life Pools — for killing the last boss.
- Heroic: Ruby Life Pools — for killing Kyrakka and Erkhart Stormvein on Heroic dungeon difficulty or higher.
- Mythic: Ruby Life Pools — for killing Kyrakka and Erkhart Stormvein on Mythic dungeon difficulty or higher.
- Keystone Hero: Ruby Life Pools — for completing a dungeon on Mythic difficulty level 20 or higher within a specified time.
- Mythic: Ruby Life Pools Guild Run — for defeating Kyrakka and Erkhart Stormvein in this dungeon on Mythic difficulty while in a guild.
- Are You My Broodmother — Cool, burn, harden, and keep alive a young ruby egg and then defeat Kyrakka and Erkhart Stormvein.
- Does Steam Do Fire Damage — defeat Kokia Blazehoof after heating 4 feeding pools with the enemy ability Molten Boulder on Mythic difficulty.
- Dragon Kill Points — can be obtained by killing 40 Infused Help and then defeating Melidrusa Chillworn on difficulty.


No comments yet! Be the first one to react