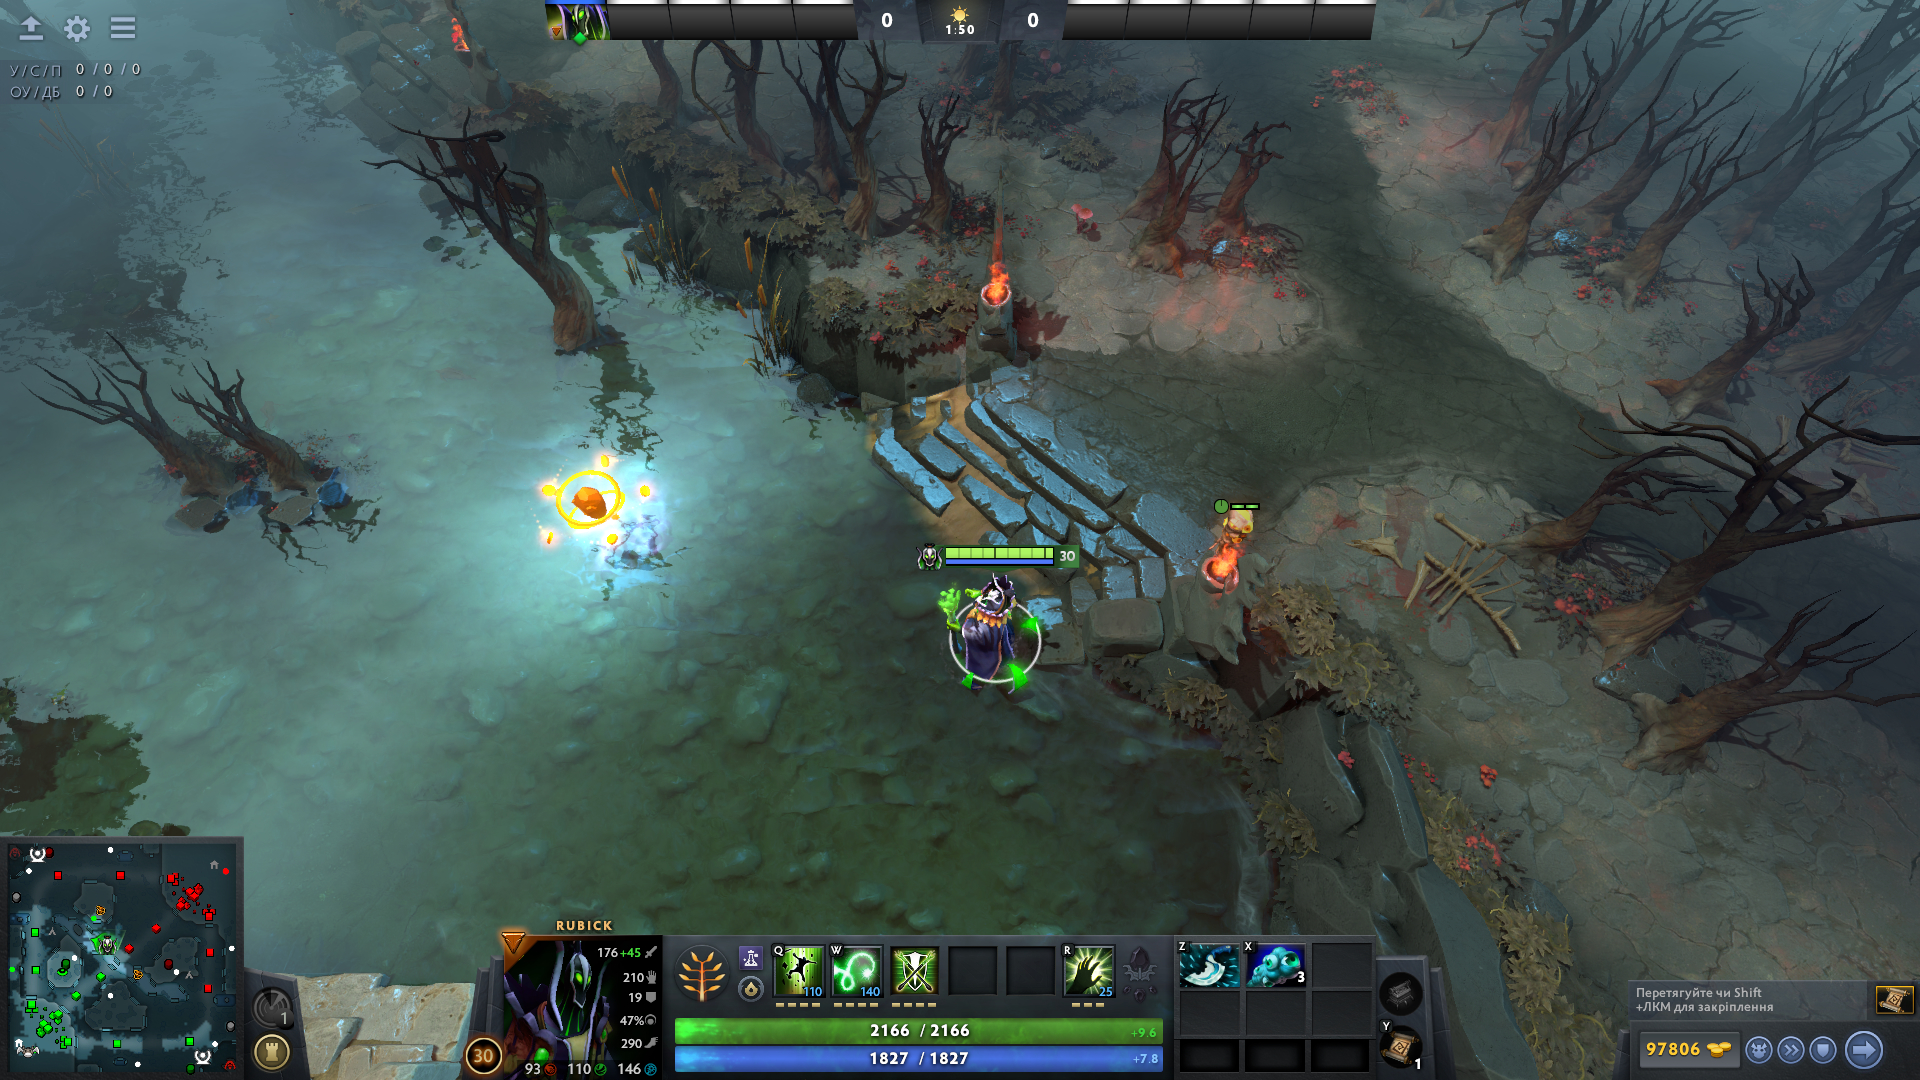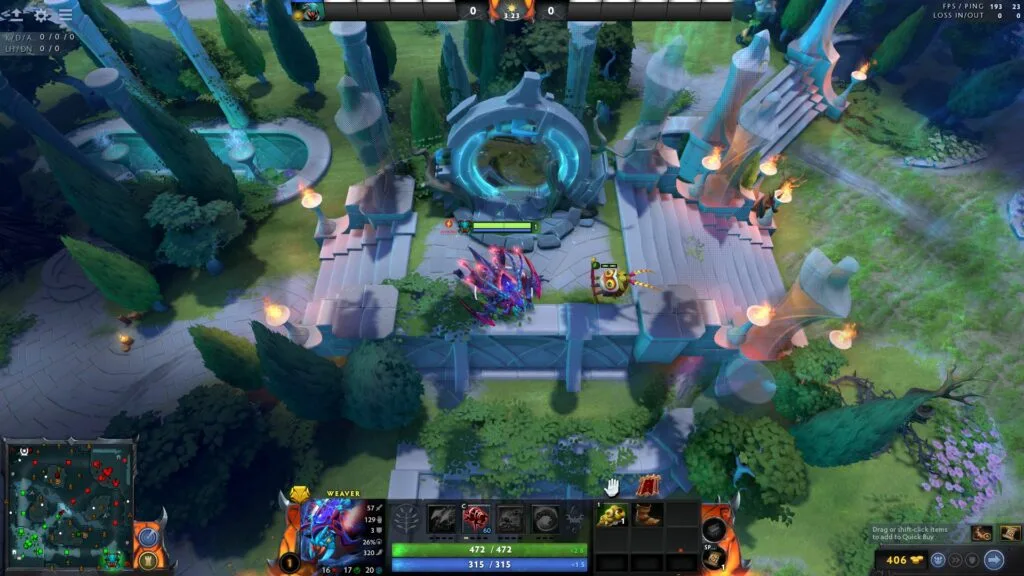
To safely move around the map and implement various strategies, you should always be aware of the course of events in the game, including the current location and movement of the enemy team. To do this, you need to have an overview of the map, which is provided by placing wards.
What are wards?
In Dota 2, each character has a limited view around him or her, which allows them to see the area nearby. During the day, this range is larger than at night, but some abilities and items can affect this radius. Not only heroes, but also allied and controlled creeps, some buildings, and special items called wards give you a view around you.
They dispel the so-called fog of war, which closes the view of the map beyond the aforementioned entities. Wards are static objects that are placed on the map surface and provide a view within a radius of 1600 for a limited, but long time within the game — 6 minutes. They help to see a particular area and what is happening in it: the appearance of creeps, the flight of couriers, the movement of enemies, etc. This is a fairly strategic item, which will allow you to protect yourself from attack by enemies, and vice versa — to attack a lone target that has gotten lost or is left without the support of allies.
This item can be purchased in the store for free, but their number is limited, and you have to wait until they appear in the store again to buy more wards. The use of wards should be deliberate, as improper interaction can deprive you of important vantage points or have them destroyed by your opponents, which will also lead to the loss of any vision.

Types of wards
There are two types of wards in the game — Observer Ward and Sentry Ward. The first is needed solely to reveal the fog of war within a radius of 1600 and lasts for 6 minutes, after which it automatically disappears. They can be destroyed by the owner of the ward, an ally if the object is installed at a point in the neutral camp and blocks it, as well as by enemies. At the beginning of the game, you can buy two of these wards in the store, and then their total number will be four.
Sentry Ward is needed to see invisible units, heroes, and enemy wards. Unlike Observer Wards, their radius is slightly smaller — only 1000, and their duration is 7 minutes. At the beginning of the game, you are given only 3 such wards, but unlike the Observer Wards, they are paid — 50 gold. For the destruction of an enemy Sentry Ward, the hero will not receive a reward in the form of additional gold.


When and how to set up wards?
As we have already mentioned, wards are a rather strategic object that should not be neglected, but should be used thoughtfully. Wards should be placed throughout the game at the most critical points for the team, the safety of which is more important than others. To place a ward, you should click on an item in your inventory or the corresponding key and place it at the point near the hero where you need it.
Theoretically, you can place wards anywhere if no other objects on the map (trees, creeps, textures, etc.) interfere with this. However, you should do it in the positions that will be important for you to track. For example, if you are standing on a line, it is unlikely that a ward on the enemy side of the map will be appropriate.
Start of the game
At the beginning of the game, you are given two wards to use. Mostly one of them is for the midlaner and is placed near this line, depending on the needs. If the hero needs to keep an eye on the runes and if the hero is trying to approach them, then it is worth placing it near the point of appearance of this rune. But at the same time, you can also affect the side of the view, which will make it clear whether another player is trying to attack you, who has come to the enemy's assistance. It is advisable to place the ward on a hill to be able to see the enemy midlaner and finish off the creeps, especially if you play a ranged hero. Without a view of the enemy's high ground, you cannot be sure whether it is safe to get close, because you do not know whether there is danger nearby.
It is better to give the second ward to the offlaner, that is, to a complex line, so that you can see the ways to bypass and move the enemy support that will stress you the most. The ward can be placed in the area of one of the neutral camps to block them and prevent enemies from further pulling or stacking. This will help you to ease the line for a while due to such information. In addition, the ward will give you an overview of a possible courier who will deliver supplies for support or carry. After killing him, the enemies will have more discomfort, as they will not be able to bring the necessary items on time or replenish their resources.

Night
During nighttime in-game time, heroes have less visibility, which makes it a great time to gank and rotate. An enemy midlaner or support can go to another line to help, taking advantage of the limited visibility to easily attack from behind and make one or even two kills. Therefore, having a ward to protect against a surprise attack will be useful. However, you should not forget that enemies can come under the influence of invisibility or smokes. Therefore, in the first case, you should have Dust of Appearance and Sentry Ward to unmask invisible units.
Sometimes it’s more difficult to predict if the enemy has come under the smoke, as it dissipates only when the player gets close to you. However, with an overview on the map, you can foresee such a scenario. After all, if you don't see one or a couple of heroes on the map for a long time. You should expect that they have gone to the forest to farm, or most likely are preparing an ambush for someone. Therefore, it is advisable to place the ward somewhere on a rock or hill that will give you the best visibility, as well as the side of your back, i.e., behind the tower.


Adaptation and warding
Further on in the game, you should focus on your needs and, depending on them, place the wards in the right places. If a carry is going farming in the jungle, then you should provide him with wards to reduce the likelihood that the enemy team will try to gank him, preventing him from farming.
If the team is planning to go after Roshan, then you should also place wards near his lair to prevent a surprise attack from the back, which will result in you losing the battle. You can also place a ward in this location to realize the opposite scenario, namely to see the enemy team entering Roshan's lair.
The placement of wards should correspond to the current plan of action. If you plan to play safe from the defense, then you should place wards near your territory, in particular where enemies can potentially enter. During the attack and push of the enemy side, you should use smokes and enter the enemy part with your team, place the necessary wards and continue to push the line. You can also set up an ambush, expecting one of the enemies to get lost, maybe even go to set up a guard, and you can kill them one by one.

Where to place the wards?
Setting up wards requires knowledge of the locations and stages of the game and the team's current plan of action, as this will determine where the wards will be set. However, there is a question of specifics, and where exactly. It all depends on the player and the awareness of the opposing team. The most obvious places to set up wards are rocks with signs on them. They are used for wards because these areas are high, which allows the ward to cover a larger viewing area. However, these are quite obvious places, and therefore it will be easy for enemies to remove your wards.
Therefore, you should act rather unconventionally and place your wards in somewhat less obvious places so that they provide an overview, but are not too banal. It often happens that the enemy can place a Sentry Ward near your Observer Ward, but still not hit your ward with a radius, which will be unexpected for the enemy. Sometimes you can be tricky and cut through a few trees and place a Sentry Ward in that place, which will provide an observation area. But keep in mind that when the tree grows back, it will block the view.

Watchers
In addition to the wards, the viewers provide visibility. They work like wards, but have a smaller visibility zone, but are set on the map in advance. Both teams can capture the opposing team's observer for their own benefit. At low ratings, they are often forgotten about and not used, or simply set up and become easy prey for enemies.


Important points for warding
A Twin-portal serves as a way to move from one point on the map to the enemy's side, a strategically important area that will serve as a tool for one team to attack the other. Therefore, depending on the stage of the game, it is worth having an overview of the portals to avoid unwanted ambushes.
The lotus pool is most relevant at the beginning of the game, so one of the first wards should be placed there to safely approach it for the sake of lotuses. Or to wait for an enemy with low health to come here.
Roshan's Lair — since Aegis of Immortal is a very valuable consumable, you should provide an overview of this location to have information about whether the enemy is trying to enter it or whether you want to go there yourself, so be aware that there may be wards nearby. Also, remember that you cannot set up a ward directly in the Roshan's lair itself.
Enemy/allied base — when attacking the base of the opposing team, you should place a couple of wards on the high ground of their side to facilitate your entry. This is often used by players, so you should expect that your base may have such wards.

Upcoming Top Matches
Latest top articles


Comments