Article
10:26, 12.06.2024

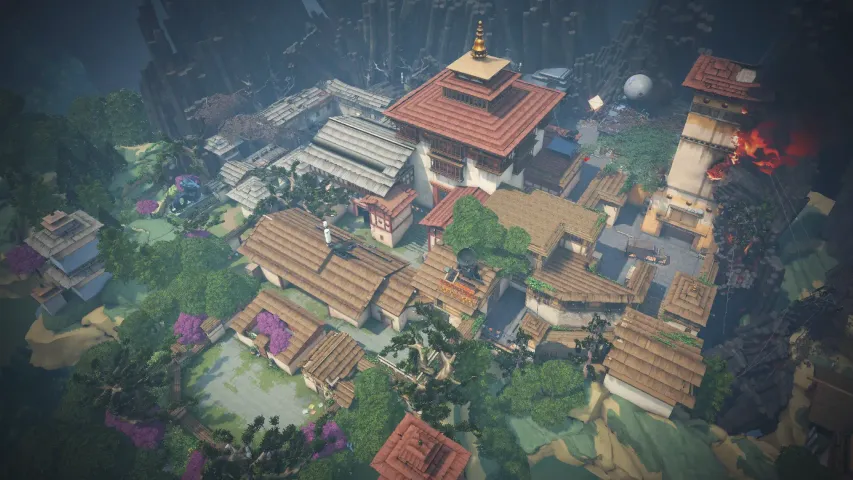
We continue to inform our readers about the best spots on all Valorant maps for both sides. The Haven map itself is considered better for the attack side due to the three Spike planting sites, which give the attacking team more rotation options and almost guarantee a round win when they have a numerical advantage. We discussed the best positions for the defense side in our previous article, so today we will reveal the best spots for the attack side on the Haven map.
Point A
1

The first spot for the attack side is right at the entrance to the Spike planting site. While not new or unusual, not all players fully utilize its potential. From this position, you can effectively control the window and part of the plant itself. Once the Spike is planted, it is crucial to place it in front of the green boxes and return to this position, fully hiding in the corner. This allows you to secretly monitor the Spike, and as soon as you hear the sound of its defusal, you can disrupt the enemies' attempt.
2

Another enclosed position allows you to monitor the planted Spike, but it must also be placed correctly. This spot's feature is that you are completely hidden from the window, which is favored by the defense side. Also, this position can be used to encounter enemies rotating from other points. However, its major downside is its simplicity, and all players know about it, so your angle will likely always be checked. We recommend not staying in place until the last moment, and if you hear enemy footsteps, be the first to engage and start shooting. Notably, if you play agents like Omen, Jett, or Raze, you have the opportunity to jump onto the box to the left, making you a surprise for the enemy players.
3

The last spot at point A does not allow you to fully control the Spike but instead, you will be focused on important entries to the location itself. This position is also universal, and with certain skills, it allows you and a teammate to hold the point. For this, your partner needs to take the window, monitoring the passage from long and the entire platform, while you cover the other two entries.
Point B
1

Despite its size, all plants on the Haven map are small, especially point B, where advantageous positions are very few. The first of them is located at mid before entering the plant itself. While at first glance this place is completely open and very risky, it is incredibly useful in many situations. Initially, it can be used when your team is just entering point B to exchange fire with enemies from cover. Besides, it provides a lot of information, and if your team cannot enter the plant, you can quickly rotate to point C. Lastly, you can plant the Spike right after entering and return to this position to control it from a safe distance.2

The second point at plant B is quite ordinary, and all players know about it, but that does not make it less effective. Being here, you can control all three entries, but this is also the main problem. It is impossible to hold this place alone because if enemies enter simultaneously from two or three directions, you will most likely be killed. However, if your teammates also monitor other passages, the chance to win the round with the Spike planted significantly increases.
3

The last spot is not as multifunctional as the previous one, but from there you can partially monitor plant C. The main problem with this position is that you are fully exposed to enemies entering through the doors from the central part of the map. Besides, the small section of the wall behind which you will be hiding is penetrable by most types of weapons. Therefore, occupying this position is risky, but if there is information about the enemies or your ally is nearby the doors, it is quite safe and effective.

Point C
1

The first spot for the attack side at point C is located in a small room behind the doors in the central part of the map. From this position, you can monitor part of the C platform and the window that leads you to the previous point. The main problem with this spot is that at any moment, several players from the defense side can emerge from the window. In cases where there is no information about the enemy, you can move to the window yourself and end up at the point we wrote about above, from which you can perform a rotation and partially control two plants, B and C.
2

We have already described the second spot in our material dedicated to the best spots for the defense side. Then we did not recommend using it, but the situation is different when playing for the attack side. From this position, you can control two important entries from mid and the spawn point while being relatively safe. When playing for defense, you can be easily cut off from allies and killed with abilities, but when playing for the attack, enemies are less likely to advance from long because such a rotation is much longer. Thus, the defense side is left with only two entries, both of which you can control.
3

The last position at point C for the attack side is also well known, but usually used just to enter the plant. However, do not forget that from this spot you can perfectly control the Spike if it is planted within your field of view. Besides, the point is relatively safe from enemies due to its distance and only one passage through which you can be bypassed. If you have one of the sniper rifles available, you can retreat even further back, and thus you will definitely be protected from enemies while still being able to control the Spike.

Finally, we will tell you about a rather unusual position, which is humorous and most likely will not bring any benefit. At the defense side's spawn, there are many interior elements, among which is a metal beam. Few players know that, unlike other objects at this location, it is not protected by an invisible wall. Thus, you can climb on it, which will allow you to be above ground level. Although you will also be clearly visible, players usually do not expect anyone to be there, so it might be a good spot to stop the enemy's rotation.
Conclusion
After reading this material, you have learned about the best positions and spots on the Haven map for the attack side. Note that the material reflects the subjective opinion of the author, and there are many various points on the map, but we have told you about the most interesting ones. Continue to follow our material to learn about the best spots on other maps in Valorant.
Comments
Upcoming Top Matches
Latest top articles


No comments yet! Be the first one to react