

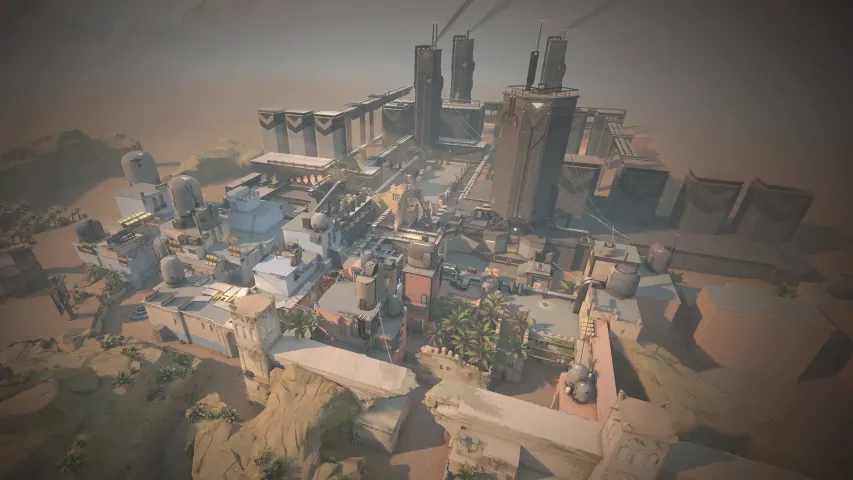
Each of the 10 maps available in Valorant features a unique terrain and a multitude of diverse game interface elements. There are numerous crates, doors, windows, and various corners where you can take a advantageous position. However, understanding all the nuances of the locations can be difficult even for experienced players, not to mention newcomers who are just starting their journey in the game. Therefore, today, the Bo3 editorial team has prepared material for our readers about the best places on the Bind map for the defense side, so our readers learn which positions to occupy and how best to hold the defense at both points.
Spike planting point A
Let's start with the best places for the defense side, starting with point A of the Spike plant. Due to the number of passages and thanks to a portal, it is more challenging to defend than point B.
1

One of the best places on the location is right at the exit from the spawn point for the defense side. After ascending a small elevation, the player finds themselves in a passage from which the entire point A is visible. The feature of this spot is that it offers an excellent view of both passages from which the enemies enter the plant. Thus, you can control the advancement of opponents while staying safe. Note that the distance to the enemies from this point will be quite large, so effectively shooting in spray will hardly work. We recommend using high-damage weapons, such as Operator, Guardian, Outlaw, Vandal, to kill an enemy with a single accurate shot and then switch to another passage.
2

The next position is located just below the previous one but is used quite differently. You can wait for enemies at this enclosed point if your team is outnumbered and has already lost control of the passages, and enemies start to fill the A plant. If this happens, it's worth waiting for some time at this position from which you can control half of the location, as well as the enclosed passage, and then act according to the situation. Next, you can unexpectedly emerge to the side of the enemies and kill several of them, or try to defuse the Spike. This position is at close range to the enemies, so when playing on it, it's advisable to use automatic weapons, like Vandal, Phantom, or shotguns.
3

Another position that allows playing both closed and open is located in a small passage, right next to the portal. Thanks to it, you can fully control the passage from the central part of the map, as well as partially the west side of A. Its feature is that it gives the player many options for rotation and retreat. Under enemy pressure, you can retreat back and move to the first spot on our list, or make an effective rotation and move to point B. Additionally, through the portal, you can almost instantly find yourself in the central part of the map and surprise the enemies. This spot is also universal in terms of weapon choice. You can use Operator, or any other sniper rifle to hold the passage from mid. Rifles for the same purpose, or for close combat, and shotguns in case you do not plan to retreat from the point and stand in the passage waiting for the enemy.
4-5

The last two positions in our list are quite unusual in that only a few agents can use them. The first is located on boxes right at the entrance to point A. From there, you can fully control both the nearby west entrance and partially monitor the passage from the central part of the map.

The second place is also on the boxes, but in this case, you will be back to the first passage and can only control the central part. Considering this, you definitely need allies who will control the first passage and provide information about the enemies so that you do not get unexpectedly killed from behind. The feature of both these spots is that only a few agents can get on them. Since there is no boosting in Valorant, only Jett, Omen, Raze, and Sage can occupy and control these points. However, we specifically note that agents like Killjoy can place their ability Turret on the boxes, which will partially provide necessary information and inflict damage on the enemies.
Spike planting point B
As mentioned earlier, point B is simpler in terms of defense, but despite this, there are several interesting spots from which meeting the enemy is much easier and more effective.
1

The first one, located immediately after exiting the spawn point, allows you to completely control the window through which enemies can enter the B plant. Note that although the place is quite enclosed, it has a side passage that we will discuss below, so it cannot be considered entirely safe. While on this position, players are suited to using regular or sniper rifles, as well as machine guns Ares and Odin, to shoot enemies from a great distance, not giving them a chance to get to the very point.
2

The next spot is an extension of the first one, and both define each other's weaknesses. Being at the last spot, you can control both passages, but there will always be a chance that the enemies will perform a rotation and come out behind you. As in the case with the first spot on the B plant, you need information from allies who will cover your back, or their death will indicate that it becomes dangerous to stay at the position. When playing on this spot, regular rifles are best suited because although using Operator, Outlaw, and Marshal will allow you to control the window, they will be ineffective in a clash with enemies coming from the portal side.
3

A rather risky position that will allow you to play more aggressively, but it has several disadvantages. Although the room where the window is located gives you the opportunity to position yourself in four different spots, the main problem lies in its size. Most of these positions enemies can check without even entering the room itself, and others can be easily outplayed using blinding abilities and skills that deal area damage. Despite this, the positions in the room are quite strong, so with a certain amount of luck and personal skill, you can completely break the enemy's attack at the beginning. When staying in the tight room, it is advisable to use rapid-fire weapons, like Phantom, Vandal, and an excellent choice would be the automatic shotgun Judge.
4

As with point A, there is also a spot on point B that only a few agents can reach. It is located on the annex, right at the entrance to the location itself. The spot is very convenient because from there, you can control both passages, but if you go as far right as possible, you will not be visible from the window. A similar situation applies to the agents who can get to this position. Among them are Jett, Omen, Raze, and Sage, as well as the Turret of agent Killjoy.
5

The last spot on our list will allow you to control a section of the map better known as long. Being at this point, you have the opportunity to defend it on your own, all due to the characteristic of the narrow long corridor, moving through which, the enemies will have nowhere to hide. Besides, you can always effectively carry out a rotation, thanks to the portal located to your right. It leads the player right at the entrance to point A, allowing you to come out behind the enemies who themselves have performed a rotation. The most effective weapons at this spot will be all sniper rifles, as well as not the most popular weapon Guardian, which will prove itself quite effective on this stretch of the map.

Conclusion
After reading our material, you learned the best places on the Bind map when playing on the defense side. Note that there are still a large number of places on both points where you can meet the enemy, but in our list, we told about the best of them. Using them, you will have the greatest chance of effectively meeting the enemy and the least risk of unexpectedly dying. Continue to follow our portal to learn about the best places on Bind for the attacking side, as well as about other maps in Valorant.


No comments yet! Be the first one to react