
BEST VIP CLUB!

BEST VIP CLUB!
200% Bonus
Bet NowBet Now
18+ Only, T&Cs apply, Gamble Responsibly

Chapter 20 "Resurrection" in DOOM: The Dark Ages is filled with various secrets and collectibles. However, as is often the case, players might miss some of these not only due to oversight but also because of the game's level design, which is crafted to conceal most collectibles. If you find yourself struggling to locate the last collectible in DOOM: The Dark Ages in this chapter, we're here to help you find it.
The last collectible on any DOOM level depends on what you've already found and what you haven't, so it's individual for each player. However, most often, when talking about the "Resurrection" level in DOOM: The Dark Ages, it refers to one of the codex entries that is very easy to miss.
How to Find the Last Entry Codex in Resurrection in DOOM: The Dark Ages
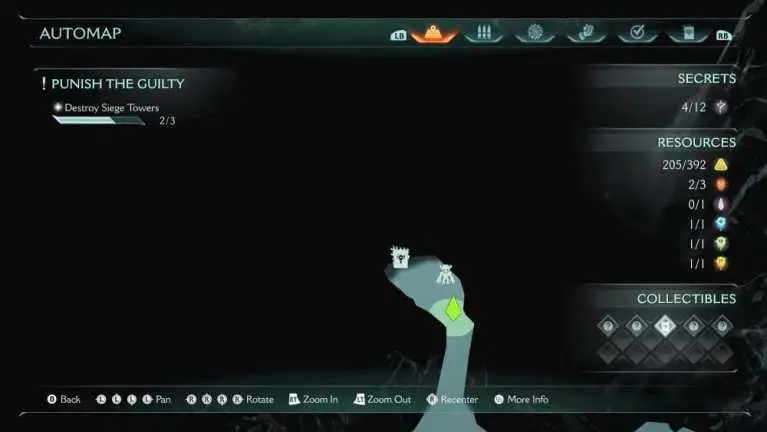
After you destroy all three siege towers and clear the last wave of Ahrzak's forces, a dragon will land to pick you up. However, if you aim to complete the level 100%, don't rush. Most players assume they've collected all possible items in this area by the time they board the dragon. In reality, they haven't.
Upon arriving at Bishop Kreed's giant airship, don't hurry inside as the game suggests. Instead, once you dismount the dragon, turn around and walk back past the landing point.
At the very end of the ship, there's a hidden nook not shown on the map. That's where the last Codex Entry, Commander Valen's journal, is located, which is the final collectible and the last secret of this level.


If you're still unsure whether you've collected everything and what you might have missed, it's worth reviewing the complete list of collectibles for this chapter. Some of them appear only after meeting certain conditions, so explore the map thoroughly and clear it completely.
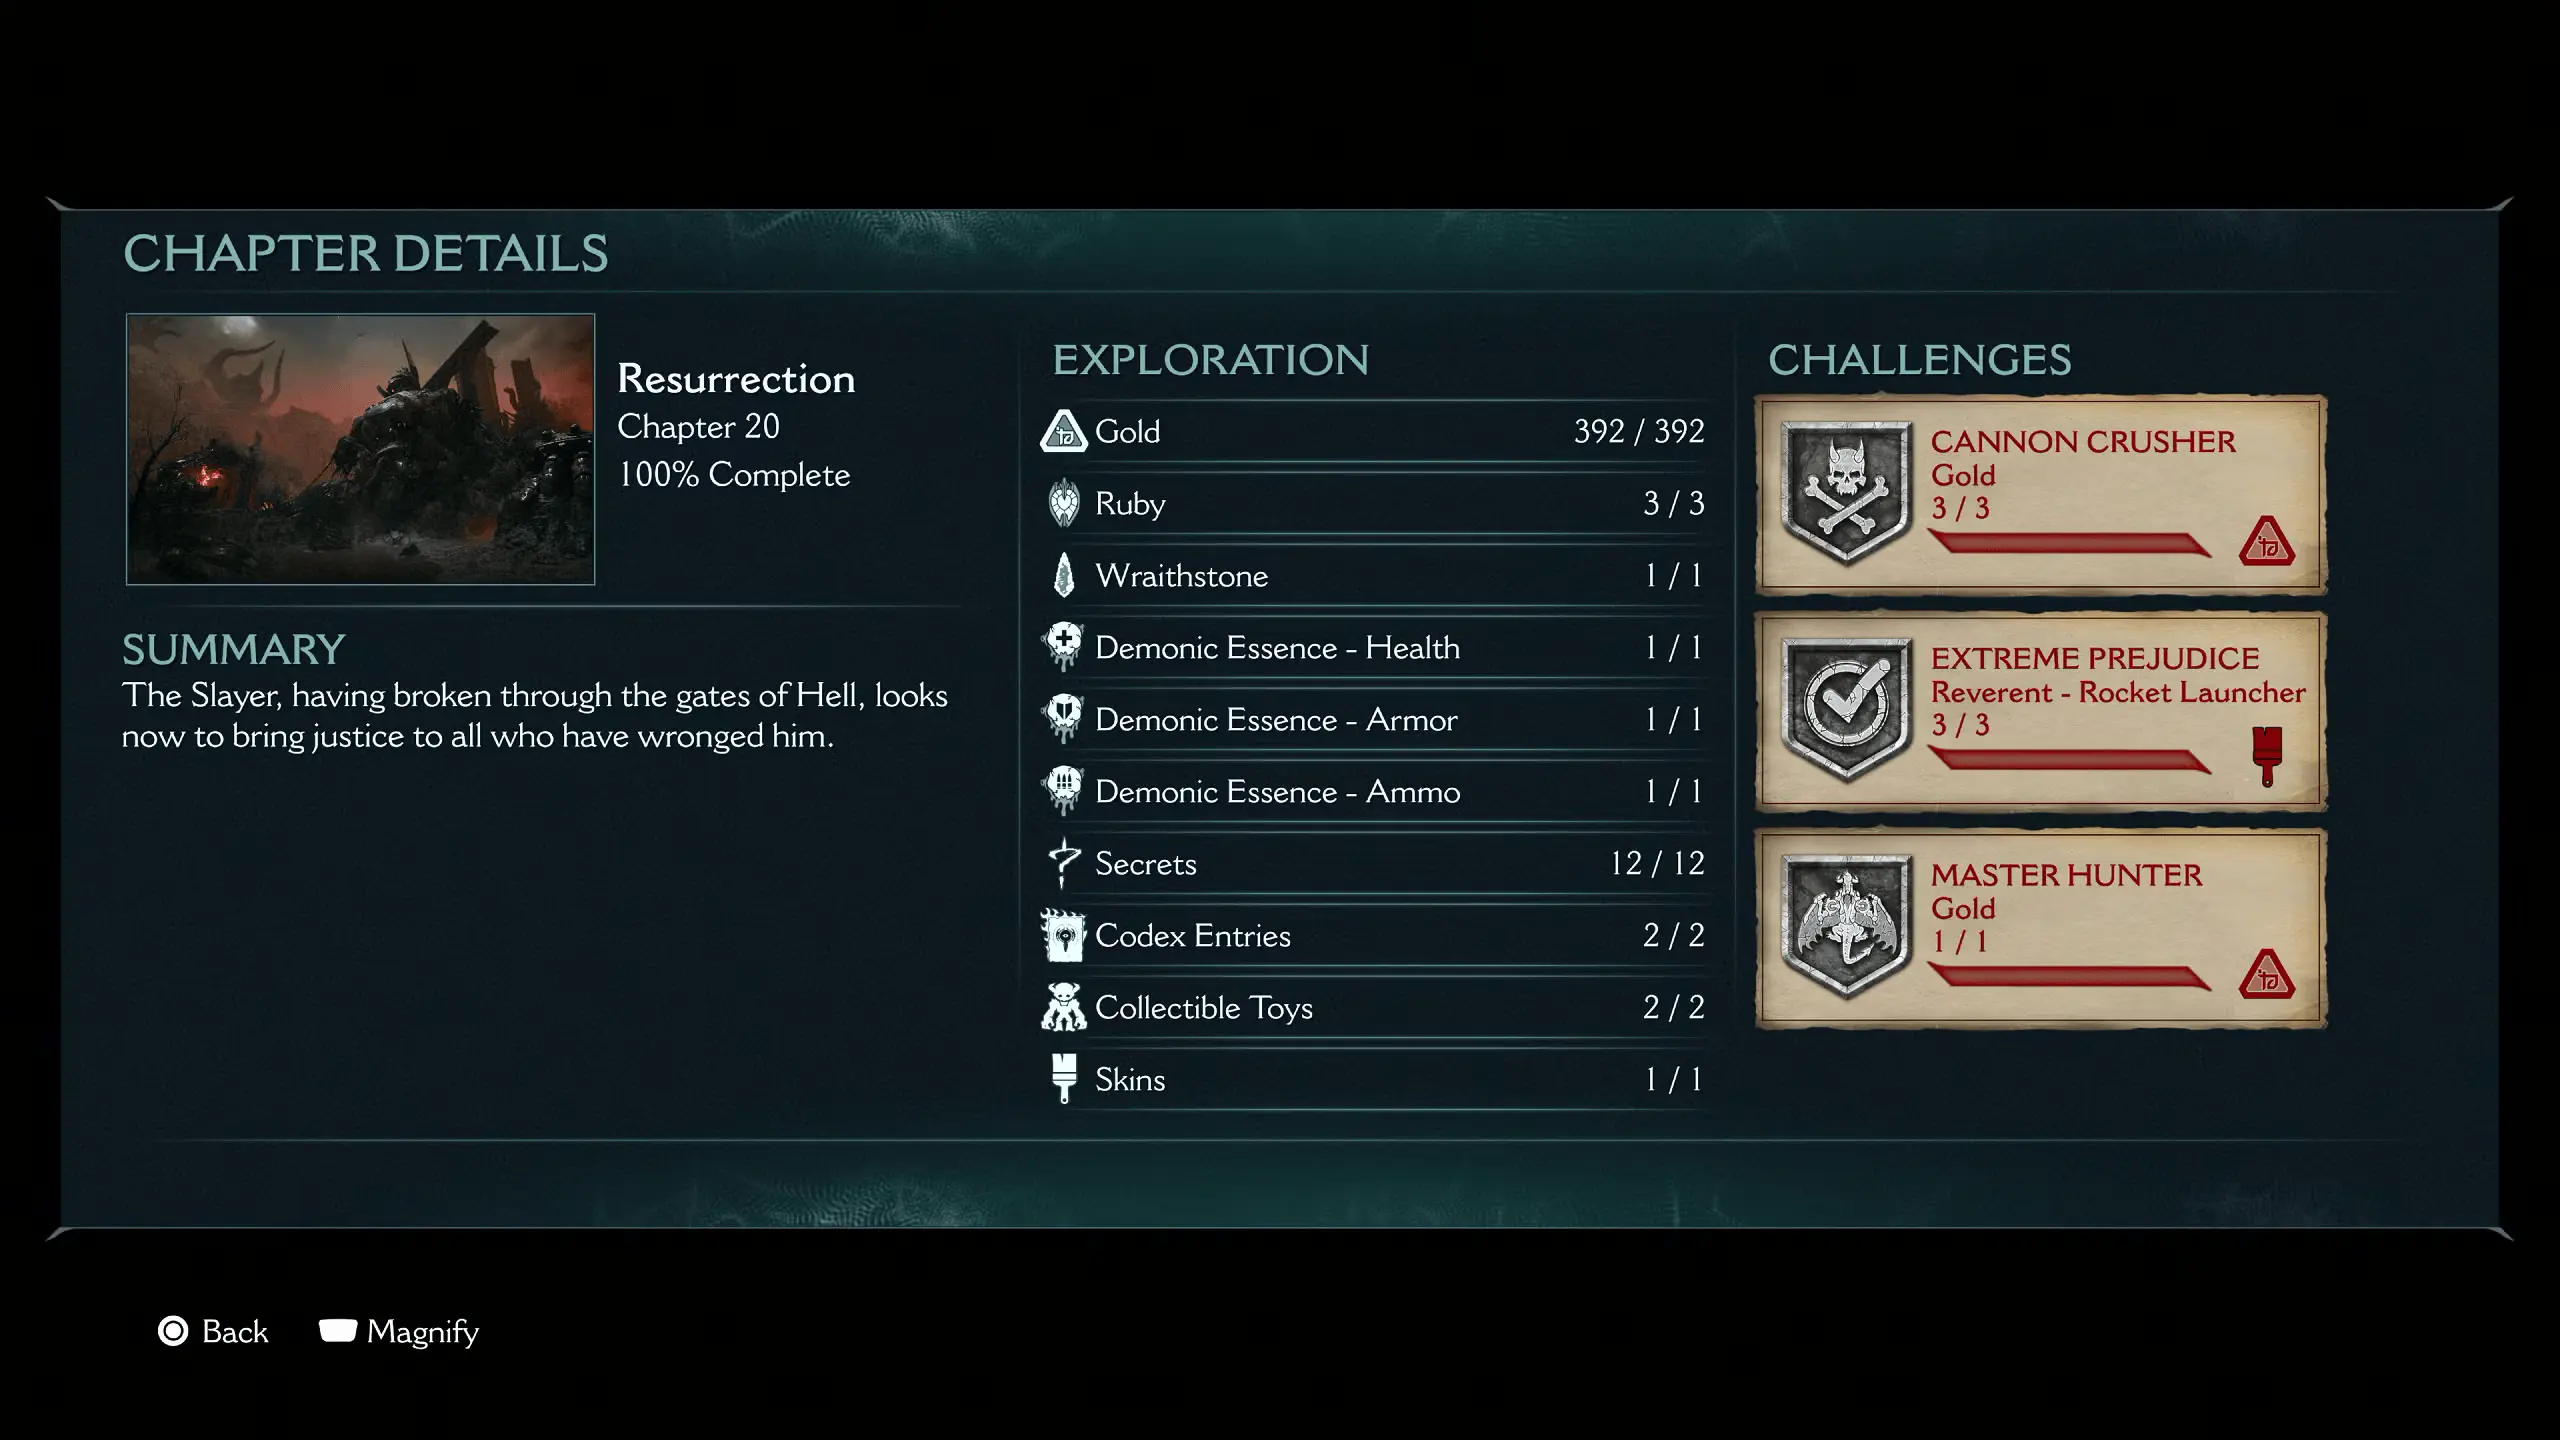
Complete List of Collectibles in Chapter 20 of DOOM: The Dark Ages (Resurrection Level)
Collectible | Quantity |
Gold | 392 |
Rubies | 3 |
Toys | 2 |
Codex Entries | 2 |
Secrets | 12 |
Wraithstone | 1 |
Demonic Essence — Health | 1 |
Demonic Essence — Armor | 1 |
Demonic Essence — Ammo | 1 |
Demonic Essence — Health
This item is impossible to miss. During a battle with one of the enemy leaders, you'll obtain the health essence, which increases your hero's maximum HP.
Ruby #1
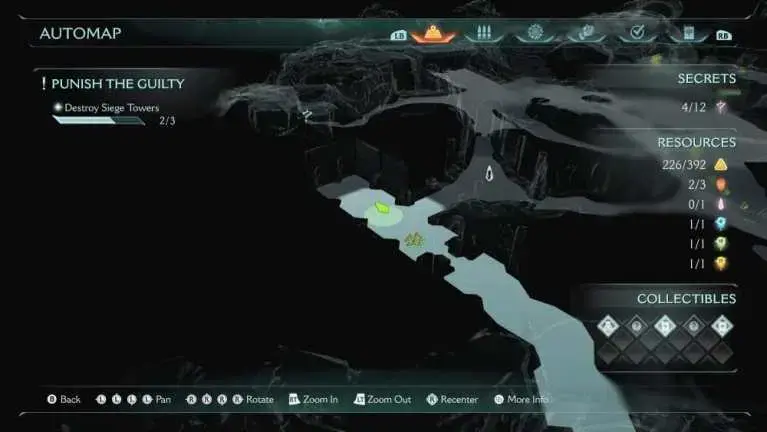
After the first battle, head left to the marked task. Climb a small hill and turn right as soon as possible. In the center of the location, there will be a nest — smash it with a shield dash. This will trigger a new battle. After defeating the enemies, the ruby will unlock. It will appear at the top of the hill — just climb up and take it.
Demonic Essence — Ammo
Continue moving left and clear the enemy tower. After defeating its leader, you'll receive an ammo upgrade. This is another item you get during the main playthrough.
Yellow Key
After the battle with the enemy tower, head to the back left part of the location. There will be a path with golden decorations. Follow it to the end — and you'll find the yellow key.
Collectible Toy #1 – Cosmic Baron
After picking up the yellow key, descend right in front of where you got it. To the right, you'll see now-open gates. Enter and grab the Cosmic Baron toy.
Codex – Resurrection
This entry is located in the same cave as the first toy. Just turn around inside — it will be visible on the wall or pedestal.
Weapon Skin
Return to the area of the second tower. At the entrance, turn right and break the wall. Move forward and turn right twice more. You'll see a wall that can be climbed. Climb up — and you'll find a chest behind now-open yellow gates. Next to them is a hole you can fall into to reach the skin. There will also be some gold, and the skin itself is to the left.

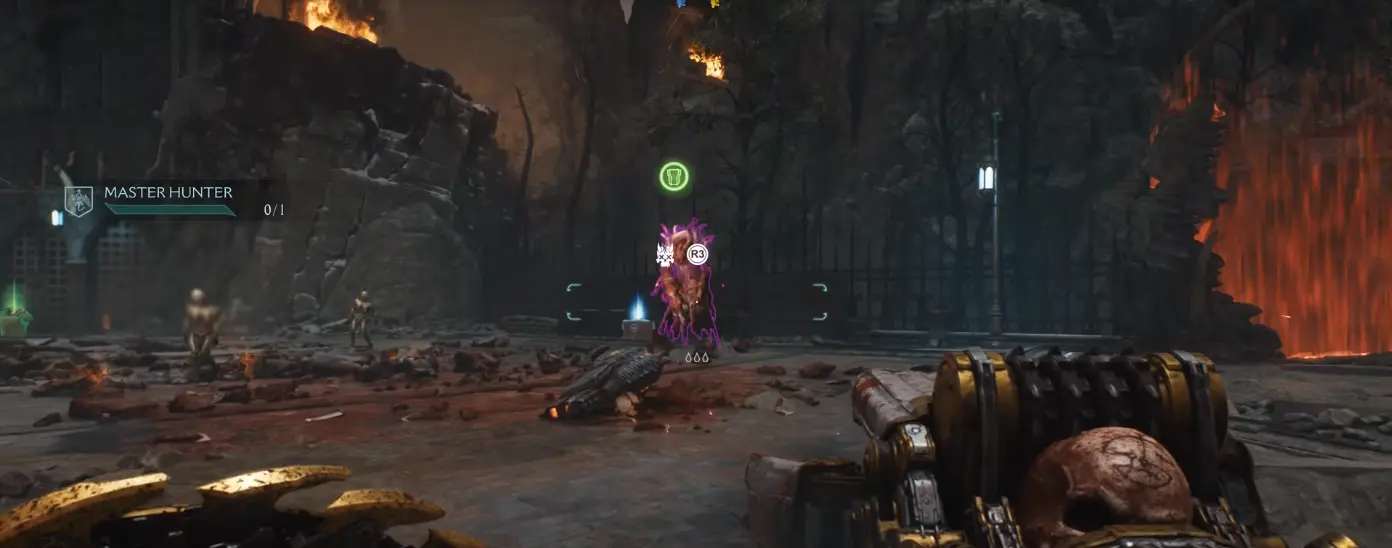
Wraithstone
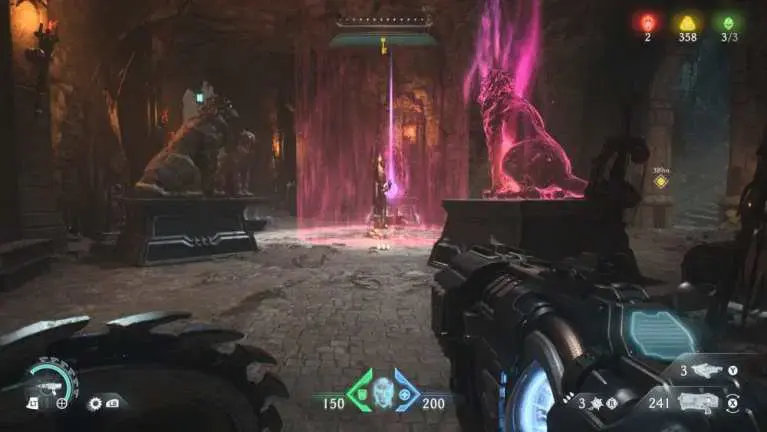
Once again, return to the second tower. Now head to the upper right part of the zone. Climb up the wall and follow the golden trail into the ruins. Use the saw-shield on the chain to open the gate. Inside to the right is a puzzle with the Wraithstone — you need to destroy four wolf statues.
Wolf Statue #1
You've likely already seen it on your way here. Head back and look at the area where the cultists were. The statue stands at the very end of the room.
Wolf Statue #2
Exit the room with the Wraithstone through the left passage. Then turn left again — towards the artillery cannon. The statue will be behind the structure on the left.

Wolf Statue #3
Turn around from the previous statue and run straight. The third statue will be on the left — it's easy to spot after a short sprint.
Wolf Statue #4
Descend from the position of the third statue and turn left. At the end of the path, turn left again — into a narrow tunnel. Inside will be the last statue. After destroying it, the Wraithstone will unlock. However, it's worth collecting one more item first.
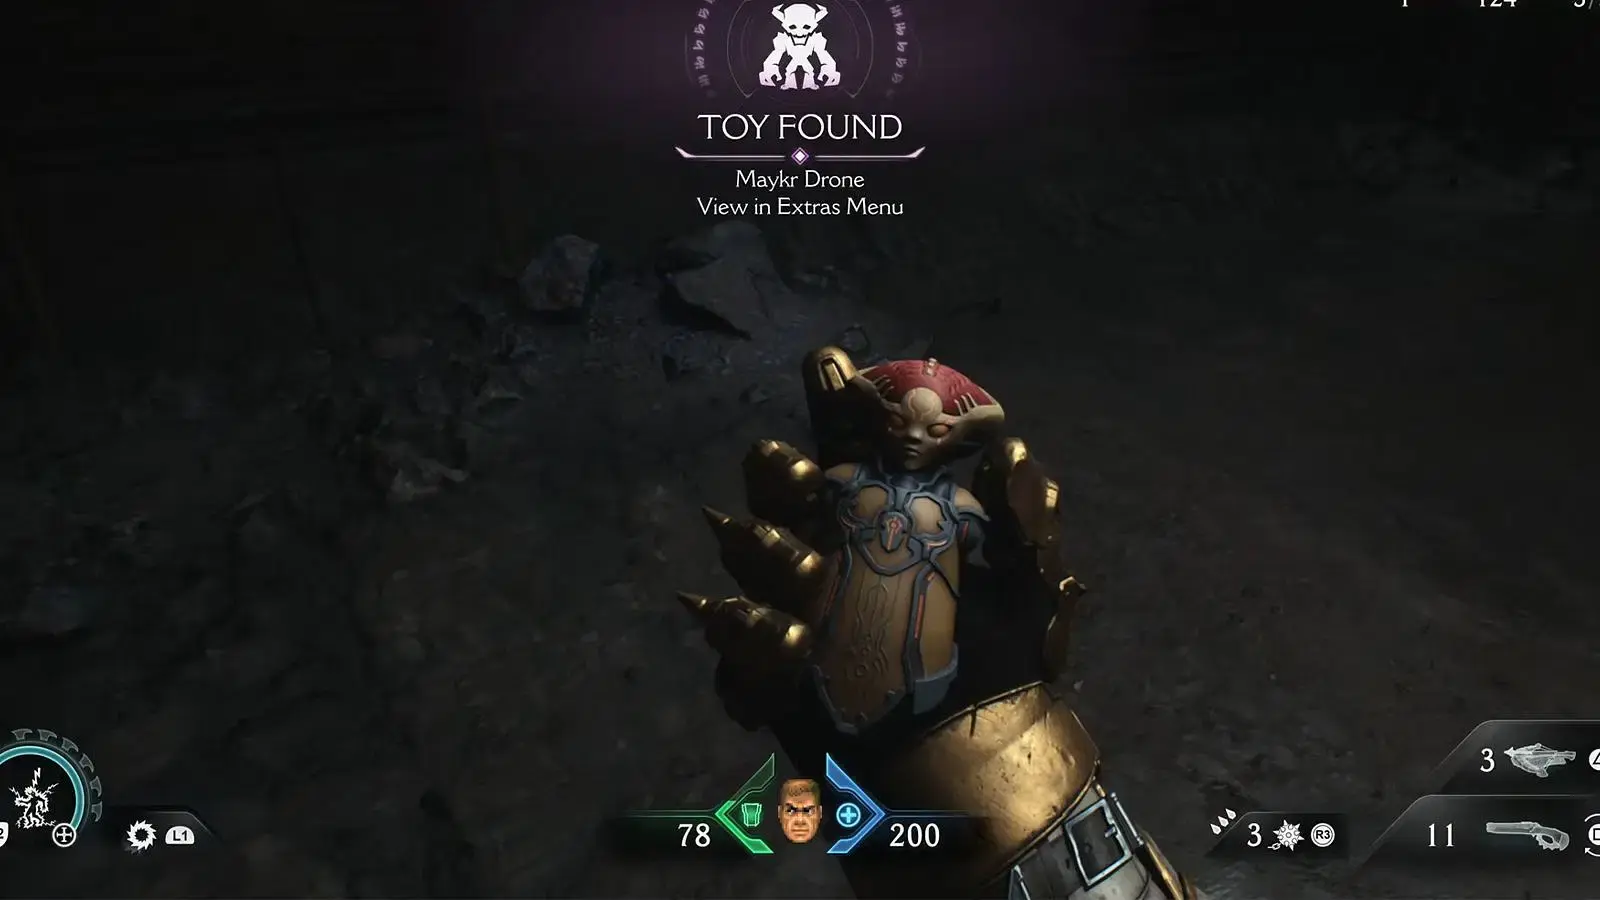
Collectible Toy #2 – Maykr Drone
After destroying the last statue, exit the tunnel and head straight into the open space. On the right, you'll find a lever that opens a grate in the floor. Jump down into the new area. Climb the wall — ahead is a spot where you can throw a shield to activate a mechanism. Crawl under the partially opened gates, turn right — and you'll find the Maykr Drone waiting for you.
Blue Key
Head to the third tower. To its left is another cannon and several enemies. Destroy them and proceed deeper into the zone, to the dungeon. Saw through the tentacles in front of you and dive into the water. Find the valve that opens the gate above.
Return to the surface and use the saw-shield on the new mechanism. Dive again and swim under the raised gates. In the new area, look back and slightly to the left — there's a wall that can be broken. Go further and open another valve to raise the water level. After this, reach the chamber with the blue key.
Ruby #2
With the blue key, head back to the main area. Move straight to the blue gates. Inside, you'll find the second ruby.
Demonic Essence – Armor
Head to the third tower and destroy all waves of enemies. After defeating the leader, you'll receive the last upgrade — this time, it enhances armor. Like the previous ones, this is an automatic reward.
Ruby #3
After the battle ends, a dragon will appear. But don't board it immediately. Instead, turn left and follow the path. On the right, you'll see gates with a blue lock. Open them and enter. After a short battle, you'll receive the third ruby.
Codex – Commander Valen
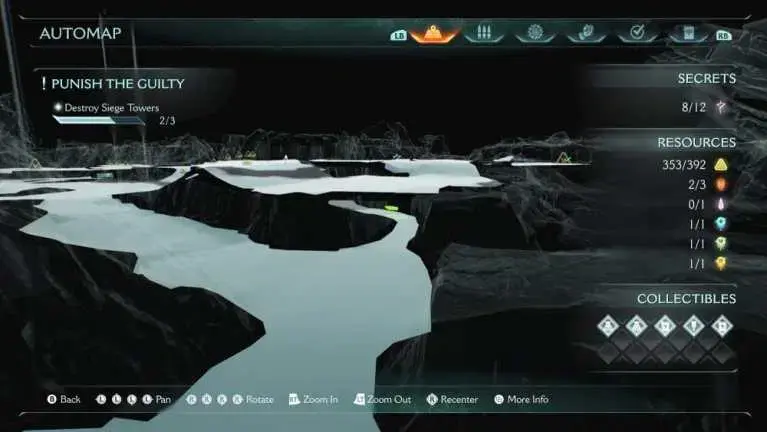
After flying on the dragon, you'll land in a new area. Immediately turn around: the codex entry will be at the edge of the platform. This is the last collectible in Chapter 20 of DOOM: The Dark Ages.


Comments1