

Did you know that 70% of the skins added to Counter-Strike were created by regular enthusiasts who wanted to create their own skin for the game? Have you ever thought about creating your own personal skin in Counter-Strike 2?
It might seem like this activity is only accessible to the most advanced PC users, but that's not the case at all. Essentially, anyone can design their own sketch and add a skin to the Steam Workshop. Now, we'll tell you how to create your own personal skin in Counter-Strike 2.
What are skins used for in Counter-Strike 2?
In CS2, skins are merely a way to customize the appearance of your weapons or characters in the game. They don't affect gameplay in any way. For example, if you have a $1,000 skin for the AK-47 in your hands, you'll still deal 37 damage to a player's body, just like with the default AK-47. So essentially, when you buy skins for yourself, you're just adding additional pixels to your screen.
Of course, we're not considering cases where players use skins to make money; rather, it's purely for visual enjoyment.
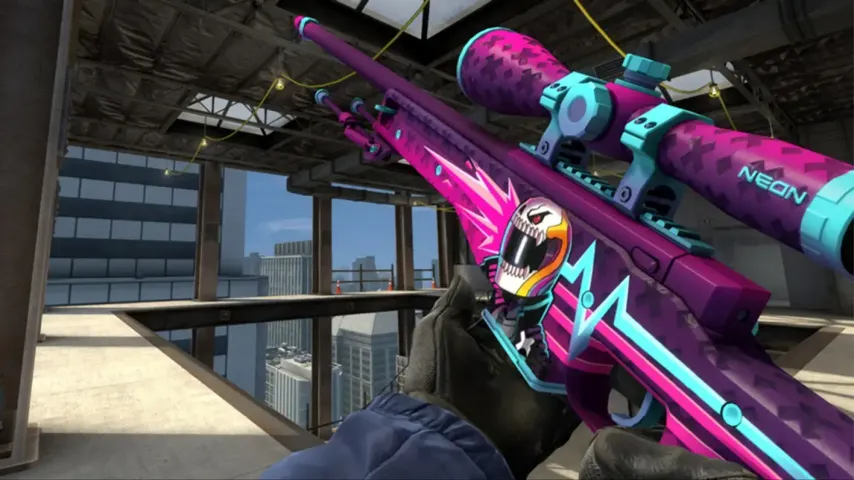
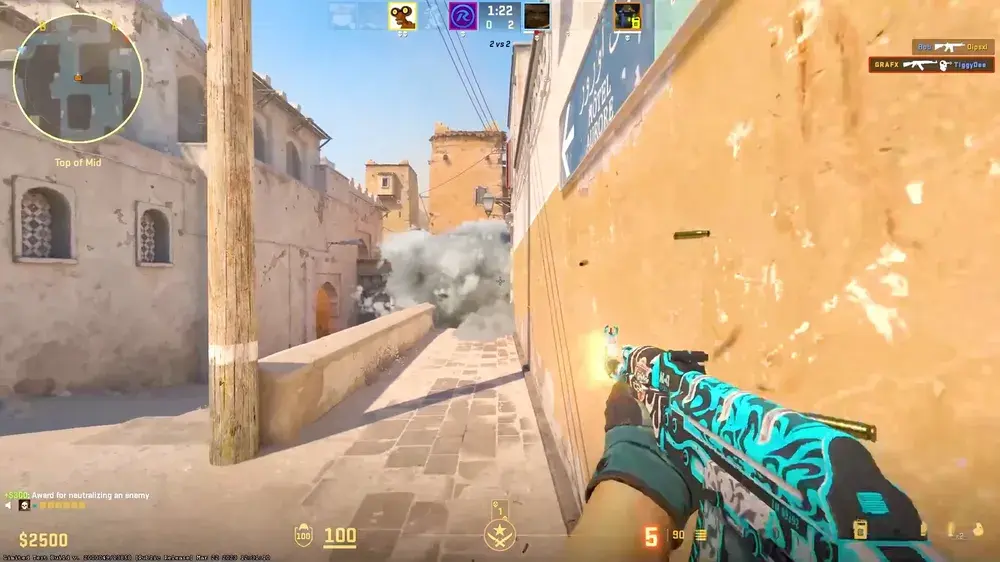
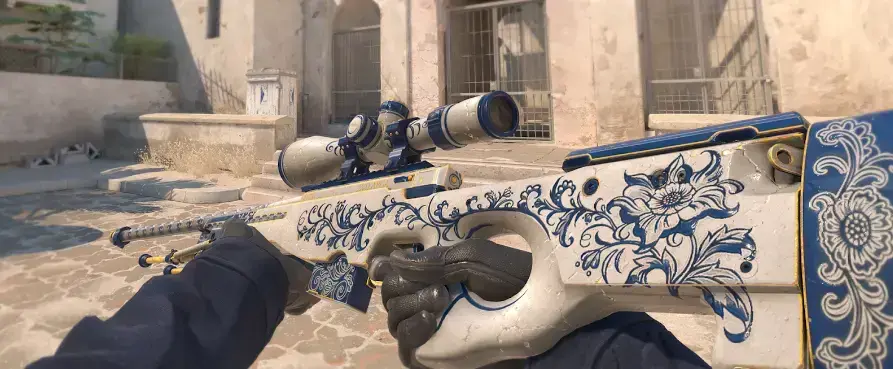
Creating CS2 skins is all about personalizing the visual aspect of the game. For weapons, this means applying unique designs to models like the AK-47 or AWP, ranging from minimalist black-and-white patterns to intricate, vibrant illustrations.
These skins can be simple to create or require advanced graphic skills to make detailed and expressive designs.
On the other hand, character skins in CS2 allow players to change the appearance of their characters, choosing between realistic military gear and more unusual outfits, such as cyberpunk-style costumes or traditional national clothing. This allows each player to express their individuality and style in the gaming world.
And most importantly, if Valve selects your skin for the next case collection, you can earn up to $100,000 for each skin. Values may vary from case to case, but this is the average amount developers receive for their skins.
Where can you find inspiration for creating skins in Counter-Strike?
When searching for inspiration to create CS2 skins, don't limit yourself to just the game context. Innovative ideas can come when you explore external sources: from other gaming worlds to cult films, from world art to real-life events. Such a broad perspective can open up new horizons for ideas, turning them into unique designs for the game.
Skin design is a synthesis of various influences and styles. Drawing inspiration from diverse cultures, historical periods, and pop culture, you can create designs that are not only unique and attractive but also stand out among the numerous CS2 settings, resonating with players.

What applications are needed to create skins?
Creating CS2 skins starts with selecting the right set of tools. For creating textures, it's preferable to use graphic editing programs like Adobe Photoshop or GIMP. And for working on character elements, having 3D modelling tools in your arsenal, such as Blender, is important.
For those who are just starting with skin design or seeking simpler solutions, there are specialized tools like Skin Designer Pro and CS2 Skin Creator. They provide ready-made templates and offer a more intuitive design process.
How are skins created in practice?
After a bit of theory, let's move on to the practical aspect of creating skins for Counter-Strike 2. Well, let's get started.
Go to your Steam library, select CS2, click on the gear icon, and then choose Properties and Additional Content. Check the boxes next to CS2 and CS2 WorkShop Tools.
After installing CS2 WorkShop Tools, go to the properties of CS2, general settings, and in launch options, select CS2 WorkShop Tools.
Next, open CS2 through the library (this is critical because direct game launch won't provide access to the tools we need).
Select the option: "Launch Workshop tools for items." The game will then appear in a separate window, and simultaneously, a window with the development and modification tools for skins will open.
We are in the left folder "Custom Paint Shop" and see the file cu_paintkit_example. Open the standard (approximated) AWP model with the applied skin. Click on "Inspect" in the top right corner where the weapon is depicted. This opens the in-game preview of the skin.
Let's try to change the skin for this AWP (the image can be anything). To do this, you'll need an image in TGA format.
You can take any image and convert it to TGA format using an online converter to avoid the need for additional programs.
Save the image in PNG format. Then convert the PNG to TGA in your browser, and you'll have your image in TGA format. After that, right-click on the square, align the textures, and go to the attachment, where it is located:
At this stage, we insert our TGA image into the form, for example, named "Cats.tga."
Then change the path for "items/assets/paintkits/workshop/example_custom_paint.tga" to "items/assets/paintkits/workshop/cats.tga."
After that, most of the work is already done; you just need to adjust the image slightly. Next, adjust the quality and size of the image using the "Texture Scale" slider. For the images we used, I set the value to 2.26. You can experiment with this value, decreasing or increasing it to see how it affects the result.
Let's check our skin in the game by clicking "Preview."
As a result, a server will be created where you can view your skin.
That's it; you've successfully created your first skin in Counter-Strike. However, right now, your skin is only on your computer, and we want Valve to notice it and add it to a future case. To do this, we need to add the skin to the Steam Workshop.
How to Upload a Skin to the Steam Workshop?
After creating your skin, click on "Publish," and it will open the control menu for your workshop. Then click on the "+" sign, which is located under the "File" tab. We set the title of our work, description, screenshot, and visibility.
Click "Submit" and wait for your work to be moderated.
Note: If you are uploading something to the workshop for the first time, you may need to securely upload it via email and accept the Steam Agreement.

Taking Community Criticism Properly
Constructive feedback is the foundation for growth. Interact actively with the CS2 design communities, and seek ideas that can further improve your designs.
Participating in discussions, sharing your drafts, and being open to criticism paves the way for continuous improvement, ensuring the freshness and appeal of your designs.
Legal and Ethical Aspects: Proceed with Caution
When creating skins for CS2, it's a passionate endeavour, but it's important to move forward with an understanding of legal and ethical aspects.
Dive into the world of copyright and ensure that you use either original content or have the correct licenses for elements you borrow. This approach ensures the ethical nature of your designs and compliance with the law.
For those dreaming of entrepreneurial success, there is an opportunity to earn from the skins you create. Immerse yourself in the world of skin markets, understand pricing, and delve into marketing. Properly applied strategies can turn your passion for design into a profitable business.

Conclusion
This guide has introduced you to the exciting world of skin design in CS2. Remember that creativity knows no bounds. Embrace innovation, seek feedback, and above all, enjoy the process. The CS2 community eagerly awaits your unique contributions.
Good luck in your endeavours!


No comments yet! Be the first one to react