

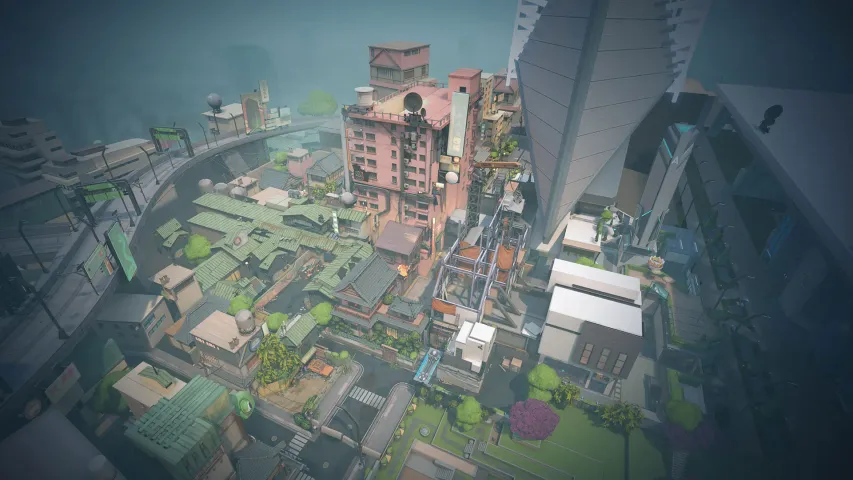
We continue to analyze the best positions on various maps in Valorant. Recently, we discussed playing on the defence side on the Split map, so today it's time to explore the best spots for the attack. Before we start, let's note that there are many diverse positions at each plant site, but we have selected the best ones that, in our editorial opinion, are the most effective and beneficial. So below, we will talk about the best places for the attack side on the Split map in Valorant.
Point A
1
The first spot at Point A is located right by the plant itself, in a fairly protected corner. From this enclosed position, you can monitor the planted Spike if it is within your field of view, as well as watch all possible approaches to the plant. Besides the three shown directions, you have the opportunity to partially track enemies advancing from the central part of the map, although the view of the latter will be somewhat limited. Weapon recommendations for this position are quite obvious; all directions are at a medium distance, so it's best to choose a weapon that works effectively at such a distance.
2

The next spot is located at the plant itself, but it is not as safe as the previous one. From this position, you have no chance to retreat, and the only place to hide is a small rectangular column. However, the positive aspect of this location is that you can watch three passages and the exit from the opponent team's spawn point. A blue arrow indicates the direction from which enemies may emerge, and as soon as they ascend the small stairs, they can be spotted from such a remote location. However, the difficulty lies in the distance, so it's better to use an Operator, which is not very effective in close combat and is also expensive.
3

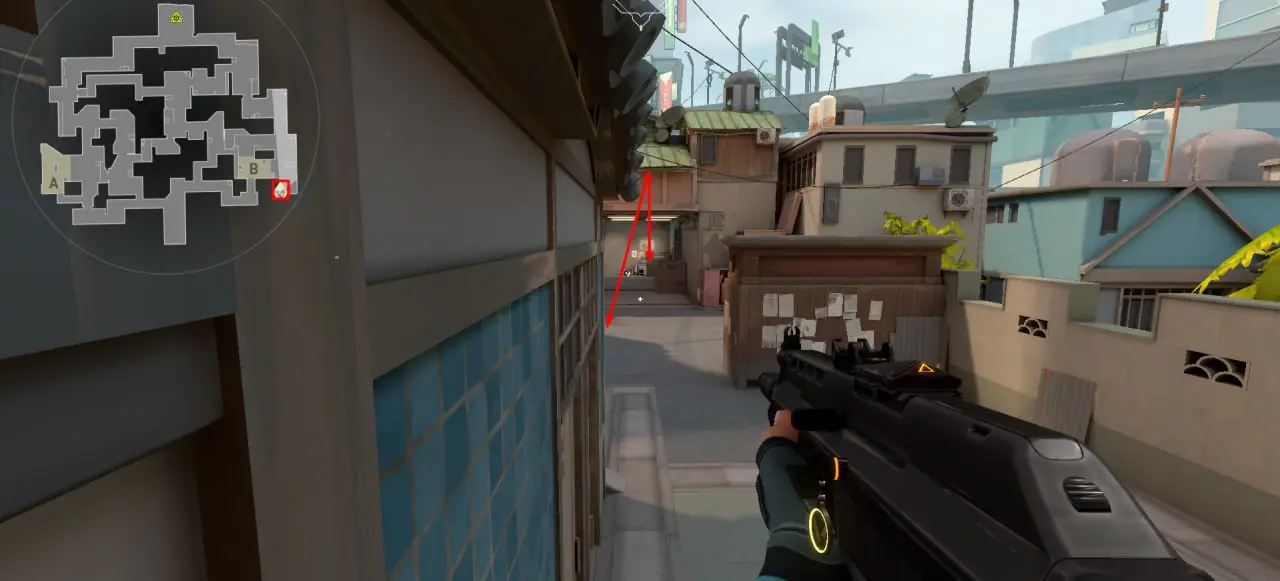
The next spot has already been mentioned in our material when playing on the defence side, but it is no less useful when playing on the attack. Although from this position, you can only control two passages, it allows you to effectively meet enemies. If your team has taken Point A and planted the Spike, enemies will most likely be conducting a rotation, and some of them will be moving towards you. In this way, you can be the first to meet and kill the enemies, and if that doesn't work out, you can still win a few crucial seconds, which may not be enough for the opponents to defuse the Spike.
4

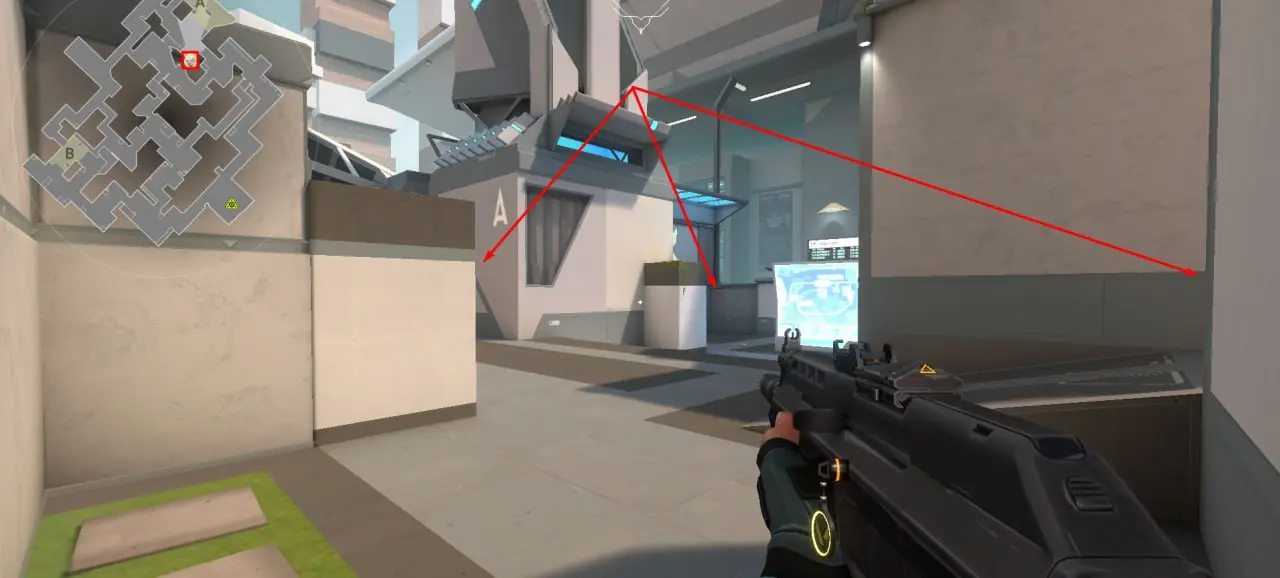
To control the passages from the central part of the map, there are not many positions at Point A, and this is one of them. While being on it, you can not only watch the underground corridor but also simultaneously keep an eye on the other two passages to the platform. Note that for a more enclosed game, you can move to the position marked with a blue arrow, but in that case, you will be more vulnerable to enemies emerging from their spawn point.
5

The last position at Point A is optional, as only a few agents can use it. These include Omen, Jett, Raze, and also Sage, who can get up here with the help of her wall. The peculiarity of this spot lies primarily in its unexpectedness, so enemies may simply not look at it, giving you an advantage. Additionally, from this position, it is very convenient to control enemies advancing through your spawn to come up behind you.
Point B
1

The first spot on Point B is located right after you enter the Spike installation platform itself. Although at first glance it seems that this position is quite open, you actually only need one ally to control the passage from which you came. This way, you'll be almost completely safe and can watch the Spike if it's planted in front of the box ahead, or watch for enemies approaching your team.
2

Unlike the previous one, the second spot is completely enclosed. Being here allows you to safely wait for your own Spike to explode, and in case you receive information from allies about enemies entering the installation platform, you can successfully emerge and prevent them from defusing it. Also, this spot is great for meeting enemies, because both narrow passages keep you protected from unexpected rear or side attacks.
3

A fairly open position, which also allows you to control the installation platform and the Spike itself. The main disadvantage of this spot is that if no allies are left in mid, you are almost guaranteed to be killed. Enemies only need to come through the central passage and look down to easily take you out with a single shot. Therefore, we recommend occasionally raising your sight upwards to ensure the appearance of enemies doesn't become a sudden problem for you.
4
Another position that has already been in our material when playing on the defence side, but there are not many good spots on Point B in general, so it's worth occupying this spot quite often. From it, you can control enemies planning to come up behind you through the central part or from the direction of your team's spawn. Also, while being on this spot, you can listen for the planted Spike, and if the opponents start defusing it, prevent them from doing so.
5

Although the last position is almost in the central part of the map, it relates more to Point B. Being in this enclosed corner, it will be difficult for you to control the Spike due to the large distance to it, but from this spot, you will be playing a very important role. If enemies are making a rotation from Point A through the mid, you will be the first to know about their advancement. Thus, you can provide necessary information to your allies, and stop, or simply delay the enemy agents.

Conclusion
After reading our material, you learned about the best places on the Split map for the defence side. Note that the positions in the material reflect the subjective opinion of the author. Continue to follow our portal to learn about the best places on various maps in Valorant for both sides.


No comments yet! Be the first one to react