

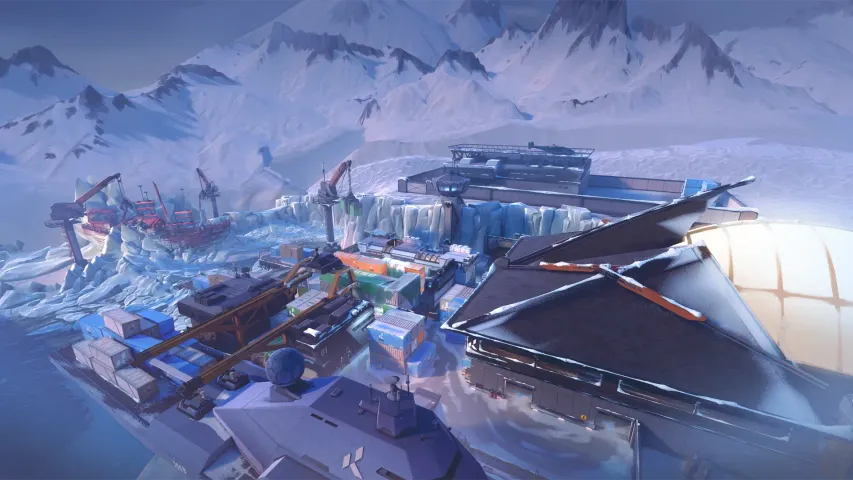
We continue to discuss the best positions for both sides of the game on all maps in Valorant. Today, we'll talk about the Icebox map, which was added to the game along with patch 1.10, released in early October 2020. Although the map itself may seem quite simple, since it only has 2 Spike installation points, Icebox has a lot of diverse elements. These include vertical and horizontal ziplines located on both sites, tough hidden corners, and various elevations and platforms. Considering all the additions, today the Bo3 editorial team has prepared material for you, where we will tell you about the best places on the Icebox map in Valorant when playing on the defensive side.
Point A
1

The first location will not be new to players, as it is located right at plant A, in a corner by one of the many boxes. From this point, you can control the main entrance to the plant, which later splits into two. Also, from this position, you have a view of part of the zipline coming from the attacking side. This way, players can relatively safely control not only the ground but also the aerial path to the plant. It should be noted that due to the peculiarities of the platform, which is filled with various textures, the attacking side often throws smokes onto the platform before they begin their attack. In such cases, your visibility decreases, which can allow enemies to sneak up behind you. We recommend not forgetting to check all corners if such a situation does occur.
2

The second place is located on an elevation, which can be reached using the zipline or boxes. From this position, you have a view of the opposite side of the attack, as well as several passages that your opponents will use. Note that although the position offers a wide view, its main difficulty lies in the fact that controlling several passages at once will not be possible. Moreover, the platform where you will be positioned is almost entirely open, making you an easy target for enemies entering the plant from the central part. Finally, do not forget that the walls of your shelter are very thin and easily penetrated by most types of weapons. Considering all the aforementioned disadvantages, we recommend thinking carefully and assessing the situation based on the weapons available to the opponents to stay relatively safe at this spot.
3

The next position is located close to the previous one and directly depends on it, as you can only reach this spot by jumping from the platform we described above. Note that this position itself is quite dangerous because there is only one way to retreat, which involves jumping down and often results in damage from the fall if you do not jump correctly. Moreover, the only shelter available at this spot is a small piece of wall that is partially penetrable. Additionally, your back will always be exposed, so if enemies pass through the central part of the map, they will most likely kill you. Despite the described disadvantages, the spot itself can be a surprise for enemies who, when approaching the position, will check this place last. Due to the long distance to opponents, we recommend using sniper rifles like the Operator or Outlaw.
4
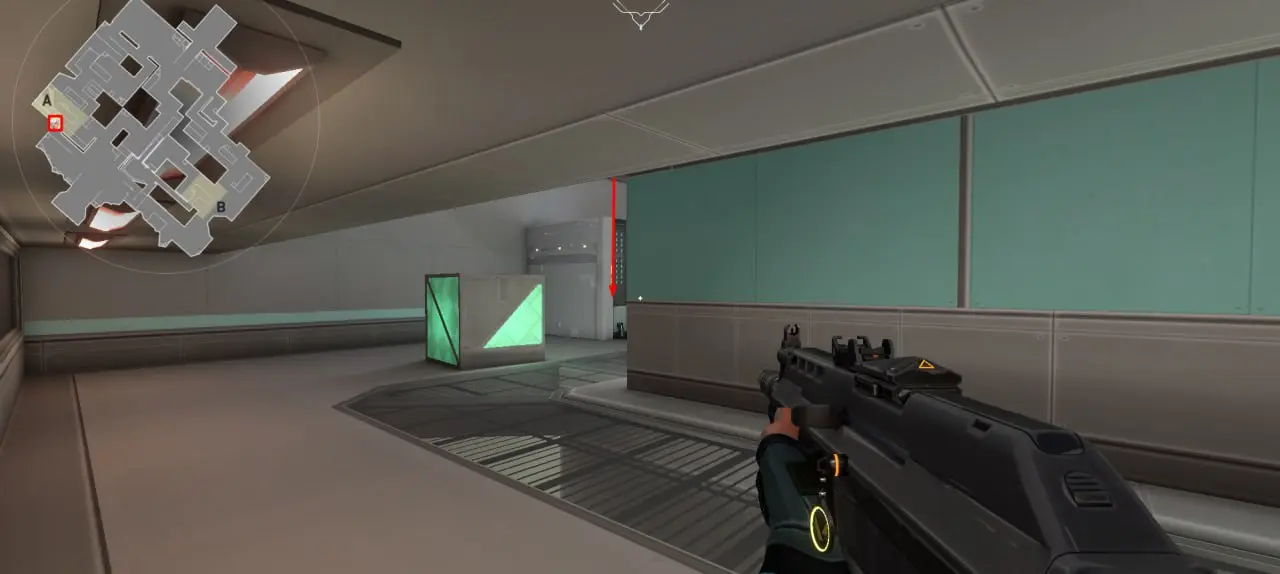
The next two spots will be of a closed type, and the first of them is located by one of the boxes, right up against the wall. The feature of this position is that it is almost completely protected, allowing you to play it safe. This point should be used when your team is being pressed at the plant, and several allies have already been killed. From this position, you can control only one passage, but usually, the Spike is not placed on this side. Thus, you can unexpectedly come out behind the enemies during the installation or wait for them to plant so you can then quietly defuse it.
5

The last position is also closed, but from it, you can control a much larger area. It is located at the entrance to the plant itself, but from the side of the stairs that allow you to climb onto a small platform located at a height. Although the view from this position is quite limited, you can move forward, as a result of which you will be able to move left and right to change your place and control a larger area and different approaches. Note that this position is not effective for aggressive play, so we recommend keeping an eye on the advancement of enemies and your team.
Point B
1

Point B is much harder to defend than A, all because of the large number of passages. The first recommended spot is located right on the plant itself, in one of the many corners. From this open position, you can monitor all possible approaches to the site, but as usual, this is the main danger. The spot itself is very open, so an enemy might unexpectedly appear from any direction. Moreover, it is quite difficult to choose the right weapon while being at this position, as the distance to the enemies can vary from close to medium range.
2

The second spot is located right next to the previous one, but it is placed on a higher level. From this position, players can first of all control a small passage from the central part of the map, as well as successfully shoot at the legs of enemies who will be moving through the mid. In addition, you can turn around and go as far to the right as possible, after which you will have a view of another part of the plant. From there, you can not only control the site itself but also part of the passage from the spawn point of the attacking side, through which the enemies will be advancing.
3

The next position is a continuation of the previous one, but unlike it, it is more protected and has greater functionality. You can get to it through the zipline, or by walking through the central part of the map. Although unlike the previous spot, this point offers a smaller view, it is enough to secretly wait for opponents. Additionally, you can walk back from where you will have a path to the central part of the map. From there, you can also wait for an enemy, aggressively come out behind them, or simply quickly make a rotation and move to plant A.
4

Another closed position, being at which will allow you to safely wait and meet enemies. It is located near the spawn point of the defense side, so you do not need to worry about the multitude of directions from which an opponent might appear. Being precisely at this position, the player will wait for the right moment to approach the opponents and prevent them from planting the Spike. But if you want to prevent the opponents from entering the plant itself, you need to move a bit forward, after which almost the entire site will be visible to you. In case of pressure from the enemies, you can immediately turn back, but we recommend not forgetting that it is almost impossible to leave this position if you are being watched by enemies. Therefore, if you want to play even more safely, we recommend moving behind the wall marked with an arrow.
5

The last point on plant B, unlike all the previous ones, is very aggressive. It is located right before the passage from which the players of the attacking side will be advancing. The feature of this position is that you can get to it just before the start of the round, giving you a slight advantage over your opponents. Despite the fact that one of the passages is quite close, this position is great for using sniper rifles, because the passage itself is completely straight, and it will be difficult for enemies to get close to you. But the main disadvantage of this spot is its aggressive placement and distance from allies, so consider that sometimes you might find yourself here alone, while your teammates are playing closed and safely.

Conclusion
After reading our material, you have learned about the best places on the Icebox map for the defensive side. In the future, we will release material about playing on the attacking side, as well as about other maps in Valorant. Therefore, continue to follow our portal to learn more interesting information about all aspects of your favorite shooter from Riot Games.


No comments yet! Be the first one to react