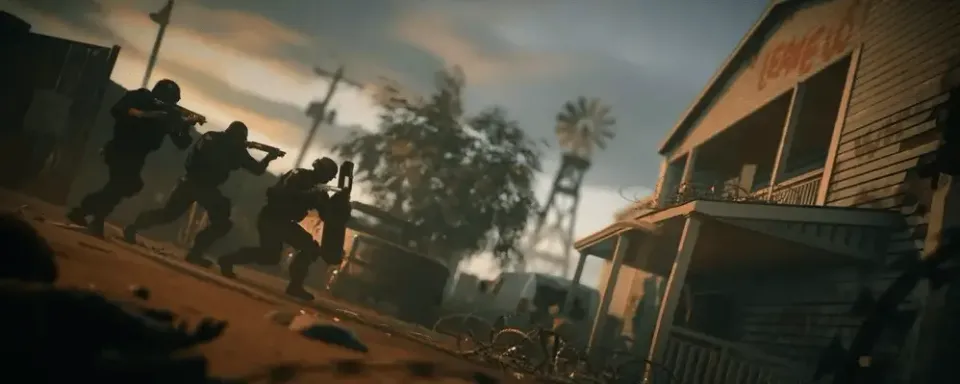
Among the many gaming maps in Rainbow Six Siege, Oregon stands out as a fan favorite thanks to its balanced design and tactical possibilities. Knowing the various nuances and intricacies of the map, including its locations, will help you navigate it more easily and plan your actions. This guide will help you get acquainted with the key callouts on the Oregon map in Rainbow Six Siege.
Why Map Callouts Are Important
Callouts in Rainbow Six Siege serve as a tool for quick and precise information exchange between players. On Oregon, knowing the correct callouts will help you:
Identify enemy positions | Save time using precise terms instead of vague descriptions. |
Coordinate strategies | During an attack or defense, callouts will help your team position correctly. |
Plan rotations and flanks | Navigating through Oregon's multiple levels and narrow passages requires a deep understanding of key zones. |
Adapt to dynamic situations | During intense rounds, clear communication can be crucial for victory. |
Overview of the Oregon Map
Oregon is a two-story map with a basement, offering a combination of long sightlines, narrow passages, and vertical gameplay. The map's structure makes understanding every corner critical for executing precise attacks or defending effectively. Knowing the callouts ensures seamless team communication, as each name indicates important positions for shootouts, rotations, and equipment placement.
To understand the map, we will divide it into main sections:
- Basement Level
- First Floor
- Second Floor
- External Zones
The map is divided into several key zones, including the basement, first floor, and second floor. Each of these levels contains smaller rooms, stairs, and corridors that are crucial for movement and tactical actions. Oregon is known for its gameplay dynamics, where teams often fight for control over key zones such as Laundry Room, Meeting Hall, and Kids' Dorms. Knowing the callouts of these spaces is essential for predicting enemy movements and effective coordination.


Basement Level Callouts
The basement is often the center of defensive strategies due to the bomb locations in Laundry and Supply Room. There are several key zones here, each of which has important callouts. Laundry Room is a central point for defenders, providing access to Supply Room and the main corridor.
Attackers often enter through Laundry Stairs or Freezer to establish control. Supply Room connects directly with Laundry and offers limited cover, making it a contested zone.
Blue Bunker, also known simply as Bunker, is an external entry point frequently used by attackers. Rotations from Bunker to Pillar (a support column in the corridor near Freezer) can provide defenders with flexibility. Knowing these transitions is critical for defenders looking to reposition, and for attackers aiming to cut off rotations.

Key Callouts:
- Laundry Room: The main bomb area located near the basement stairs. It has the washing machine and provides cover for defenders.
- Freezer: Adjacent to Laundry, this room is a narrow chokepoint for attackers coming through Freezer stairs.
- Supply Room: Another bomb area connected to Laundry. Often used to prevent a bomb plant.
- Bunker/Blue Bunker: A critical external path leading into the basement, often reinforced by defenders.
- Pillar: A central column in the basement, a key point for advancing attackers.
- Basement Stairs: Two main stairs lead into the basement — Freezer Stairs and Laundry Stairs.
- Back Tower Stairs: An alternative entry from the back tower area.
First Floor Callouts
The first floor of Oregon includes several iconic locations such as Meeting Hall, Kitchen, and Dining Room. These zones often play a role in rotations and are focal points for both teams.
Meeting Hall is a large open area often used by attackers as a staging ground. Defenders typically reinforce its walls to slow progression, especially the wall adjacent to Kitchen.
The Kitchen and Dining Room are connected spaces that can serve as critical flanking routes or holding positions for defenders. Attackers frequently penetrate through Small Tower, an external entry point leading into Dining and Kitchen, to pressure defenders.

Main Lobby links with several other callouts such as Garage, Showers, and Rear Stage. Garage is another key entry point for attackers, often leading to intense shootouts as defenders try to maintain control. Showers is a secondary defense zone, while Rear Stage serves as a transitional space to Meeting Hall.
Second Floor Callouts
The second floor includes some of the most intense zones on Oregon, such as Kids' Dorms and Master Bedroom. These rooms are typical bomb sites and require clear coordination from both attackers and defenders.
Kids' Dorms is a relatively open area connected to Bunk Beds. Defenders frequently anchor here, using reinforcements and equipment to block entry via Main Stairs or Attic. Attic is a long, narrow area connecting Meeting Hall on the first floor and provides an alternative entry point for attackers.

Master Bedroom is another vital zone on the second floor. It is connected to Closet, a small defensive position often reinforced to delay attackers. Trophy Room next to Master Bedroom provides a flanking route or a preparation area for an attack.
The Big Window, located on the exterior of Kids' Dorms, is a common entry point for attackers. However, it is a risky move due to its exposure to defenders inside and around the bomb site.

External Callouts
The exterior of Oregon plays an important role in attack strategies, offering numerous opportunities for rappels, breaches, and long-distance firefights.
- Construction Site: A spawn point near Small Tower, often used to attack Meeting Hall or Bunker.
- Junkyard: A spawn area on the west side leading to Garage and Big Tower.
- Big Tower: A multi-level structure critical for controlling Attic and adjacent zones.
- Small Tower: A small building near Dining Hall and Kitchen.
- Patio: An exterior area near Main Lobby, often used to push towards White Stairs.
- Big Window (Exterior): Area outside the Kids Room on the second floor.
- Back Alley: Behind the building near Bunker and Tower Stairs.

Tips for Mastering Oregon Callouts
- Learn the layout: Spend time in Custom Games to familiarize yourself with each marked zone.
- Practice communication: Consistently use these callouts with your team to develop shared understanding.
- Be specific: Instead of saying "enemy upstairs," specify the room (e.g., "enemy in Kids Room by Big Window").
- Adapt to team dynamics: Some callouts may vary slightly depending on team preferences. Agree on terminology in advance.
- Use compass directions: Combine callouts with compass directions for precise enemy location indication.
Oregon remains one of the most strategic maps in Rainbow Six Siege. By mastering these callouts, you'll enhance communication, coordination, and overall team effectiveness. Whether attacking or defending, knowing these callouts can give you the edge needed to dominate the battlefield.


Comments