
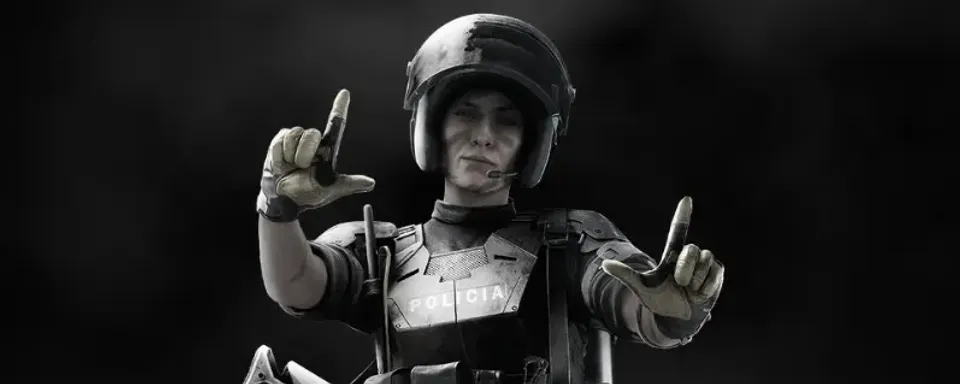
Rainbow Six Siege has a diverse set of operators, each of whom plays a key role in the defense. To make it easier to choose the best characters, we have created a Tier List that divides all defenders into 5 categories based on their effectiveness in the current objective. The operators are rated by their impact on the game, usefulness to the team, and versatility.
What is the Tier List and how did we categorize the defenders?
- S-Tier are the strongest agents who are winners in the current objective. They are always worth choosing due to their exceptional efficiency and versatility.
- A-Tier are powerful operators that perform well in most situations. They are not always the best, but they consistently fulfill their role.
- B-Tier - good all-around characters who can be effective but need certain conditions to be maximized.
- C-Tier - agents with limited effectiveness. They can fulfill their role, but are inferior to others due to weaknesses.
- D-Tier - the weakest defenders at the moment. Their choice is not recommended due to irrelevance or limited usefulness.
D-Tier Defenders
Clash
Clash is the only defender with a shield, but its low speed and limited defense benefit make it a weak choice.


C-Tier Defenders
Caveira
Caveira is effective only in the hands of experienced players, as her Silent Step and Interrogation are difficult to implement.
Ela
Grzmot Mines cause problems for attackers, but Ela has become less effective due to balance changes.
Oryx
Oryx has great mobility thanks to Remah Dash, but its ability is often risky.
Tachanka
While Shumikha Launcher deals significant damage, it is difficult to execute in fast-paced play.
Vigil
Vigil blocks drones thanks to ERC-7, but its role is limited to distraction.

B-Tier Defenders
Alibi
With Prisma, Alibi misleads enemies by creating false targets.
Bandit
Bandit controls walls with Shock Wire, but its effectiveness is limited due to new counter-operators.
Castle
Armor Panels allow you to block entrances, but are easily countered by many attacking gadgets.
Doc
Doc remains reliable thanks to Stim Pistol, which allows him to heal himself and his team.
Frost
Welcome Mats Frost are great for catching reckless opponents.
(Other B-Tier: Goyo, Maestro, Melusi, Mozzie, Pulse, Rook, Sentry, Smoke, Thorn, Thunderbird, Tubarão, Warden, Skopós)

A-Tier Defenders
Aruni
Aruni uses Surya Gates to block passages and deal damage to enemies, allowing for effective space control.
Echo
Yokai drones can disorient the enemy with ultrasonic waves, interrupting bomb placement and delaying the attack.
Fenrir
Fenrir has become a real threat thanks to F-NATT Dread Mines, which limit the view of attackers, making them easy to neutralize.
Kaid
Kaid and his Electroclaw are a key choice for blocking hatches and fortified walls.
Kapkan
EDD's Kapkans are simple but effective at stopping careless attackers while dealing significant damage.
Mute
Mute blocks reconnaissance and drones with Signal Disruptor, which is especially useful for preventing planting and coordinating attackers.
Solis
Solis can track attackers' gadgets with its SPEC-IO Electro-Sensor, which provides valuable information.
Wamai
Wamai with Mag-NET devices is an alternative to Jäger, catching grenades and changing their trajectory.

S-Tier Defenders
Jäger
The Jäger is a versatile defender thanks to its ADS devices that neutralize grenades and projectiles. Its high mobility and accurate weapons allow it to effectively control rotations and key points on the map.
Mira
Black Mirror provides excellent control over defense points. Thanks to this device, the team is able to control critical angles or pixels for shooting.
Valkyrie
Valkyrie provides an intelligence advantage with its Black Eye cameras. These cameras provide information about enemy movements, ensuring precise team coordination.
Azami
Azami uses Kiba Barriers to quickly block lines of fire or create additional protection. This allows you to adapt fortifications and counter aggressive attacks.
Lesion
Lesion with Gu Mines is great for zone control. Mines deal damage, slow down the enemy, and provide information about their movements.

The Rainbow Six Siege operators in this Tier List will help you better understand their relevance and effectiveness. Use S- and A-Tier for maximum impact on the game, and leave C- and D-Tier for experiments or specific situations. With this list, you can confidently choose the best defenders and dominate every round!


Comments