

Explore Wide Range of
Esports Markets
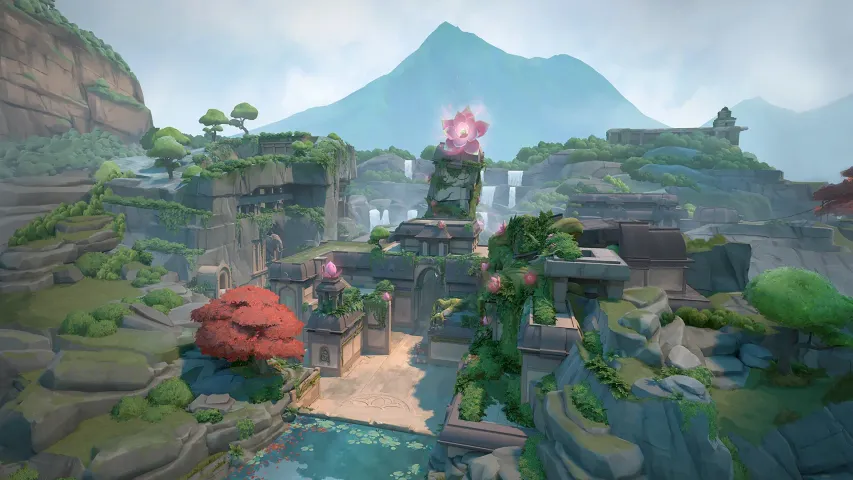
We continue to inform our readers about the best spots on various maps in Valorant for both sides. Today, it's time to discuss the Lotus map, which was introduced in the game alongside the release of update 6.0 on January 10, 2023. Lotus is the second and last map after Haven to feature three Spike plant sites. This makes it more challenging for the defense as the attacking side has more versatility in their actions and more opportunities for rotation. Despite this, with the right positions, the defense side can also feel comfortable on the map. Thus, today, the Bo3 editorial team has prepared material in which we will tell you about the best positions on Lotus when playing on the defense side, to make it convenient for you to defend each of the three Spike plants.
Site A
1

Due to the map having three Spike plant sites, all sites are smaller than those with two sites, meaning positions often overlap with each other. The first spot on site A is located right before the unique revolving doors, which are only found on the Lotus map. From this position, you can watch the sole entry from the doors side and not worry about your back. There are also other effective points you can take up. If you plan to play more aggressively, you need to move as far right as possible and hide behind the tree. If you want to surprise your enemies, there is a possibility to stand very close to the doors, at a position marked with a blue arrow.
2

The second position is right after exiting the defense spawn point. From here, you can watch the main pathway to the site, and also assist allies who are at the first position by covering their back. Moreover, due to its close proximity to the spawn point, you can quickly rotate and move to another site. However, this position has a few downsides. The first is the large distance to the attacking players, so using sniper rifles is recommended. Another downside is that your back always remains open, and if your allies have fully occupied site A, enemies who come through the central part of the map can easily kill you. Thus, also remember to watch your own back.
3

The last position on site A is also of a closed type, located in a small corner behind a wall. From this spot, you can monitor the site and safely orient yourself by sound. However, this position has a significant downside: it's almost impossible to leave. Behind you will be an elevation with a drop, which is almost impossible to climb from below. Only a few agents like Omen, Jett, and Sage with her wall can jump onto it. Therefore, if enemies start entering the site and you are not playing as one of these agents, you'll simply be cornered and bombarded with various abilities. We recommend being aware of this significant downside and change your position or even retreat from site A if danger arises.
Site B
1

Site B, compared to the other two, is very small and has very few advantageous positions to hide. The first recommended spot is right at the exit from the defense spawn point. From this position, you can almost fully monitor site B and two of the three possible paths. This position is one of the safest, as you can always hide and play defensively, and your back will be protected by your own spawn, with attackers rarely passing through this position due to lack of time. However, one significant downside of this spot is that if you play defensively, you will have a very narrow angle of view. Because of this, attacking players can easily plant the Spike at a position you cannot see, forcing you to completely leave cover and check the site.
2

The second position on site B, like all others, can be either open or closed. It is located in the right part of the site right at the transition to site A. From this position, you can monitor the site and one of the paths that enemies will take. If you are outnumbered, you need to hide defensively and stand in the corner marked with a blue arrow. This will allow you to wait more safely for enemies coming your way, or orient yourself by the sound of Spike being planted to disrupt the opponents. However, don't forget about the wall behind you, leading to site A. If it is not destroyed, it will serve as excellent protection for you and you will get information if enemies try to destroy it. But if the wall is already gone, it makes your position very dangerous, as attacking players can easily appear behind your back.
3

The last position on site B, similar to the previous one but with some differences. Firstly, it is located much deeper on the map, towards the attackers. Although from this position you can also partially control site B, unlike the previous point, this one is more dangerous. Firstly, due to its location deep in the site, this position is very vulnerable to attacking players who are likely to pass through it. Moreover, enemies can reach your position from up to three directions, unlike two on the previous position. Also, only one box that is penetrable will protect you from enemy fire. As it becomes clear, this position is very dangerous, and if you have a choice, you should occupy one of the previous ones or a different one altogether. However, there are cases when attacking players have flanked your team and reached the defense spawn point, so in such cases, you still need to defend the site, which can be done from this position.
Site C
1

Site C in its structure is more similar to site A, as it also has many places for safe defense. The first position on this site is located right in front of the entrance to the Spike plant area, on a small elevation. This position should be used if you do not want to risk being on the site itself, or if the attacking players have already eliminated your team and are starting to plant the Spike. From this point, you can partially monitor site C, but only its upper platform. Moreover, from here you can safely retreat to conduct a rotation to another site, or just hide and save weapons and abilities for the next round.
2

The second position, unlike the previous one, is directly on the site, making it more dangerous. Positioned on boxes right at the entrance, you can monitor all possible entries to the site. But as stated above, this position is very dangerous. Firstly, attacking players usually check this box, so they can easily kill you immediately, or blind you with abilities. Also, from this position, it's very difficult to retreat, and if opponents have already entered the site from other directions, you have nowhere to retreat. In general, this point is very situational, and it is usually not advisable to use it.
3

The last position on site C, different from the previous one, is that it is more closed and accordingly safer. It is located in the side passage that leads to the central part of the map. From this position, you can monitor site C or the passage leading to mid. This point also allows you to play defensively, orienting simply by sound. Additionally, from this position, you can quickly conduct a rotation and find yourself at your own spawn point or at site B.
Conclusion
After reading our material, you have learned about all the best positions on the Pearl map when playing on the defense side. Note that because the location has three Spike plant sites, it is not always possible to occupy an advantageous position, as enemies can rotate at any moment. Therefore, we recommend acting according to the situation and carefully observing the opponents' play. Continue to follow our portal to learn about the best positions on other maps in Valorant when playing on both sides.


Comments