
BEST VIP CLUB!

BEST VIP CLUB!
200% Bonus

Water lifts in Minecraft are an efficient and creative way to move vertically in your structures. They make traveling between specific levels of your location faster and smoother compared to traditional ladders or stairs. In this guide, we'll help you create and use a water lift in Minecraft.
Table of Contents:
A water lift in Minecraft uses water and special blocks that control the movement of players or objects in the water flow. The main blocks that facilitate this are the Soul Sand block and the Magma block. They have unique properties:
Soul Sand block: creates bubbles that push players and objects upwards.
Magma block: creates bubbles that pull players and objects downwards.
By strategically placing these blocks under a column of water, you can create a lift that provides quick vertical movement. The Soul Sand block will push you up, while the Magma block will pull you down accordingly.
To create a water lift in Minecraft, you'll need certain items:

Obtaining Buckets of Water
To create water columns, you need to gather water using buckets. Craft a bucket from three iron ingots in a "V" shape in the crafting table. Find a water source like a river, lake, or ocean, and right-click with the bucket to collect water.

Collecting Kelp in Minecraft
Kelp is needed to convert flow water into sources, a necessary step for the lift to work. You can find kelp in ocean biomes. Dive into the water, break the kelp, and collect it.

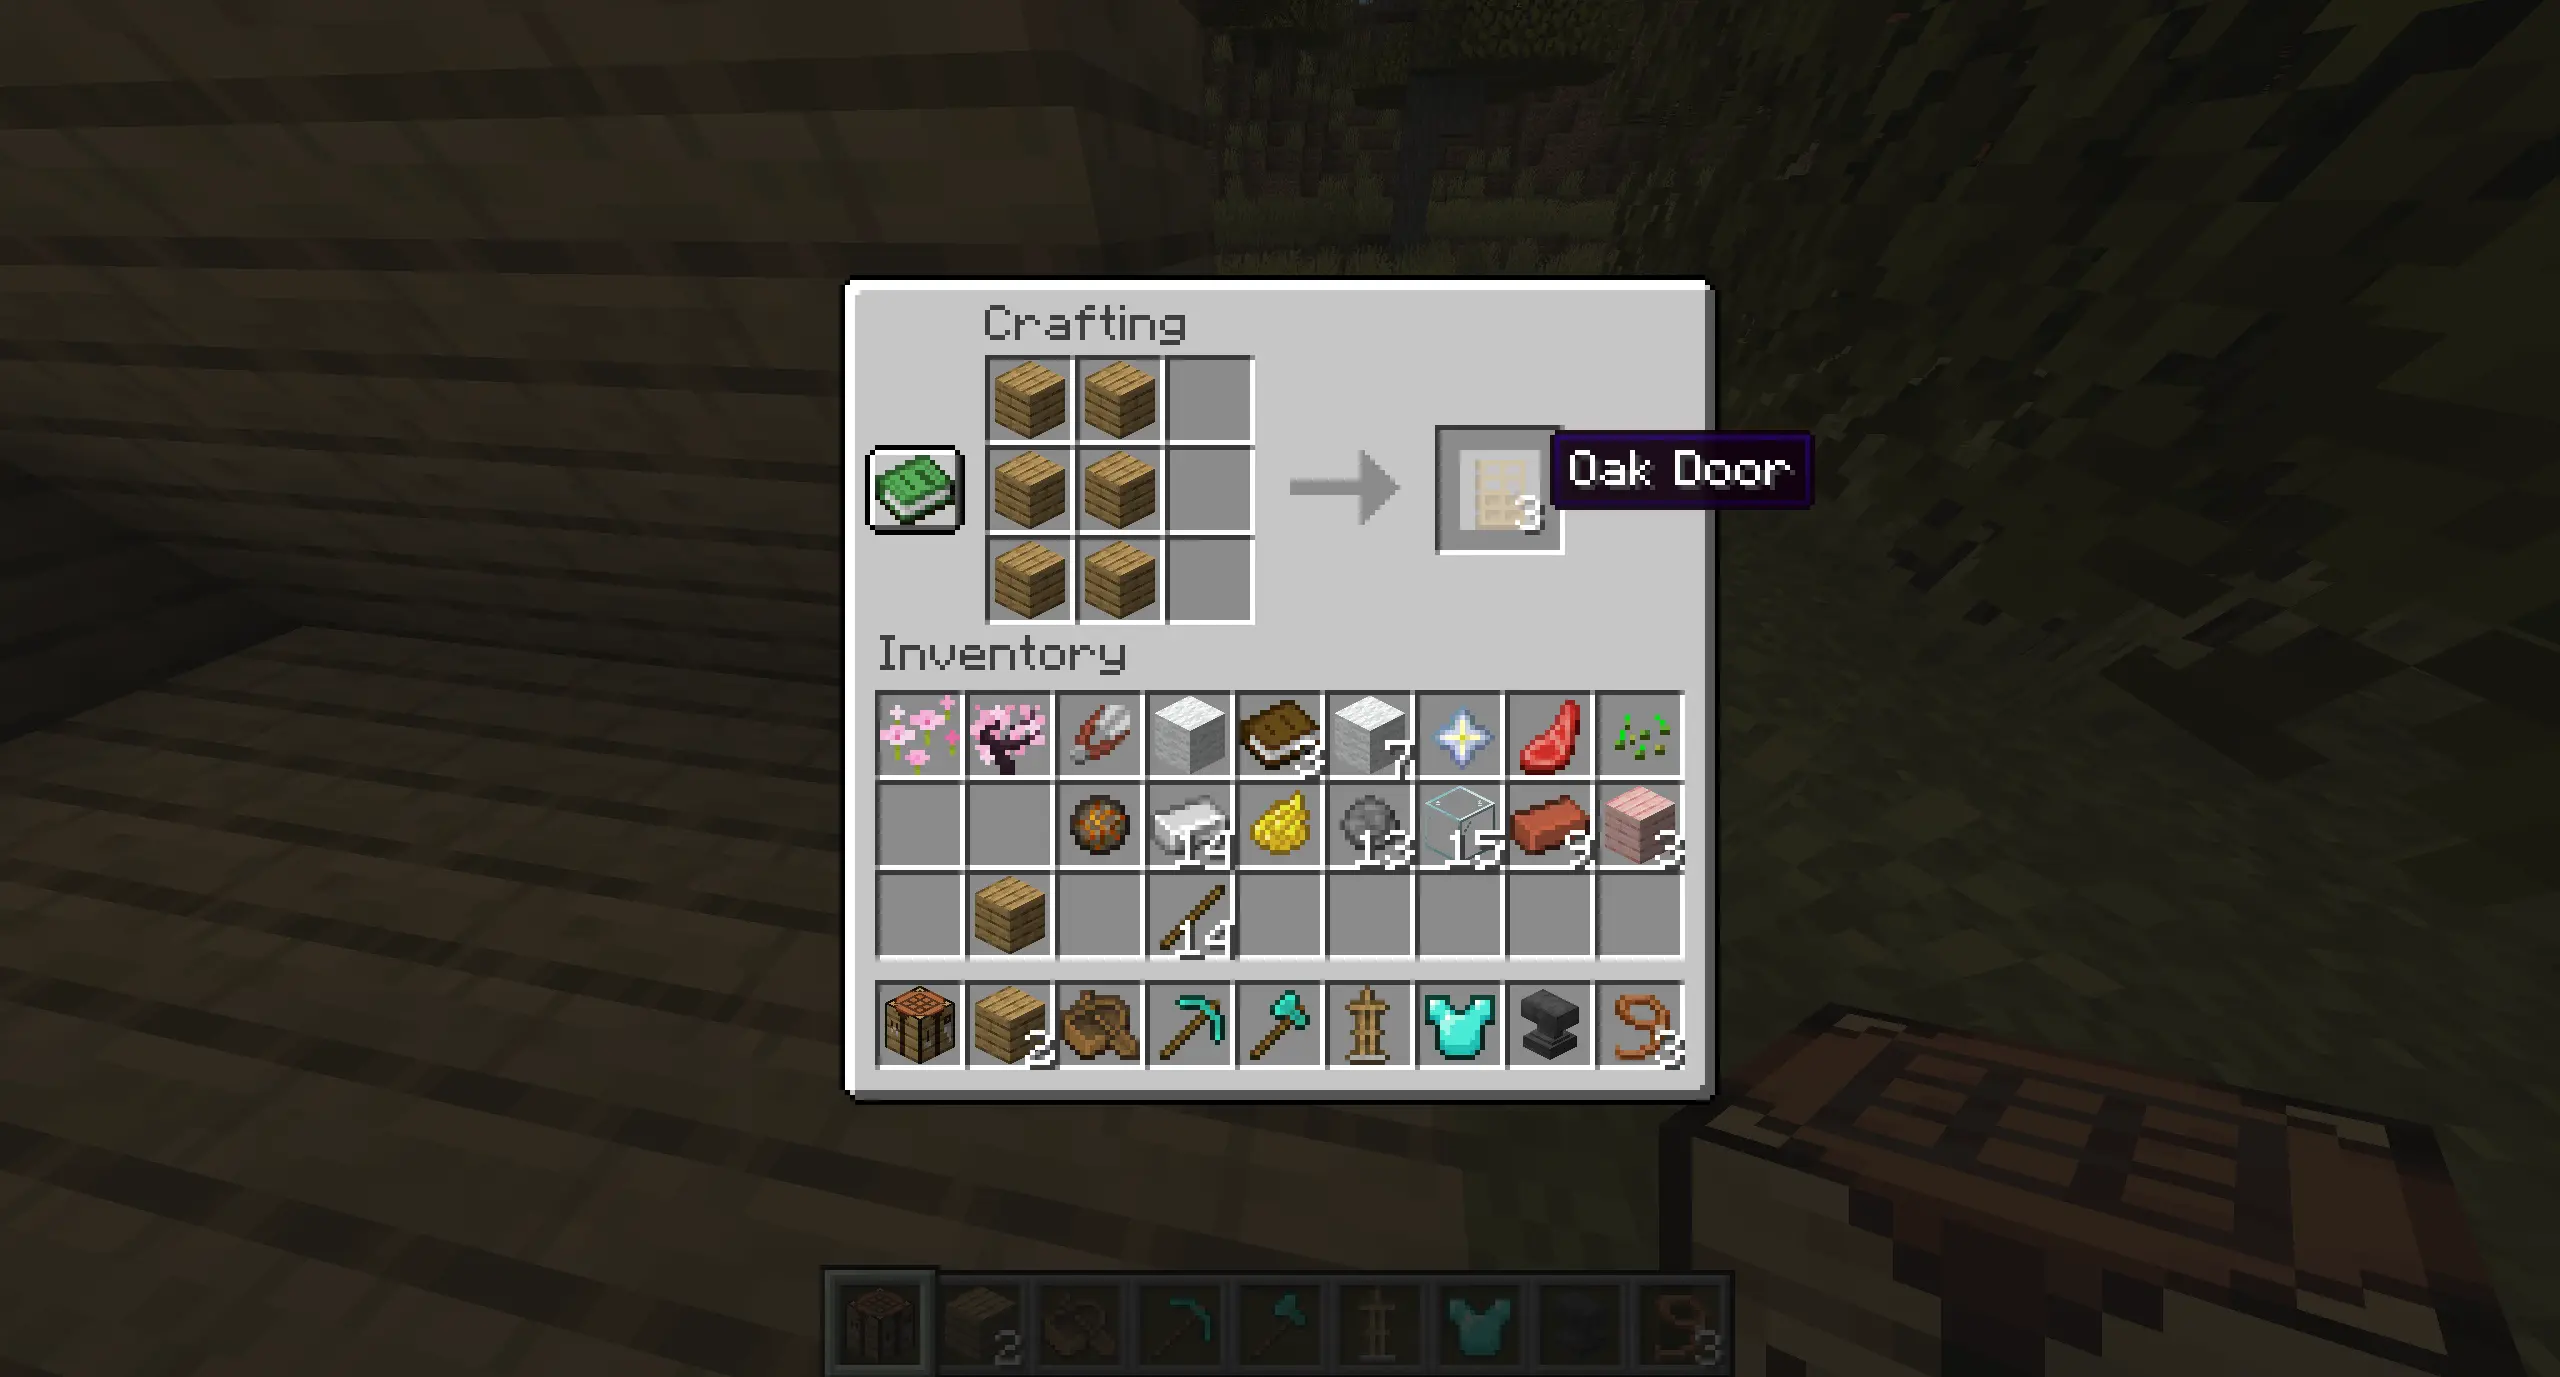
Creating Wooden Doors
Wooden doors can be crafted from six wooden planks. Place them in a vertical 2x3 pattern in the crafting table. The doors will help prevent water from leaking out while allowing easy entry and exit from the lift.
Gathering Soul Sand Block and Magma Block
Both the Soul Sand block and the Magma block can be found in the Nether.
You'll need a portal to the Nether and some iron gear to make your journey safe in the Nether.

To build a water lift in Minecraft, follow these steps:
Build the lift shaft. Using glass or another block of your choice, build a tall column that will be the lift shaft. The column should be wide enough for one block of water and a path for ascent and descent. Leave one block at the bottom open for entry.

Add water. Use buckets to pour water onto the top of the lift shaft. The water will flow down but won't yet become a source block throughout the column.

Place kelp in the water column. As the water flows down, enter the water and place kelp at the bottom of the lift shaft. Continue placing kelp upward to the very top. Kelp converts flowing water into source water, which is necessary for the bubble column lift to work.

Break the kelp. After placing kelp in all water blocks, head back down and break the kelp. Now your water column is entirely made of source water blocks.
Place the Soul Sand block or Magma block to complete the lift:

You can even build two separate lifts: one with a Soul Sand block for going up and another with a Magma block for going down. Add doors to prevent water from leaking while allowing easy access.
Creating a Lift for Ascent (with Soul Sand Block)
➤ Step into the water column.
➤ The bubble stream created by the Soul Sand Block at the bottom will quickly lift you upwards, allowing you to ascend without jumping or climbing.
Creating a Lift for Descent (with Magma Block)
➤ Step into the water column.
➤ The Magma block will create a downward flow, safely pulling you down to the base of the lift.

For a complete water lift system, create two parallel columns: one with a Soul Sand block for ascent and another with a Magma block for descent. This allows for fast and efficient travel in both directions without additional blocks.

Water lifts can perform various useful functions in your Minecraft world:

By following these steps and tips, you can create an efficient water lift in Minecraft, making travel between desired floors or levels faster and unlocking new design possibilities in your game world.


Comments