
BEST VIP CLUB!

BEST VIP CLUB!
200% Bonus
Bet NowBet Now
18+ Only, T&Cs apply, Gamble Responsibly

In Horizon Zero Dawn, Aloy can protect herself better against certain types of enemies with the right armor. Depending on which outfit she wears, she is less vulnerable to different types of damage, significantly easing progress in the game. The best protection is undoubtedly offered by the Shield-Weaver Armor, which makes you invulnerable for a period. To obtain it, you must not only complete a secret quest but also find five power cells scattered throughout the game world. We’ll show you where these items are hidden and how you can successfully complete the quest.
The Shield-Weaver Armor can be found in an old bunker, which will be marked on the map once the “Ancient Armory” quest is started. You automatically receive the quest after finding the first power cell in the game, with no specific order required. In the bunker, you must insert the five power cells and solve two simple puzzles before you can claim the outfit. The mission itself is not a major challenge; the real difficulty lies in acquiring the cells, which are often well-hidden.
Even though some of the power cells can be collected fairly early in the game, you must still follow the main quest line quite a bit to track them all down. Here’s where you can find the power cells:
First Power Cell
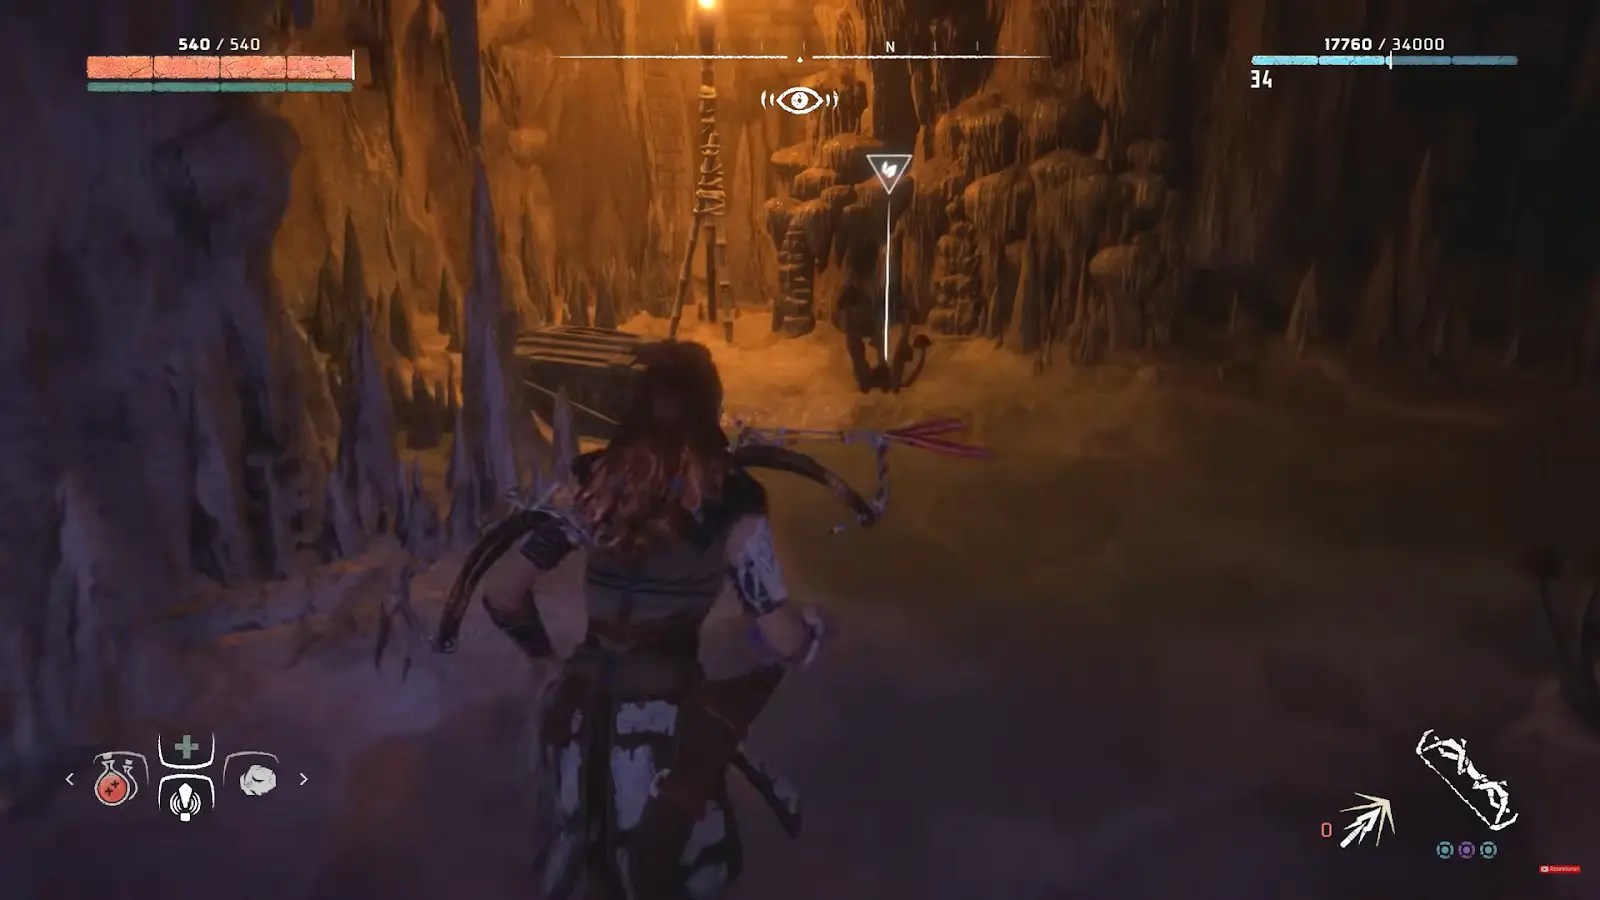
The first cell is hidden in the old ruins you explore as a young Aloy during the tutorial. Once you play as the adult Aloy and can move freely, return here. The ruins are marked with a green symbol on the map. You’ll recognize the location in the cave by a few stalactites, behind which the power cell shines through. Aloy wonders if she can now pass the obstacle as an adult. Smash the stalactites with your spear, and the first cell is yours!

Second Power Cell
The next cell can be obtained in the Temple of the All-Mother, where the quest “The Womb of the Mountain” takes you. After waking up, go through two doors, then crouch through a small passage on the right. The power cell is located on the left in a round room next to a table. If you missed the item during the quest, you can return to the temple later, near the end of the main story.

Third Power Cell
You’ll come across the third power cell during the quest “Maker’s End.” The item awaits you at the top of the tower. Look for an elevator shaft in Faro’s office. On the right side, you’ll find grips you can climb to reach the top. As a bonus, you get a unique view.

Fourth Power Cell
For the fourth cell, you must complete the quest “The Grave-Hoard.” This involves solving three puzzles with turntable locks. Once the third lock is unlocked, the door opens, revealing the power cell behind it. You’ll also find some useful healing herbs. You can return here if you didn’t collect the cell while completing the quest.
Fifth Power Cell
The last power cell awaits you in the ruins of GAIA Prime. You reach this location near the end of the main story during the quest “The Mountain That Fell.” The item is quite well-hidden. On the third level, look for the spot where you can rappel down, but wait. Turn around 180 degrees—there’s a small ledge on the right where you can drop down. You’ll find the power cell in the purple shimmering cave.


Once you have all five cells, you can complete the “Ancient Armory” quest in the old bunker. There, you must solve two ring puzzles. Insert two power cells into the first puzzle on the right. You will then be shown five sequences of numbers on the right, representing times and revealing the correct positions of the switches on the left. From left to right, the order is: up, right, down, left, up.
For the second puzzle, insert the remaining three cells into the device on the opposite side. This time, the switch positions are given in angles. The order from left to right is: right, left, up, right, left.
Now you can go to the central room and take the armor. To equip it, open the corresponding chest in your inventory. Equipping the armor also unlocks the achievement “Got the Shield-Weaver Outfit.”

The new outfit grants you practical invulnerability, but be careful—if you take too many hits in a short time, it starts to glow red, and you take normal damage again. Only after the armor has cooled down for a few seconds are you invulnerable once more.


Comments