Brackenhide Hollow Mythic+ Dungeon Guide in Dragonflight Season 4
  • Guides

  • 09:10, 16.05.2024

Brackenhide Hollow Mythic+ Dungeon Guide in Dragonflight Season 4

Brackenhide Hollow is one of the Dragonflight Season 4 dungeons in World of Warcraft, located in the western part of The Azure Span. It offers players a passage on several difficulty modes: Normal, Heroic, Mythic, and Mythic Plus. In this guide, we'll walk you through the key parts of Brackenhide Hollow M+ for your next playthrough. The entrance to the Brackenhide Hollow dungeon can be found in the Azure Span area at /way 11.57 48.78.

Brackenhide Hollow Tips:

Firstly, take an alchemist with you in this dungeon. You will find there many Decaying Cauldrons. To activate them and use them, you need at least one player in your group who is proficient in alchemy. The skill level of this profession must be at least 25. After activating the cauldron, each member of your group will be able to take a portion of Cleansed Rot, which will help to clear one of the negative effects on your hero. After you use this tincture, it will disappear from your inventory. You can replenish it if you return to the Decaying Cauldron and take a new portion, or find another cauldron that your alchemist will have to activate. Since there are a lot of them in the dungeon, having an alchemist who can stock up on debuff potions is a very good choice for the Brackenhide Hollow campaign.

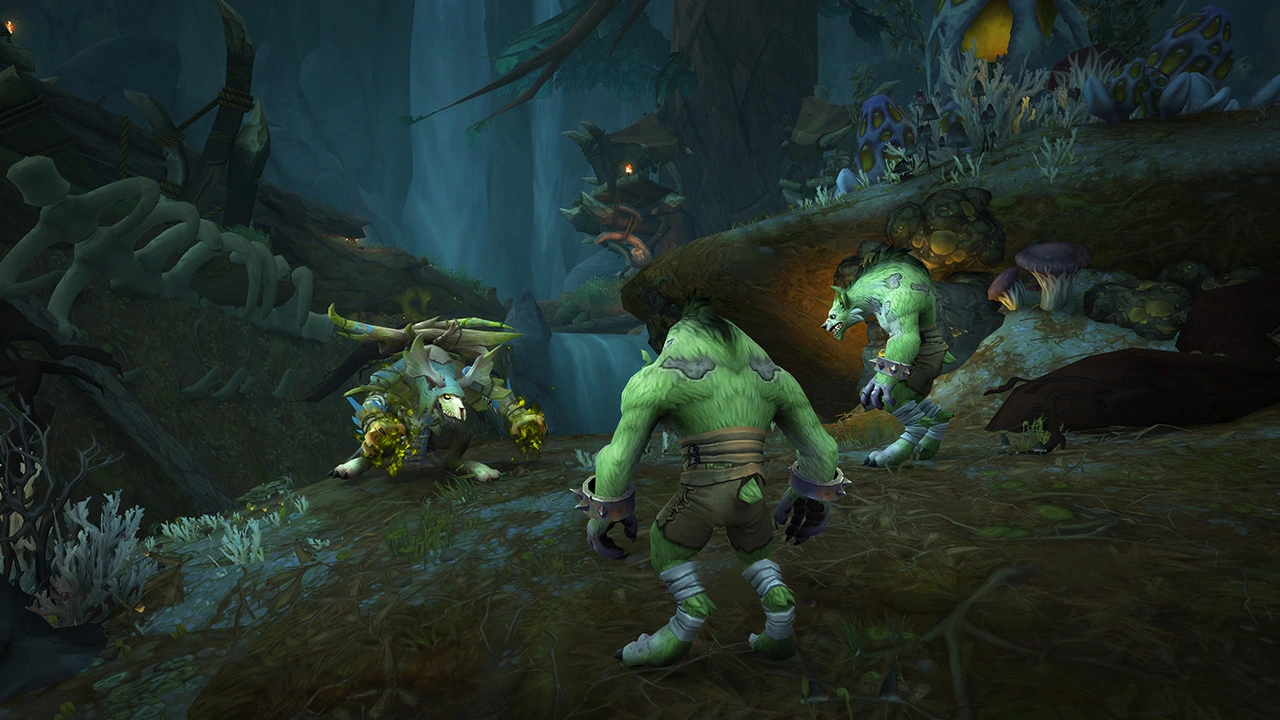
To summon the first boss in the dungeon, you will first have to complete a special event to rescue the tuskarrs. To do this, you need to free five tuskarrs that are in cages in the Lost Kanniak location. The order in which you open the cages and your route is up to you. Just remember that after you open the cage and free the tuskarr, a group of gnolls will appear that you will have to defeat. This is where you'll need some tips on the enemies you'll face.
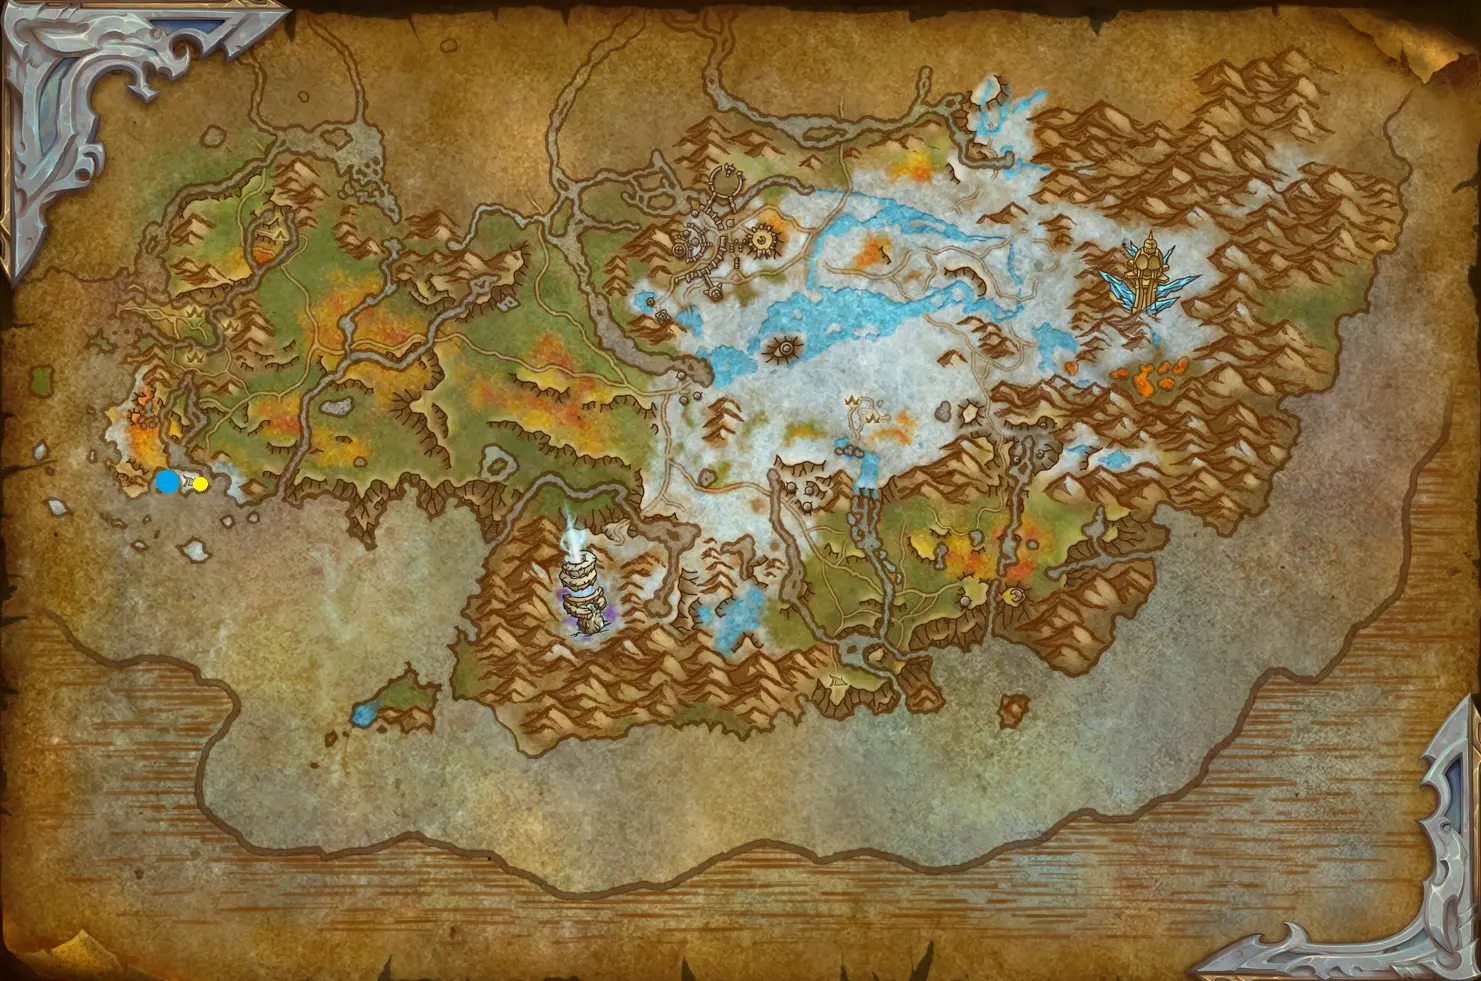
Brackenhide Hollow Map

Hackclaw’s War-band guide

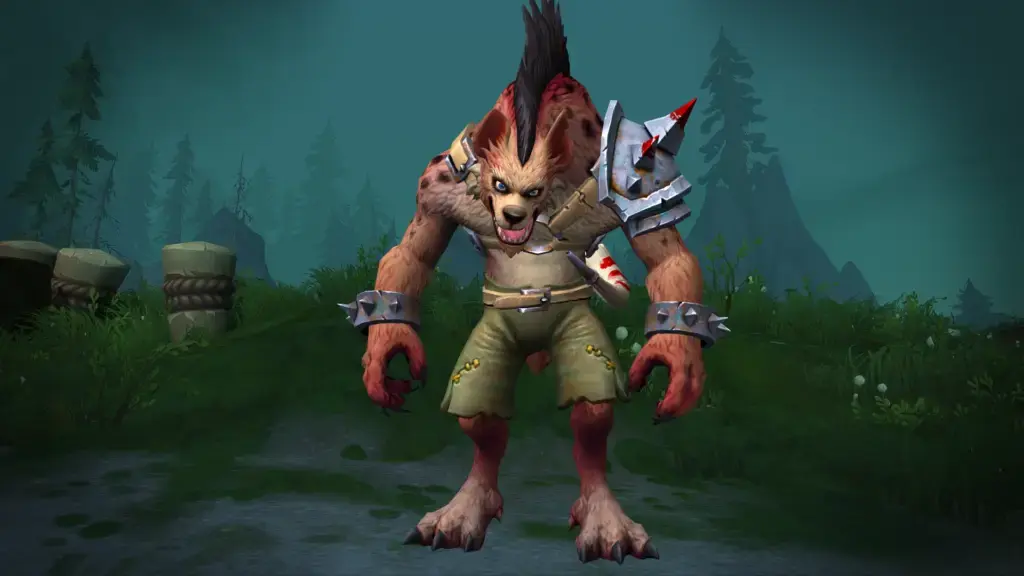
  • Claw Fighter —  they usually focus on one of the players, as if they are clinging to them, using their Vicious Clawmangle skill. To counteract them, use crowd control abilities to get them out of the fight faster, and skills that allow you to avoid, hide, or interrupt these mobs from using an ability will be important to help save your friend.
  • Bonecrusher —  most often targets your group's tank, slowing their movement speed by 30% for 12 seconds. Crushing Smash deals a lot of damage, so your task is to avoid saving an ally who may fall victim to this ability.
  • Vicious Hyena is another enemy that will be a nuisance to your tank, particularly because of Infected Bite, which reduces healing efficiency by 15% and deals damage. Take care of your tank as it takes care of you.
  • Bonebolt Hunter should be your priority target, as its shot on a random player is quite critical and imposes a strong bleeding effect. Also, try to avoid the Toxic Trap, which activates a puddle of toxins that harms anyone standing in it.
  • TrickclawMystic's — casts a land fragment on you, try to disrupt the process of this spell.
  • Decay Speaker is another priority target that will create a lot of problems in battle due to the extremely dangerous Withering Burst ability, which deals significant damage to multiple targets and imposes a negative effect. Fortunately, if you follow the advice of the alchemist, you will be able to remove this debuff.
Rira Hackclaw
Rira Hackclaw
  • Bracken Warscourge is a dangerous mob that will make your heroes run away under the effect of fear from Hideous Cackle, which works in AoE. In addition, it has a very unpleasant passive aura, Pack Tactics, which increases the damage of its allies by 15% and reduces the cooldown of their abilities by 25%. Beware of Ragestorm, which deals damage to all players within 5 yards for 10 seconds.
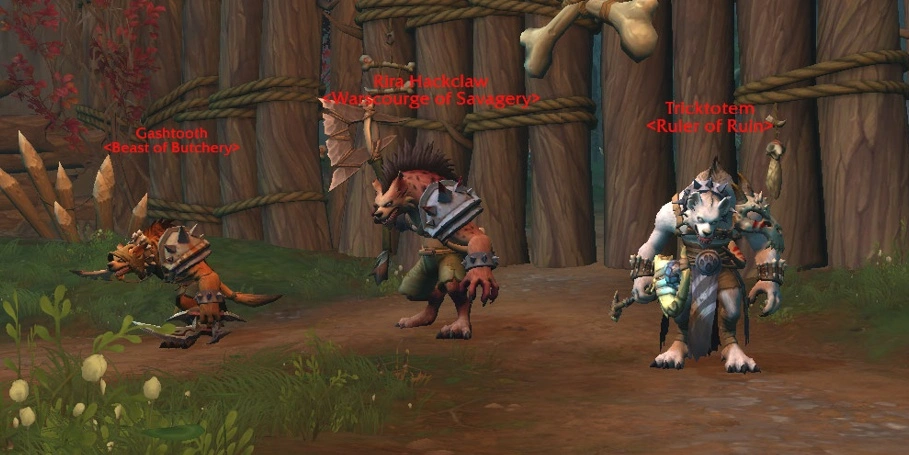
  • Next, you will have to fight three gnoll bosses simultaneously: Rira Hackclaw, Gashtooth, and Tricktotem. Each of them has its abilities and mechanics and requires a different approach to defeat them. Here are some tips on how to deal with them.
  • When Rira Hackclaw uses Bladestorm, don't get caught in the middle of it. The boss will be slowed by 70%, so it will be easier to avoid it.
  • Don't let the boss cast Greater Healing Rapids so that they don't have a chance to regain their health.
  • Be careful during the fight, because when one of the bosses drops below 15% health, it will increase the speed and damage of their allies by 30%. The best option is to wear down the health of all bosses evenly so that when their health threshold drops to a critical level, you can take them all out more or less simultaneously. Rather than fighting them at full health every time. If the boss puts up a Hextrick Totem, destroy it so that it does not interfere with your team.
  • Rira Hackclaw's attacks have a Cleave effect, which means that this boss can hit not only the main target, i.e., the tank, but also those who are close enough to it. From time to time, Rira Hackclaw will charge one of your group members with the Savage Charge ability. It is necessary for the tank to constantly monitor where the charge will go and absorb the damage from it.
  • The third boss, Gashtooth, can come from behind and make one of the team members bleed. Here, the role of the healer in the team will be important, as he must heal his teammate to bring his health above 90% and stop this effect. Defence effects should be cast on those players who have been exposed to Marked for Butchery. If possible, make sure that one of your teammates is wearing Decayed Senses, which blinds them and increases their incoming damage by 150%. Throughout the battle, for every 10% of the player's health missing, one Predatory Instincts stack will be applied, which increases the speed of enemies by 5%, so you should keep your allies above 90%.
Hackclaw's war-band
Hackclaw's war-band
All Weapon Master Locations in WoW Classic
All Weapon Master Locations in WoW Classic   
Guides

Mobs before meeting Gutshot

  • After you defeat Hackclaw's War-Band, the gate will open, and you will have a choice of where to go next: left to the boss Gutshot or right to Treemouth. So let's take a look at what kind of enemies you'll face on the way to the left.
  • The first one you will encounter is the Fleshripper Vulture mob. The main danger will come from Screech, which deals damage to all players within 40 yards.
  • Gutchewer Bear has a slightly high health and has the Maul ability.
  • The most difficult maul on your way may be the Rotbow Ranger. Firstly, these enemies have an unpleasant Pack Tactics aura that strongly strengthens enemy allies nearby. In addition, they have the Shoot and Bone Bolt abilities, which they will launch at a random member of your group and deal heavy damage. The enhanced version of Bone Bolt Volley aims in multiple directions and can hit multiple players at once, so you should be wary of this ability and keep an eye out. Finally, the Rotbow Ranger will incite related enemies like Fleshripper Vultures and Vicious Hyenas to attack a teammate who has the Rotten Meat ability status. So teamwork is what you need to defeat them.

Brackenhide Hollow boss tactics: Gutshot

  • Next to this boss will be two Rotfang Hyenas, which will attack mainly the tank of your group. Gutshot will throw a Meat Toss at him or another player to set the hyenas on him, making him the main target. The team's task is to defeat the hyenas as quickly as possible and move on to the boss. The hyenas should be a priority target, as the boss will summon two more overtime and the fight will become more difficult. And given the very unpleasant hostile aura of Huntleader's Tactics, which strengthens allied creatures, they become even more dangerous in large packs.
  • If you are still mainly targeting the boss, make sure your abilities and attacks work in AoE to hit the hyenas that will constantly interfere with you. If you have Meat Toss coming in, then kite the hyenas while your allies are hitting them, as this ability makes your target a priority for Rotfang Hyenas. The meaty smell makes the hyenas stronger thanks to Feeding Frenzy, which increases their damage by 100%, and one of the hits under the influence of Crippling Bite can cause you to bleed.
  • Beware of Bounding Leap, which can stun its target for 4 seconds and deal much damage. At the same time, avoid Ensnaring Trap, which can appear next to you, and remember that you can lure opponents into them. From time to time, Gutshot can use GutshotMaster's Call and rescue his hyenas from these traps and will give 15% to movement speed for a few seconds, so be aware and try to interrupt the casting of this skill.
  • Tanks should kite Rotfang Hyena into these traps, which will save an ally from the chase effect of Smell Like Meat. The enemy's Gut Shot ability deals a lot of damage, throws you back and can throw you right into a trap. Therefore, healers must help allies who are under the negative effects of this trap or rescue allies whom hyenas are chasing.
Gutshot
Gutshot

Mobs before meeting Treemouth

  • After defeating Gutshot, you have to go to the next boss, Treemouth. The path there is not very long and the enemies are not difficult. If you go to this boss after killing Hackclaw's War-Band, you'll meet some interesting enemies. One of them is the only miniboss in this dungeon, Stinkbreath. Among the abilities he uses is Violent Whirlwind, which deals damage in a certain radius and throws you back, so you should avoid direct contact with the vortex. Another unpleasant ability will be Stinkbreath, which will cause disorientation for a short time.
  • Among other mobs, you will encounter Brackenhide Shaper's, which will cast Infuse Corruption on you. Infected Lashers are dangerous, mainly because they have a bleeding effect. Decaying Slime doesn't stand out, except for the Burst ability, which won't cause you any problems. Another unique mod in this location is Wilted Oak. This enemy has Essence of Decay and Summon Lashers, which summons Infected Lashers, which will be your issue in battle. This mob is considered to be one of the most dangerous non-boss mobs, particularly because of Necrotic Breath.
WoW Classic: Best Professions for Making Gold
WoW Classic: Best Professions for Making Gold   
Guides

Brackenhide Hollow boss tactics: Treemouth

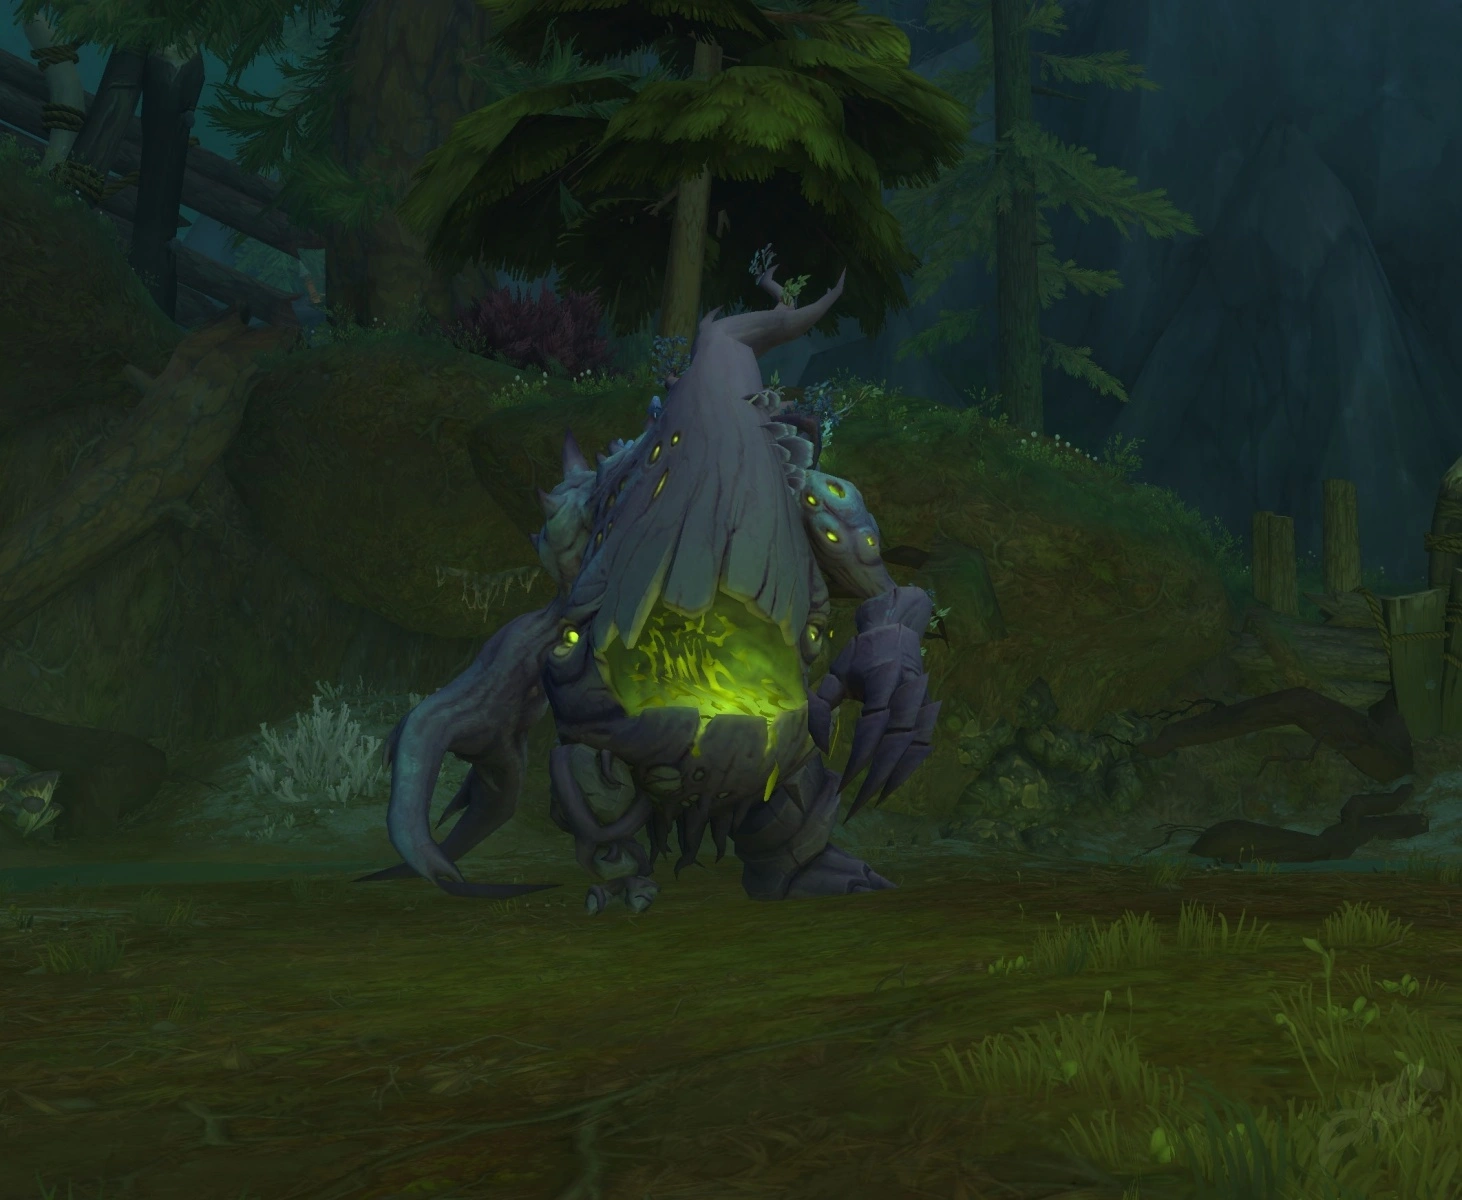
  • This boss gradually regenerates its energy. When it reaches 100 units, it draws all players to it for 4 seconds with Grasping Vines. Your team will have to avoid the puddle from Decay Spray. After this ability, the boss will summon four Decaying Slimes, which will cast Gushing Ooze at you. While killing the slimes, they will cast Burst, which creates a puddle with the negative effect of Withering Away.
  • Using his main ability Grasping Vines, the boss will absorb all players within 10 yards of him, dealing damage to them and creating an absorption shield. The strategy to fight him is to let your team's tank or another player with magic immunity get absorbed while the others beat the boss. If the boss does not consume anyone, he will receive an eternal buff from Starving Frenzy, which means he will receive additional attack power and speed.
Treemouth
Treemouth

Decatriarch Wratheye strategies

  • After defeating Treemouth, head to the Den of Decay area where you will find the last boss, Decatriarch Wratheye. On the way, you'll encounter several types of mobs that you'll have to watch out for. The first of them is the Filth Caller, which uses Rotting Surge toxins against you. One of the most dangerous mobs for your tanks will be the Disease Slasher's because of its strong and long-lasting Decay Claws and Bloody Bite abilities.
  • The most difficult boss of this location will be Fetid Rotsinger, which increases the damage and reduces recharge for allies. The totem it summons from time to time will have to be destroyed quickly to prevent it from causing you problems and getting caught by Withering. The effect removal potions you get from the cauldrons will come in handy here, as there is another enemy that imposes negative effects. Almost every pack of mobs will have a Wither Biter, which has a nasty Bloody Bite skill.
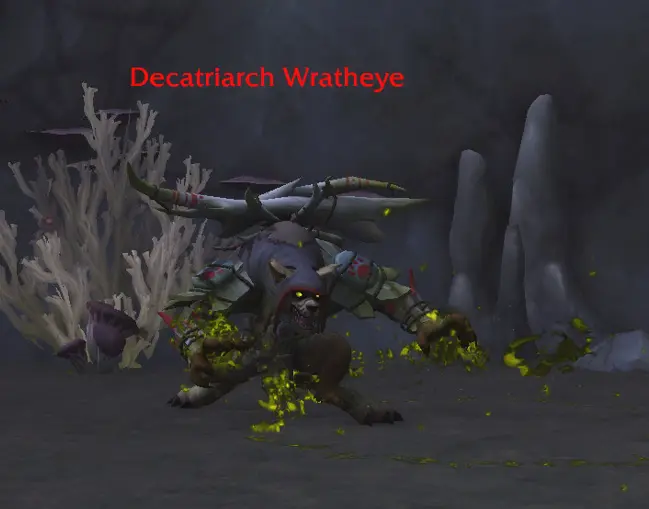
  • Beware of the Choking Rotcloud ability, which not only deals damage but also imposes a stun effect if you stay in the toxic cloud for a long time. In addition, you are affected by Withering Rot, which gradually drains your health and reduces your damage by 5%. This effect doesn't disappear until the boss dies or the boss absorbs it with Decaying Strength. The boss can also place a totem, which, when the cast ends, will apply the previously mentioned effect to all members of your group.
  • The tank may try to lure the boss closer to his totem so that your AoE abilities hit the lunch targets. The healer should pay attention to healing those allies who are affected by Decaystrike and Withering Rot, which are the most unpleasant during this boss fight. The hero's DPS should be saved for powerful abilities and charges to destroy the Rotburst Totem.
Decatriarch Wratheye

Brackenhide Hollow Gear drops

Hackclaw's War-Band:

  • Ancestral Stoneshaper
  • Poached Kalu'ak Spear
  • Ravenous Pursuer's Footwraps
  • Bloodied Wedding Ring

Treemouth:

  • Bough of Deterioration
  • Mask of Imperishable Leaves
  • Rooted Shoulders of Putrefaction
  • Binders of the Moldering
  • Swollen Bark Clasp
  • Ancient Rotwalkers

Gutshot:

  • Gutshot's Trophy Hunter
  • Tuskarr Bone Necklace
  • Boastful Stalker's Epaulets
  • Ferocious Hyena Hidebinders
  • Trapmaster's Utility Belt

Decatriarch Wratheye:

  • Decatriarch's Bone Pestle
  • Rot-Carved Totemic Shank
  • Decay Mother's Wrathful Gaze
  • Decay Mother's Wrathful Gaze
  • Blightweaver's Clutches
  • Tassets of Densified Ooze
Additional content available
Go to Twitter bo3.gg
Comments
By date