
BEST VIP CLUB!

BEST VIP CLUB!
200% Bonus
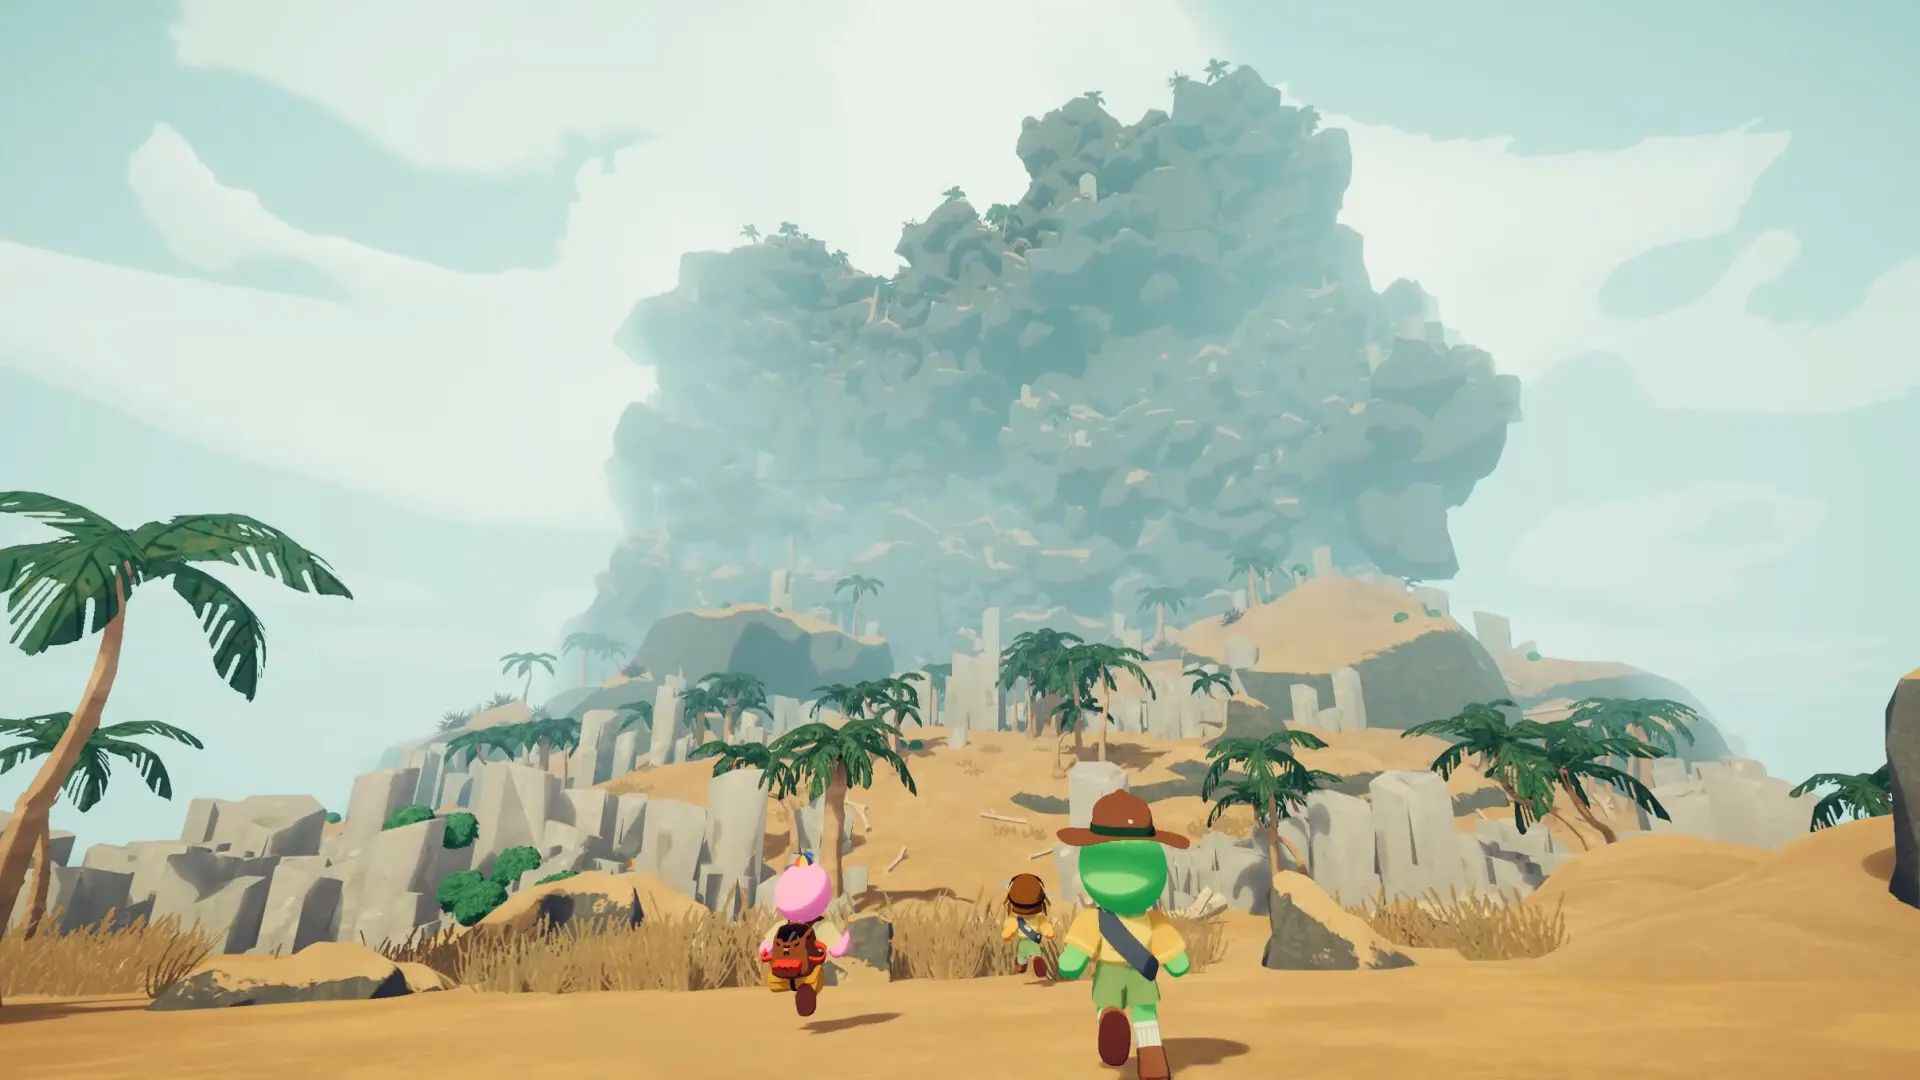
Surviving PEAK requires more than reaching the summit, it entails deciding what to pack and what to leave behind, alongside smart usage of gear. With the harsh weather, risk of dying, and the grueling stamina-draining climbs, your loadout can either make or break your attempt. This guide goes in-depth to every item in PEAK, categorizing them and explaining their functionalities.
Item | Effect |
Remedy Fungus | Throw to create a healing spore cloud that restores health in an area. |
Medkit | Fully restores your health instantly. |
Faerie Lantern | Gradually heals players nearby over time (limited charge). |
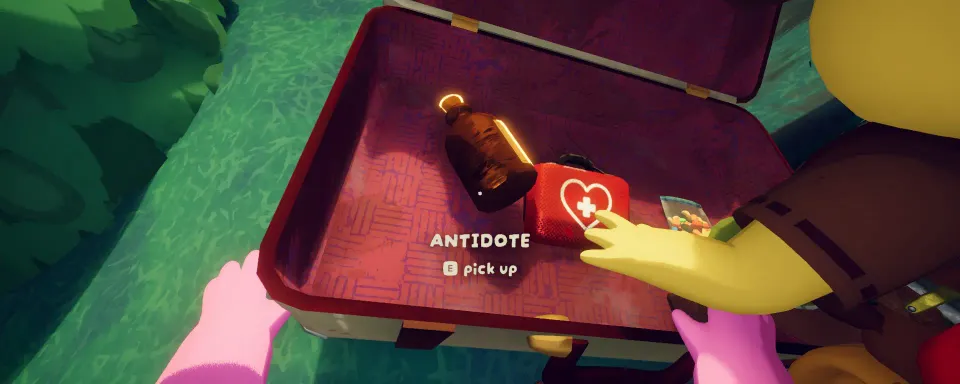
Antidote | Cures poison status. |
Heat Pack | Cures frostbite and protects from freezing for a short time. |
Scout Effigy | Revives a dead player at the location used. |
Pandora’s Lunchbox | Applies a random status effect (good or bad); has 3 charges. |
Cure-All | Cures all status effects and fully restores stamina. |
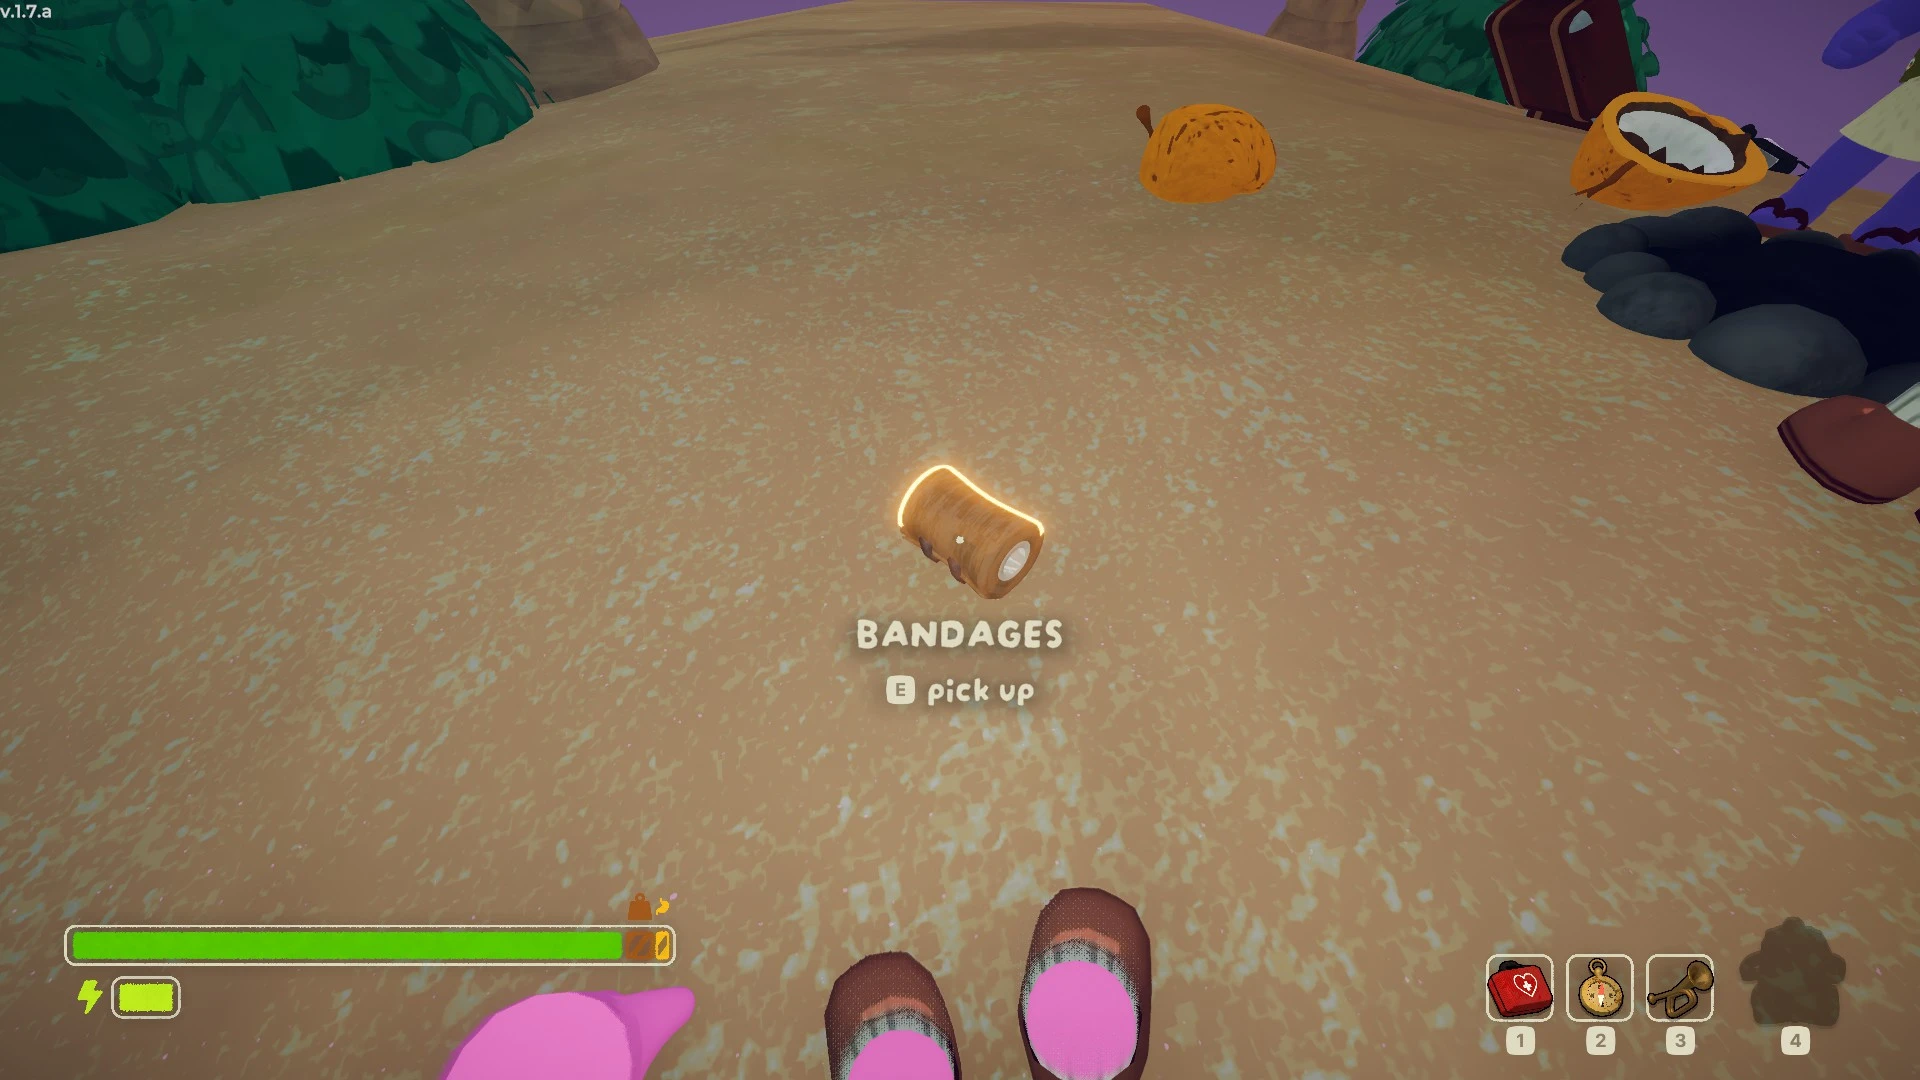
Bandages | Restores a small amount of health. |
Always balance healing items with your stamina needs, dead weight isn’t helpful if you can’t make the climb.
Item | Effect |
Compass | Points to the north, useful for navigation. |
Flare | Creates a visible signal to help teammates locate you. |
Bugle of Friendship | Grants infinite stamina for 10 seconds, extremely limited charge. |
Bugle | A musical instrument; may attract Winterberry. |
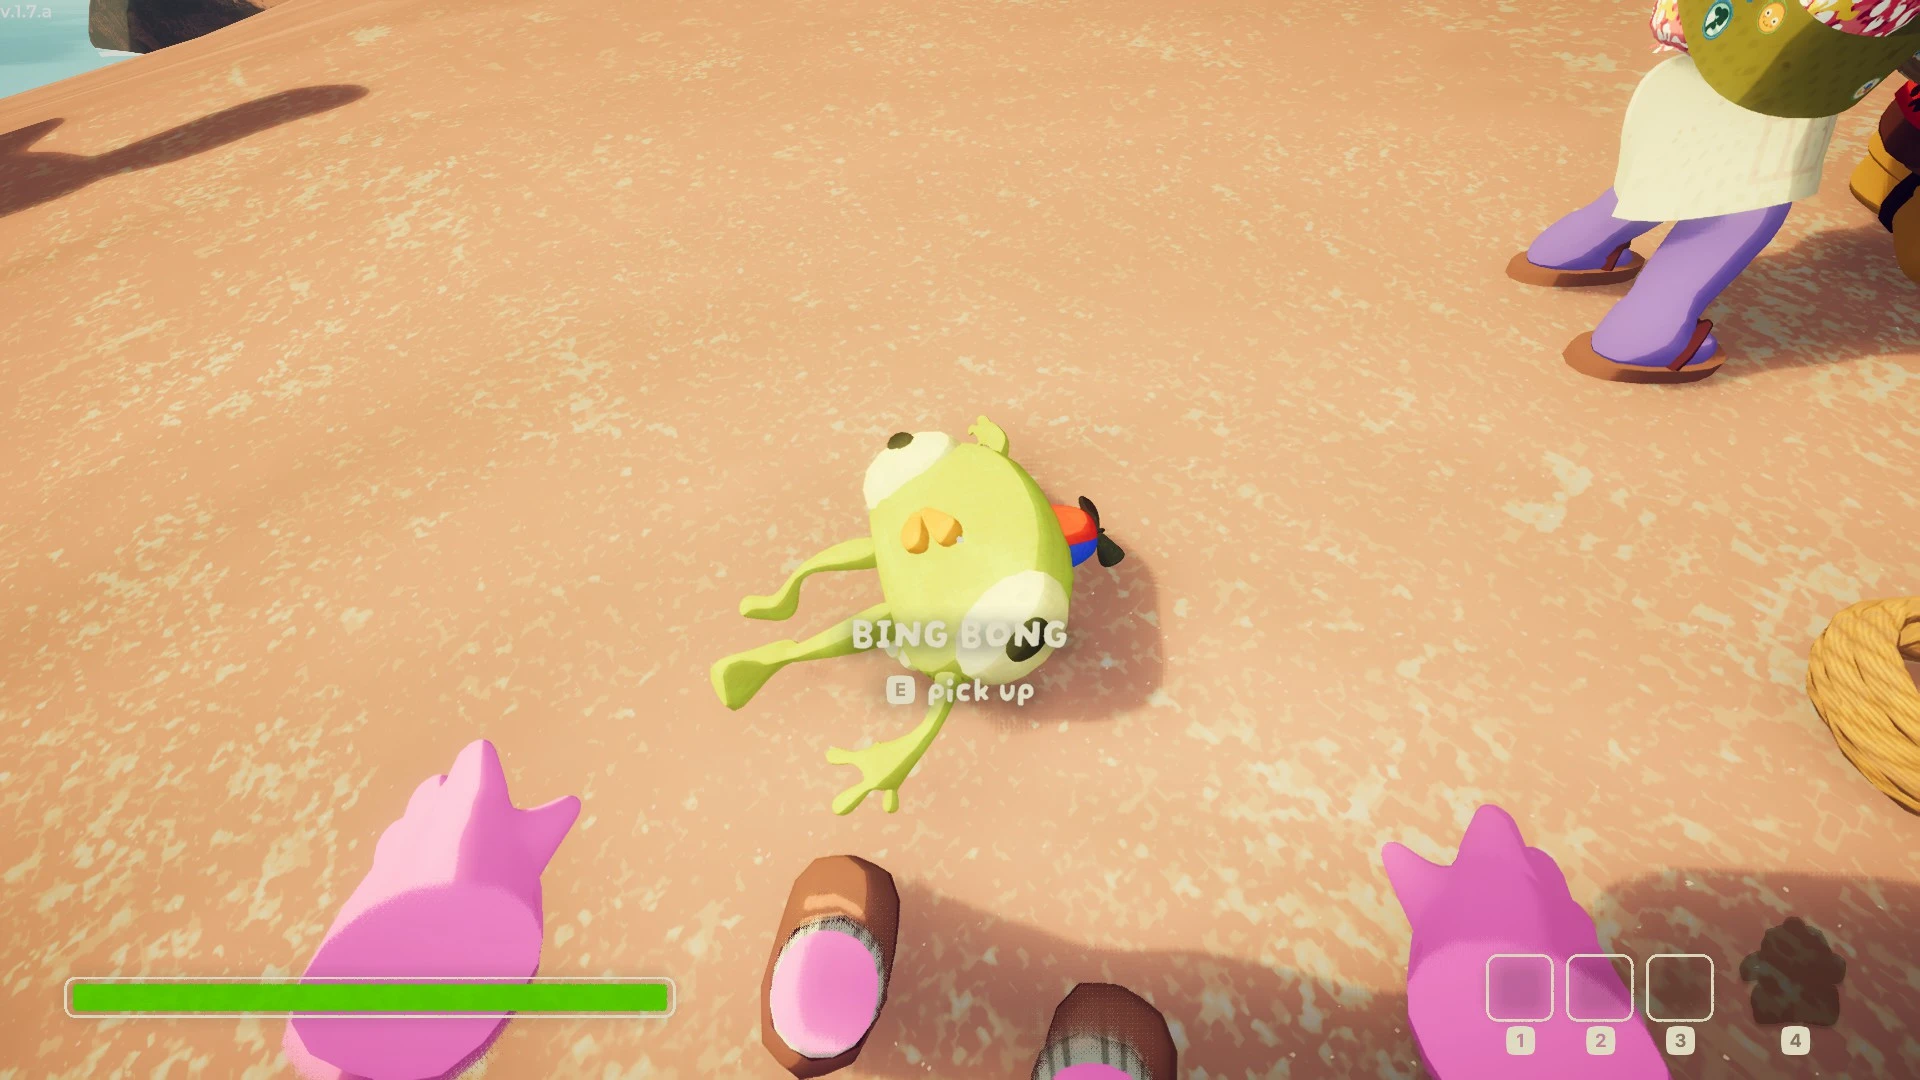
Bing Bong | A plush toy. Purely cosmetic/fun. |
Lantern | Lights up surroundings and helps against frostbite (limited charge). |
Blowgun | Fires a dart that stuns the target instantly. |
Pirate’s Compass | Points toward the nearest unopened luggage chest. |
Cursed Skull | Sacrifice yourself to revive all dead players and cure their ailments. |
Scoutmaster’s Bugle | Spawns the Scoutmaster. |
Banana Peel | Causes players to slip, good for pranks or traps. |
Items like the Pirate’s Compass or Flare are excellent for team-based runs or exploration-heavy sessions.

Item | Effect |
Big Lollipop | Grants infinite stamina for a short time, followed by a sleep effect. |
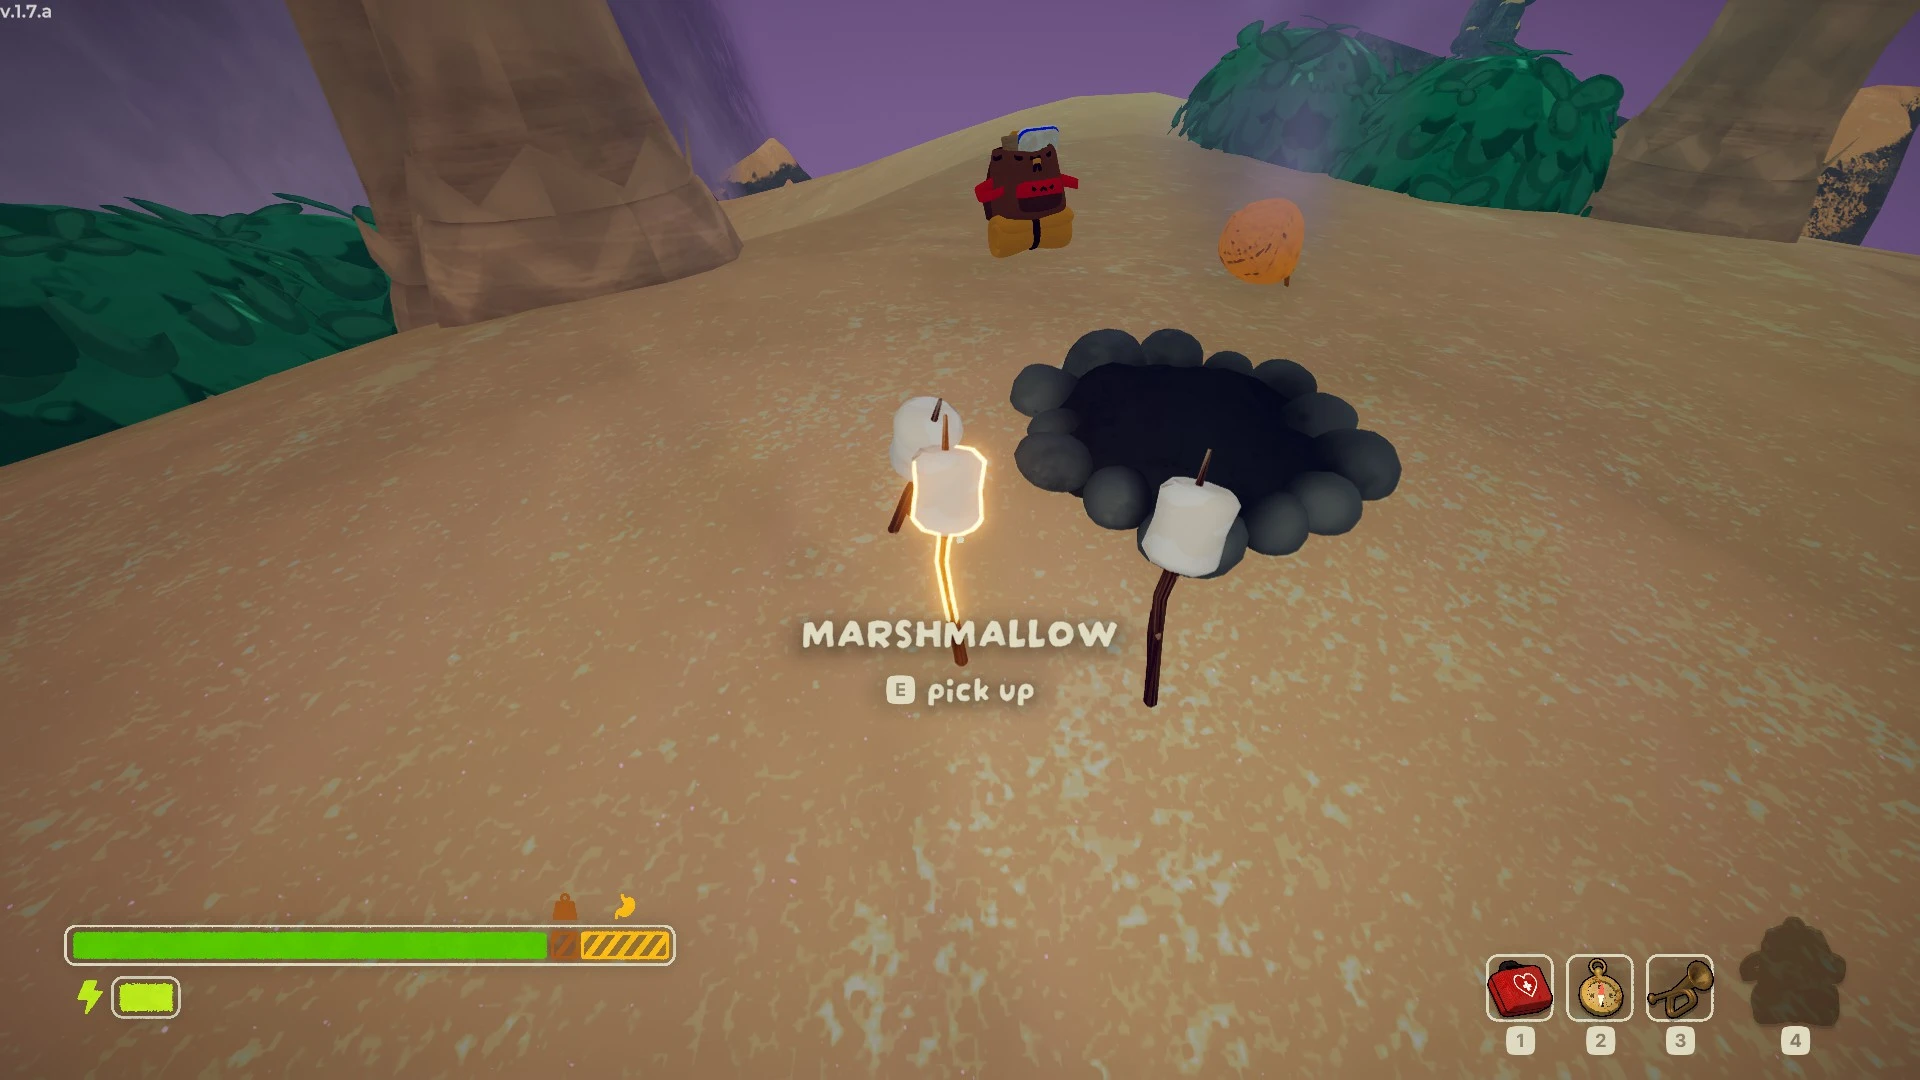
Marshmallow | Restores a large amount of hunger (especially effective when cooked). |
Granola Bar | Slight hunger recovery plus a stamina boost. |
Energy Drink | Dramatically increases climbing speed, but causes sleep afterward. |
Food (Generic) | Restores hunger but can cause random status effects, including poison. |
Not all food is created equal, some can poison you if consumed raw or unprepared.
Item | Effect |
Rope Cannon | Fires a rope horizontally for climbing. |
Anti-Rope Cannon | Fires a rope vertically (reverse gravity rope). |
Portable Stove | Used to cook food and cure frostbite when placed. |
Shelf Shroom | Creates a temporary mushroom platform to stand on. |
Piton | Acts as a rest point; restores stamina, breaks after one use. |
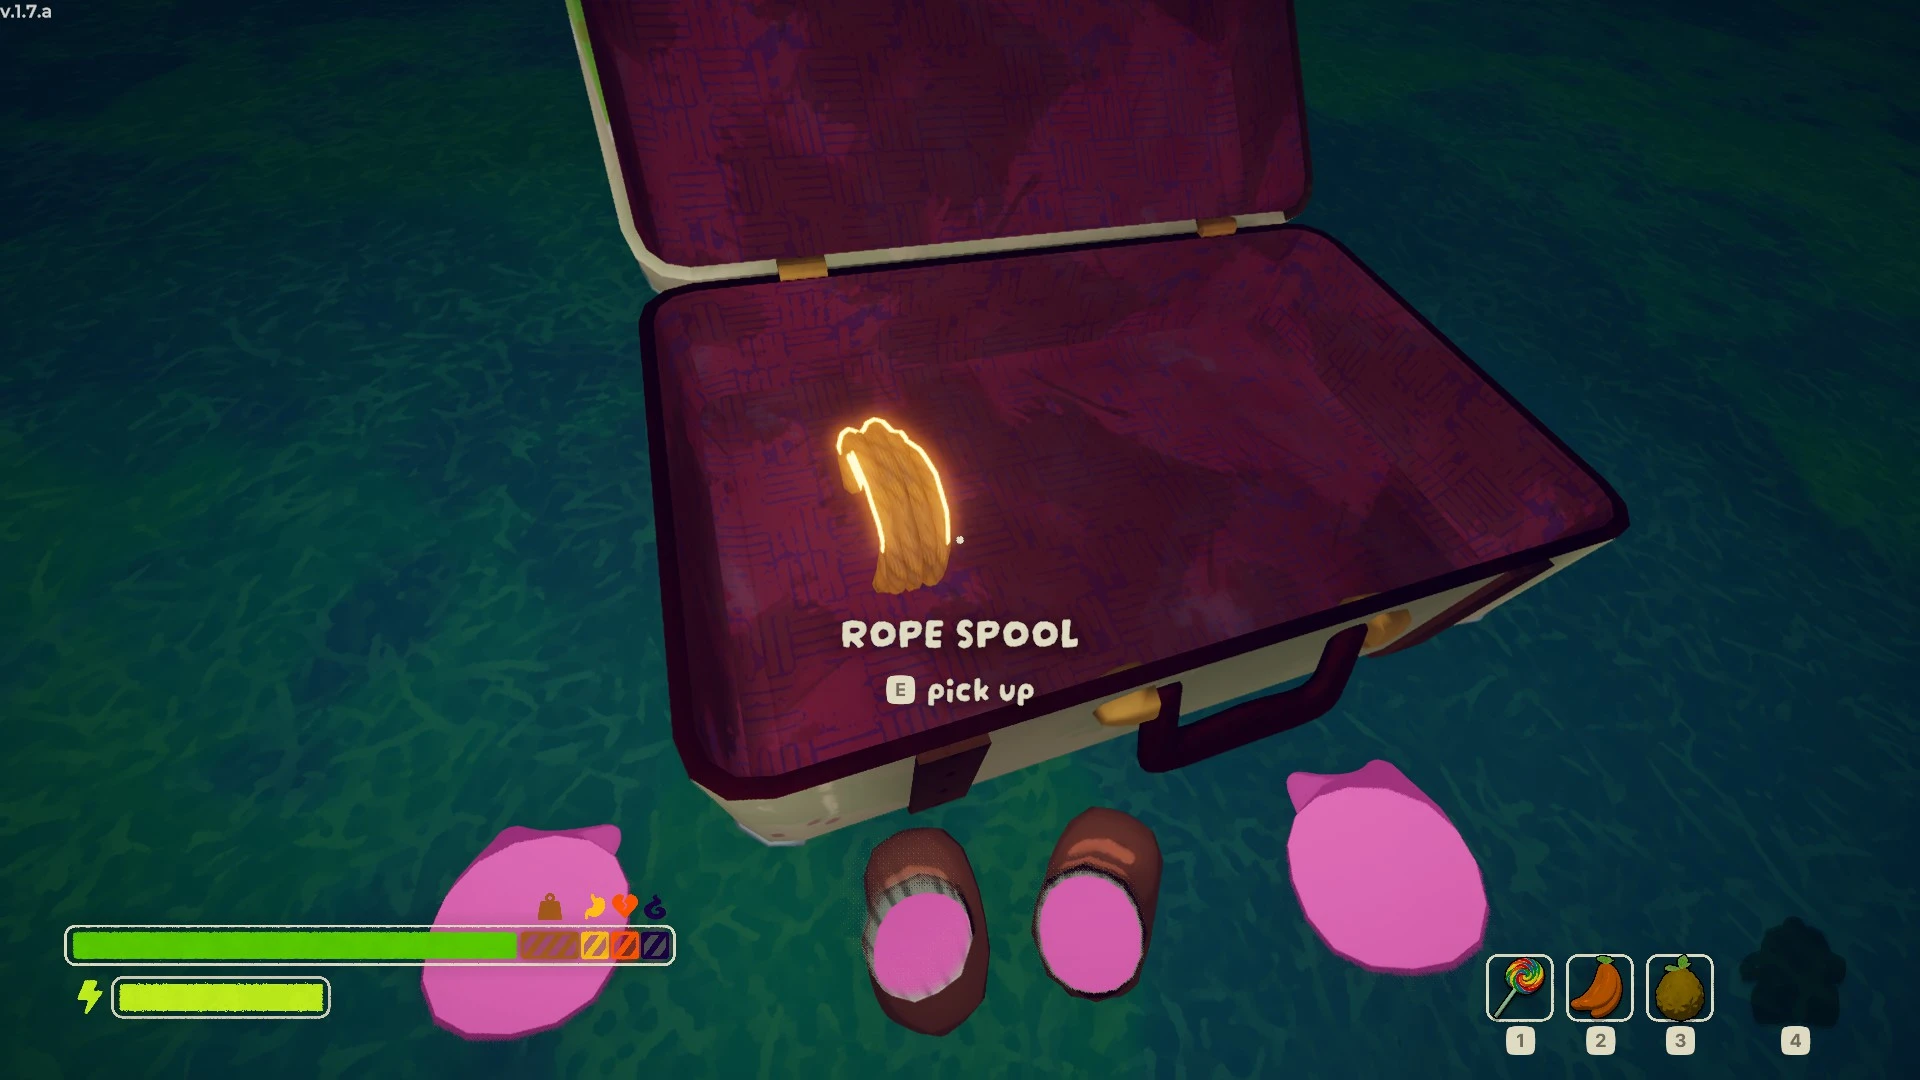
Rope Spool | Long rope that can be attached to surfaces. |
Anti-Rope Spool | Reverse-gravity version of Rope Spool, goes upward. |
Chain Cannon | Fires a chain you can climb. |
Magic Bean | Spawns a climbable vertical structure. |
Don’t overload yourself, too much gear increases weight and burns stamina faster. Prioritize pitons, ropes, and a stove if you're planning a longer route.
Every piece of equipment in PEAK serves a particular function; some can be lifesavers while others can lead to your demise (that’s you, banana peel). We all know that reaching the summit requires proper planning not only with tools but also the right mix of food, support gear, and the all-important aide you choose to accompany you. Do not underestimate the importance of Medkit, weather, and weight distribution.


No comments yet! Be the first one to react