

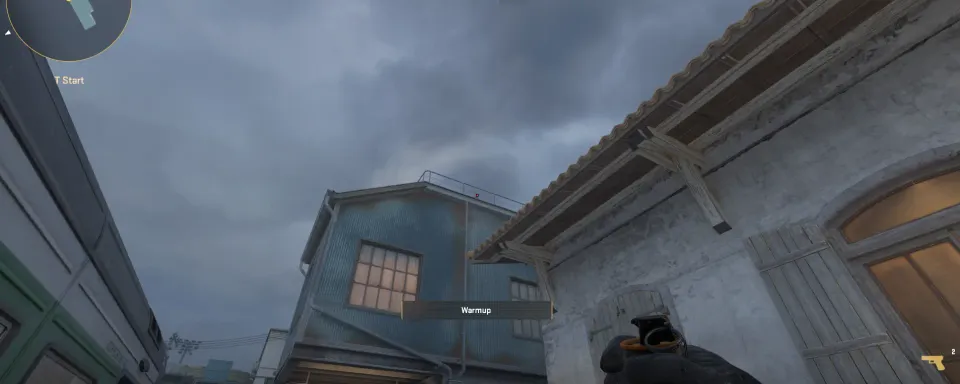
Screenshots in Counter-Strike 2 are essential for capturing memorable moments, documenting clutch plays, or showcasing unique weapon skins. Using the right tools, players can easily take high-quality screenshots and manage them efficiently. This guide will explore the best tools and methods for capturing and accessing CS2 screenshots, where to find them, and how to make the most of this feature.
How to Take Screenshots in CS2?
The simplest way to take a screenshot is by using built-in or external tools. Common methods include pressing the F12 key via Steam’s overlay or using third-party software like OBS or Snipping Tool. Knowing how to take screenshot in CS2 ensures you capture every moment seamlessly.
To take a screenshot within CS2:
- Open the game and navigate to the moment you wish to capture.
- Use Steam’s default screenshot function (F12) or third-party tools.
- Locate and manage your screenshots in the specified folder.
These steps are straightforward and accessible to both new and experienced players.

Best Tools for Taking Screenshots in CS2
There are several reliable tools for capturing screenshots in CS2. Here’s a comparison of the best options:
Tool | Features | Ease of Use |
Steam Overlay | Built-in, easy access, uploads to the cloud. | Very easy |
NVIDIA GeForce Experience | High-quality captures, customizable. | Easy |
OBS Studio | Advanced recording and screenshot capabilities. | Moderate |
Snipping Tool | Basic captures for quick screenshots. | Very easy |
ShareX | Advanced features like annotations and uploads. | Moderate |
Steam Overlay is the most convenient CS2 screenshot tool, offering instant captures and automatic cloud uploads.
CS2 Screenshot Location
After taking a screenshot, finding its location is crucial. For Steam users, CS2 screenshot location is straightforward:
- Open Steam and go to “View” > “Screenshots.”
- Select CS2 from the dropdown menu to view all associated screenshots.
- Click “Show on Disk” to open the folder where screenshots are stored.
For other tools like NVIDIA GeForce Experience or OBS, the default save path can usually be adjusted in the settings.
CS2 Inspect Screenshot
Players often take screenshots to inspect skins or analyze gameplay. CS2 inspect screenshots are particularly popular for sharing unique weapon skins. To capture these effectively:
- Use Steam’s screenshot key while in the weapon inspect menu.
- Ensure the lighting and angle showcase the skin’s features.
- Access the screenshot via Steam or your chosen tool to share or save it.
This method highlights every detail, making it ideal for showcasing high-value skins.

Comparison of Screenshot Methods
Method | Pros | Cons |
Steam Overlay | Easy to use, integrates with Steam. | Limited editing capabilities. |
NVIDIA GeForce Experience | High-quality screenshots, custom paths. | Requires compatible NVIDIA GPU. |
OBS Studio | Full recording and screenshot options. | More complex setup for basic screenshots. |
ShareX | Advanced editing, direct uploads. | Steeper learning curve for beginners. |
Snipping Tool | Quick and basic captures. | Lacks advanced features for gaming. |


Key Tips for Capturing High-Quality Screenshots
Tips for Optimal Screenshots in CS2
- Use high graphical settings for detailed captures.
- Adjust in-game brightness and resolution for clarity.
- Avoid cluttered backgrounds for cleaner shots.
Community Feedback on Screenshot Tools
Players often discuss their favorite tools on forums and Reddit. Many prefer Steam Overlay for its ease of use, while others recommend NVIDIA GeForce Experience for its quality and customization options. ShareX and OBS are praised by advanced users for their additional features like annotations and direct uploads.

Mistakes to Avoid When Taking Screenshots
- Capturing during low FPS moments can result in blurry images.
- Forgetting to check save locations can lead to lost screenshots.
- Over-editing screenshots may reduce their authenticity.
Screenshots are a valuable way to document your CS2 experience, from epic plays to rare skins. By choosing the right screenshot tool, understanding screenshot location, and mastering how to take and inspect screenshots, you’ll be equipped to capture every moment.


No comments yet! Be the first one to react